The Idea
I met Joey at the Oberlin Bass Workshop in 2014, and every year I get to spend at least a week with him at either the ISB convention or the Oberlin workshop. I’ve always admired his workmanship and work-smarter-not-harder approach to luthierie and wanted to see his approach to bass making first hand. As you can imagine working alone has its advantages and disadvantages, and one big disadvantage is that I can never really discuss another maker’s process or thoughts during the construction process. At the 2019 ISB convention in Bloomington, Indiana we were hanging out after a long day of booth hopping, bass building, and concert going, and I asked Joey if he’d be interested in coming to Chicago to make a bass together; which he enthusiastically responded yes. I was delighted.
Preperation
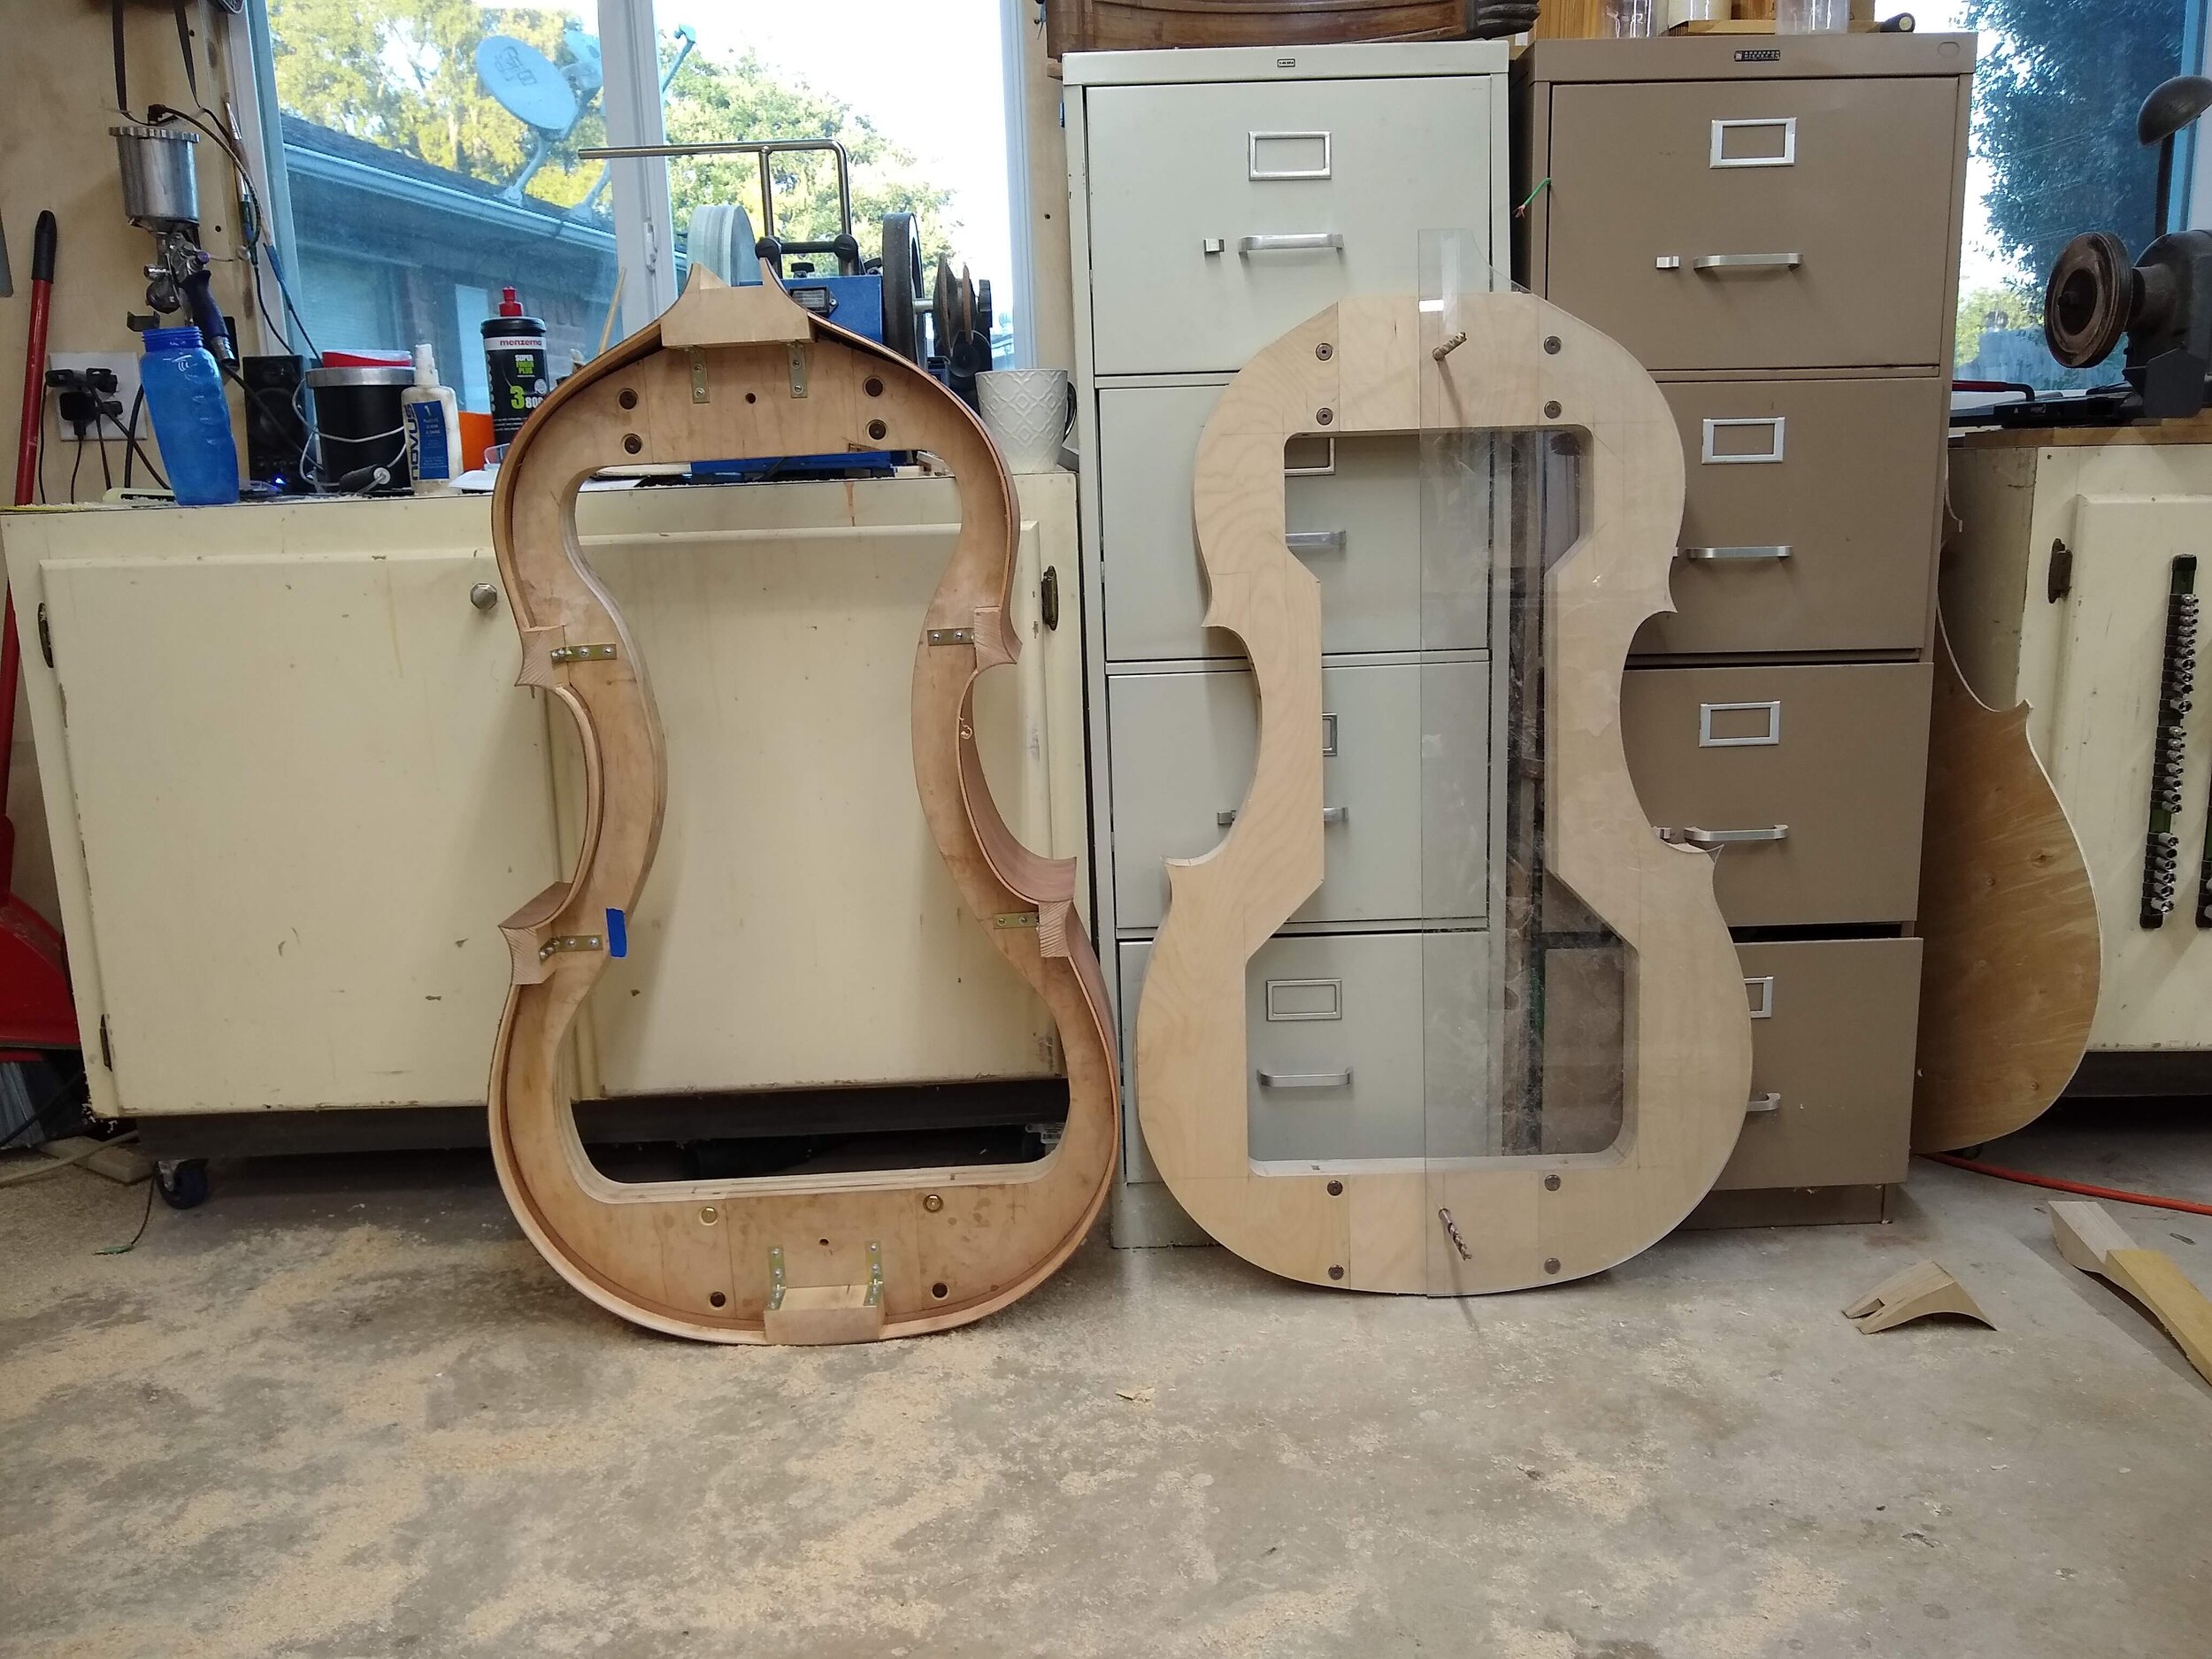
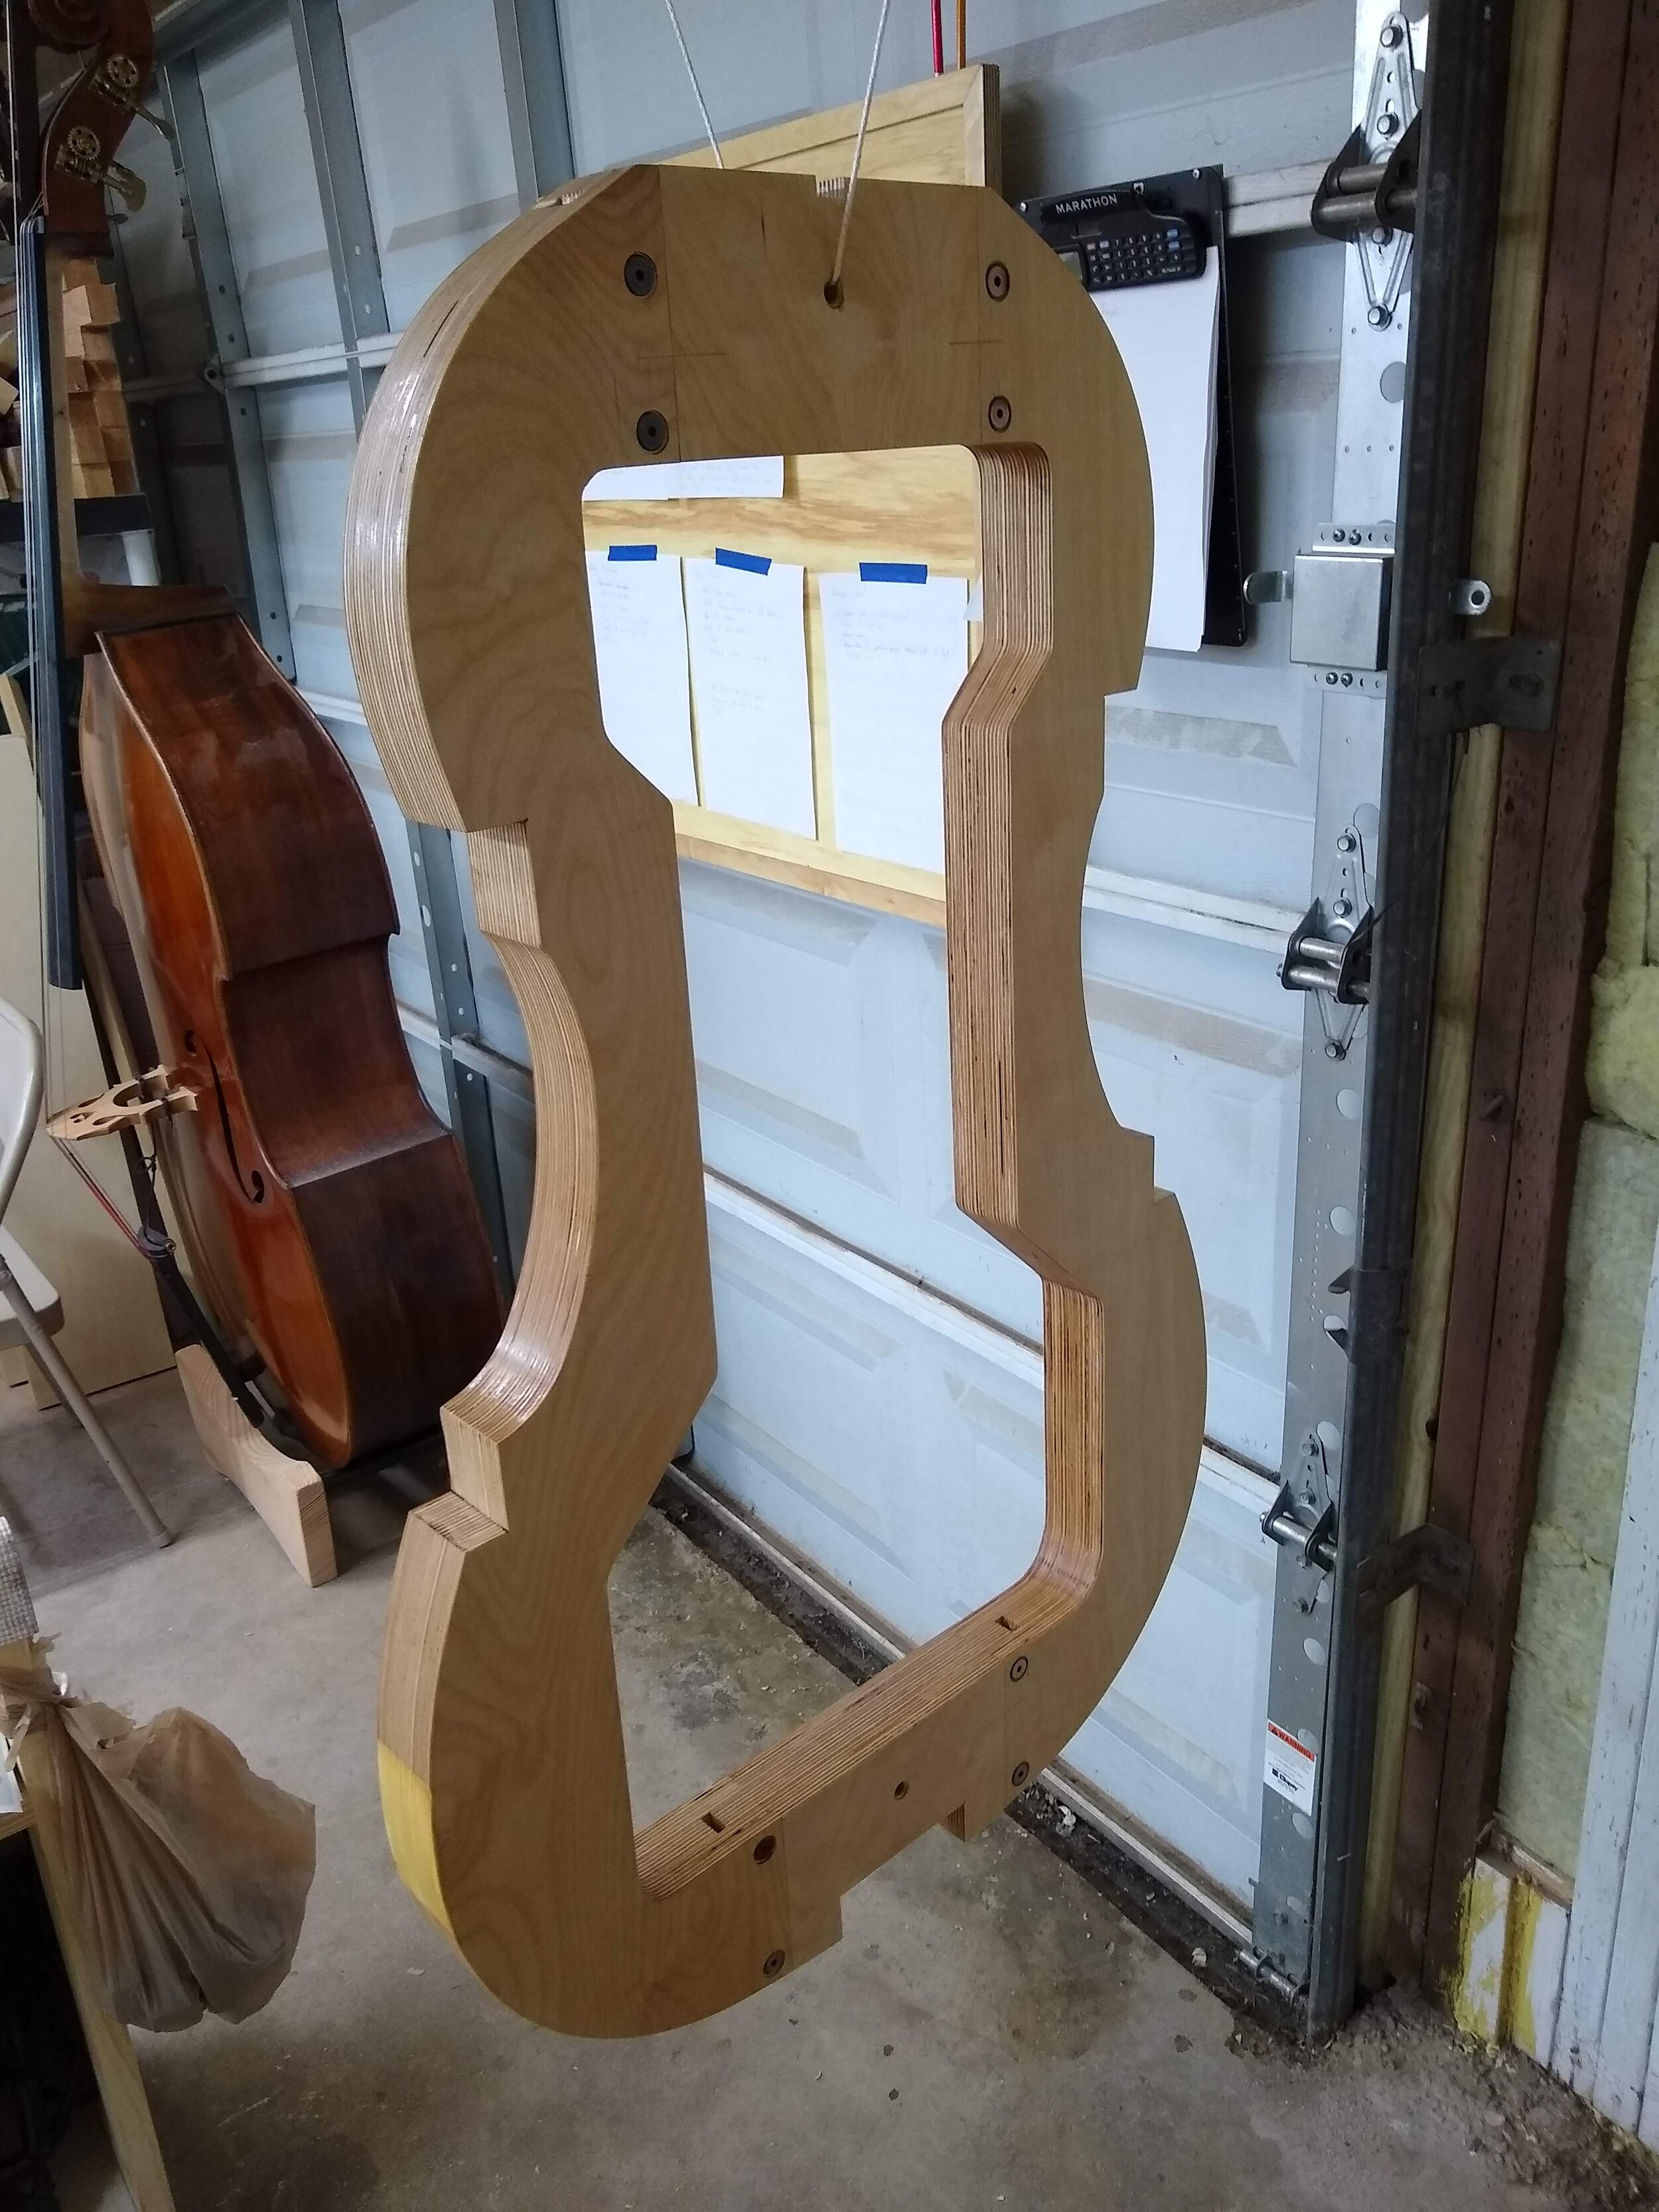
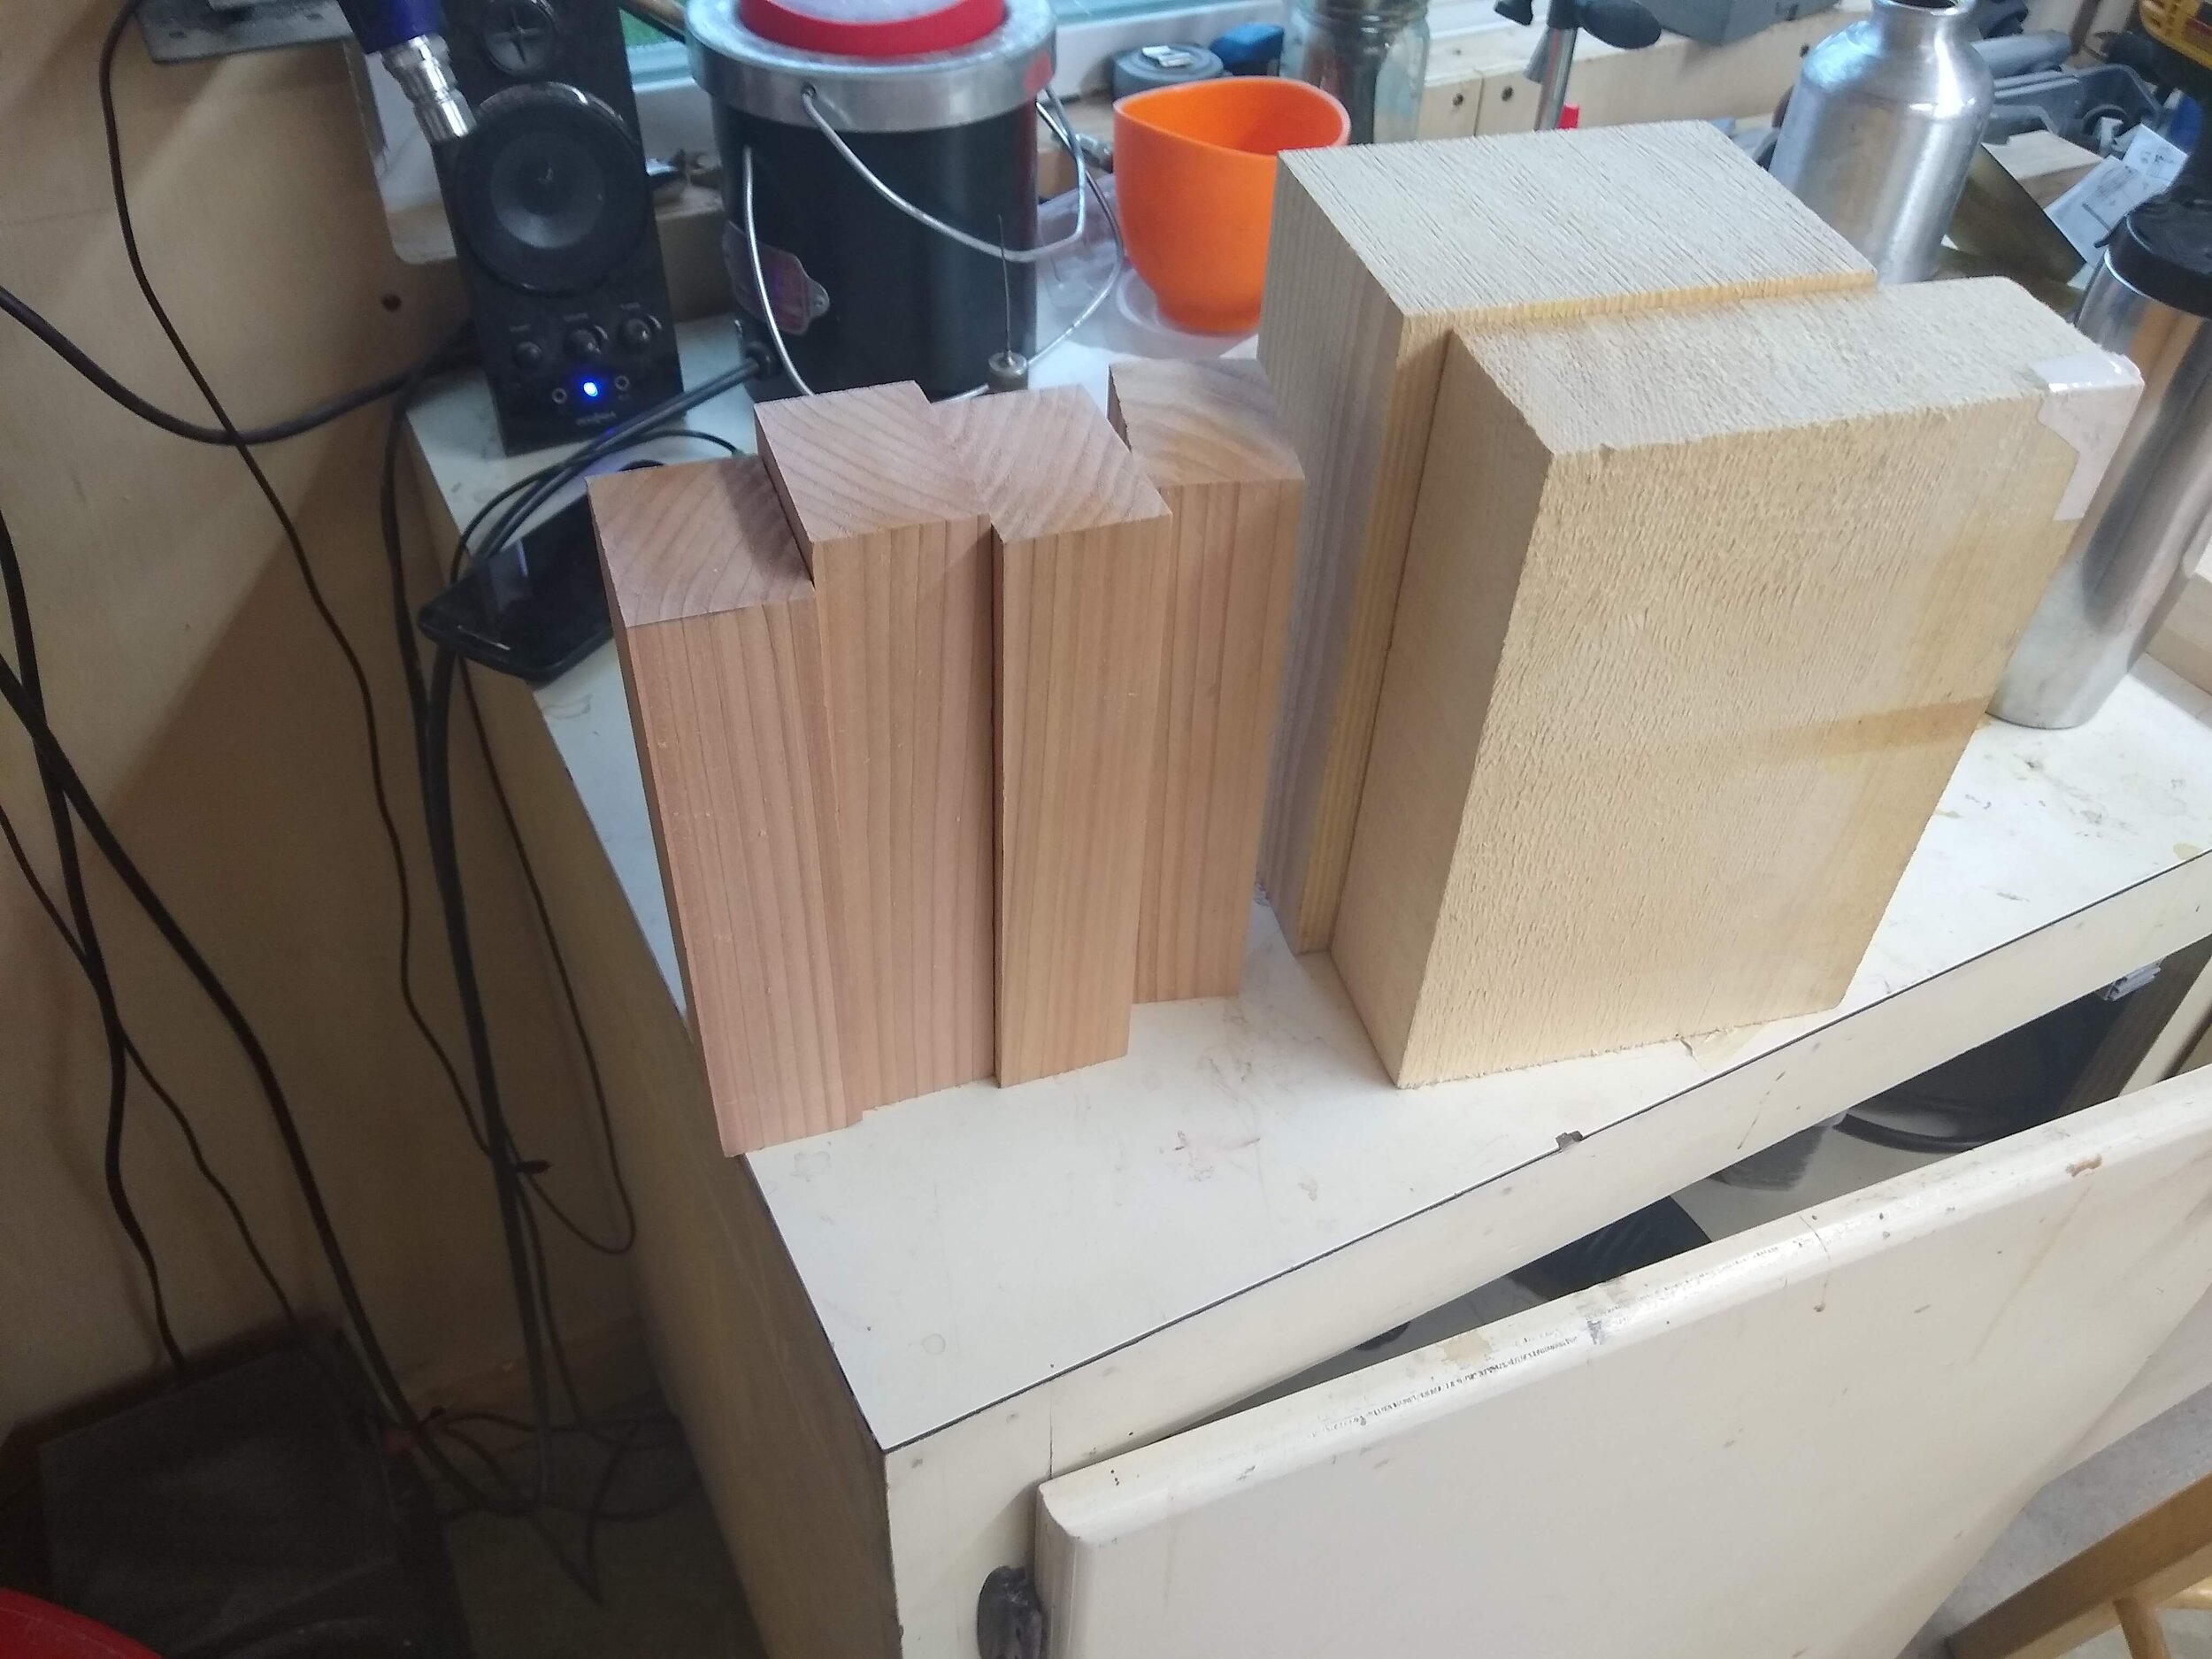
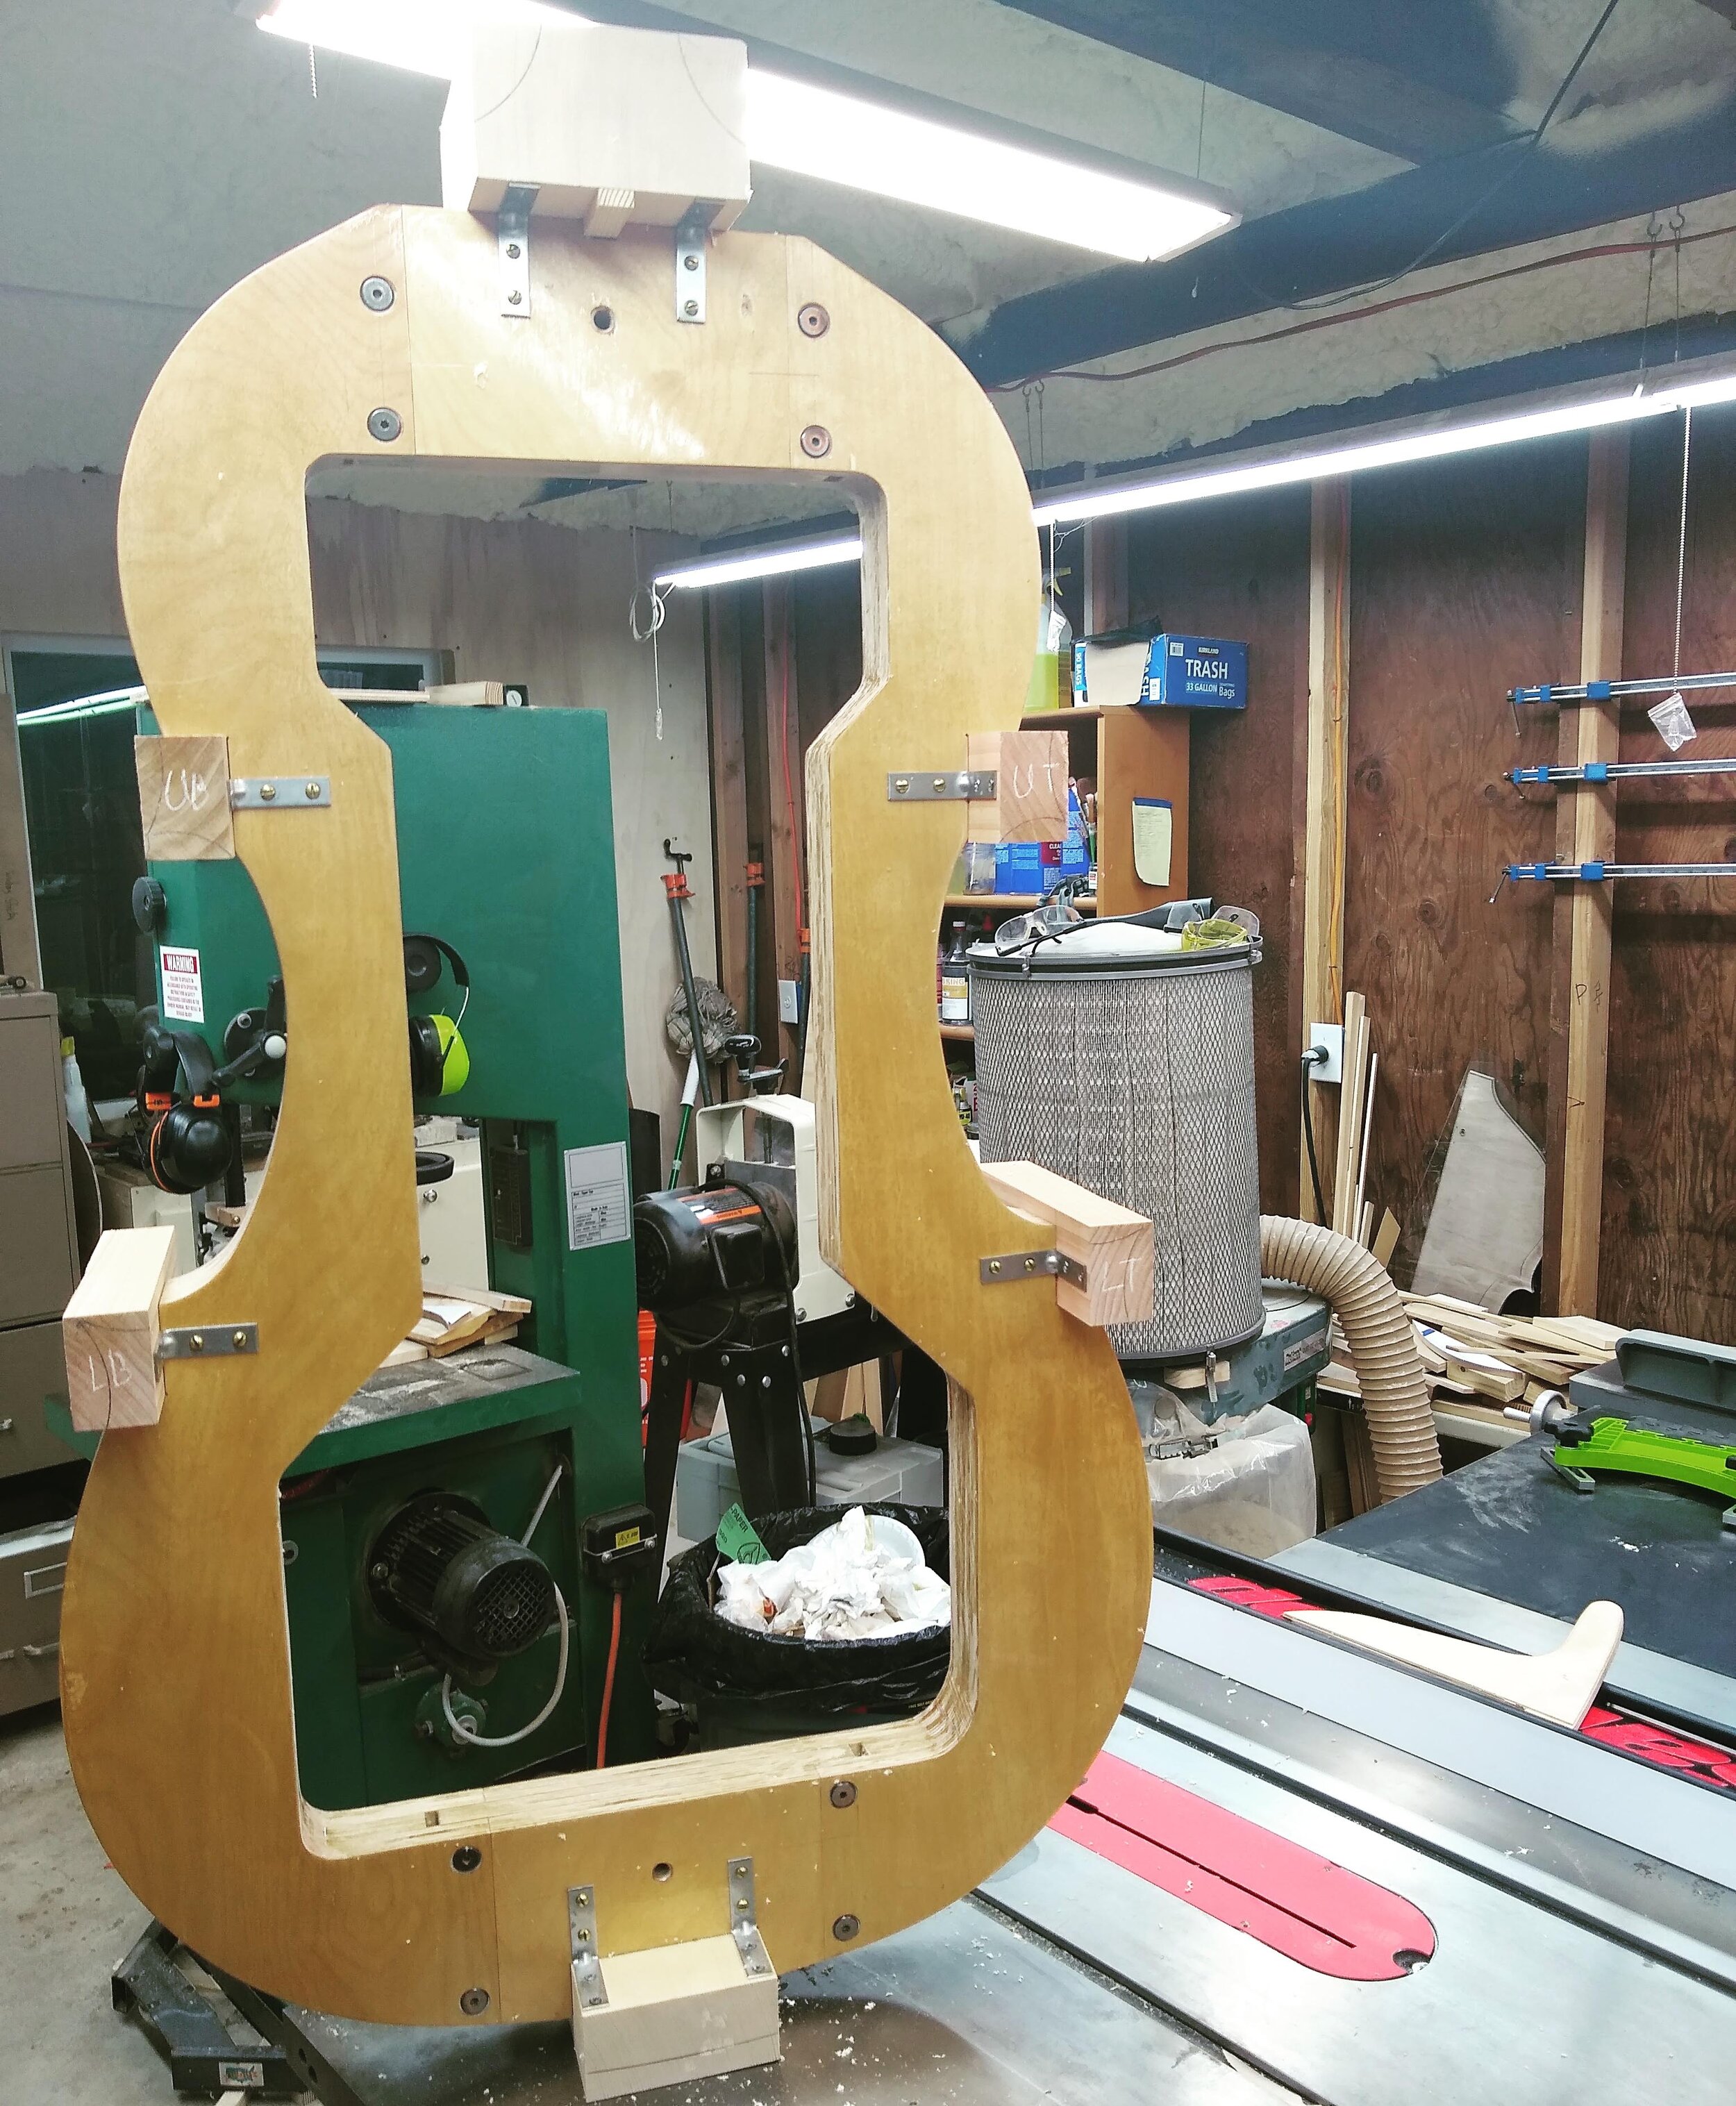
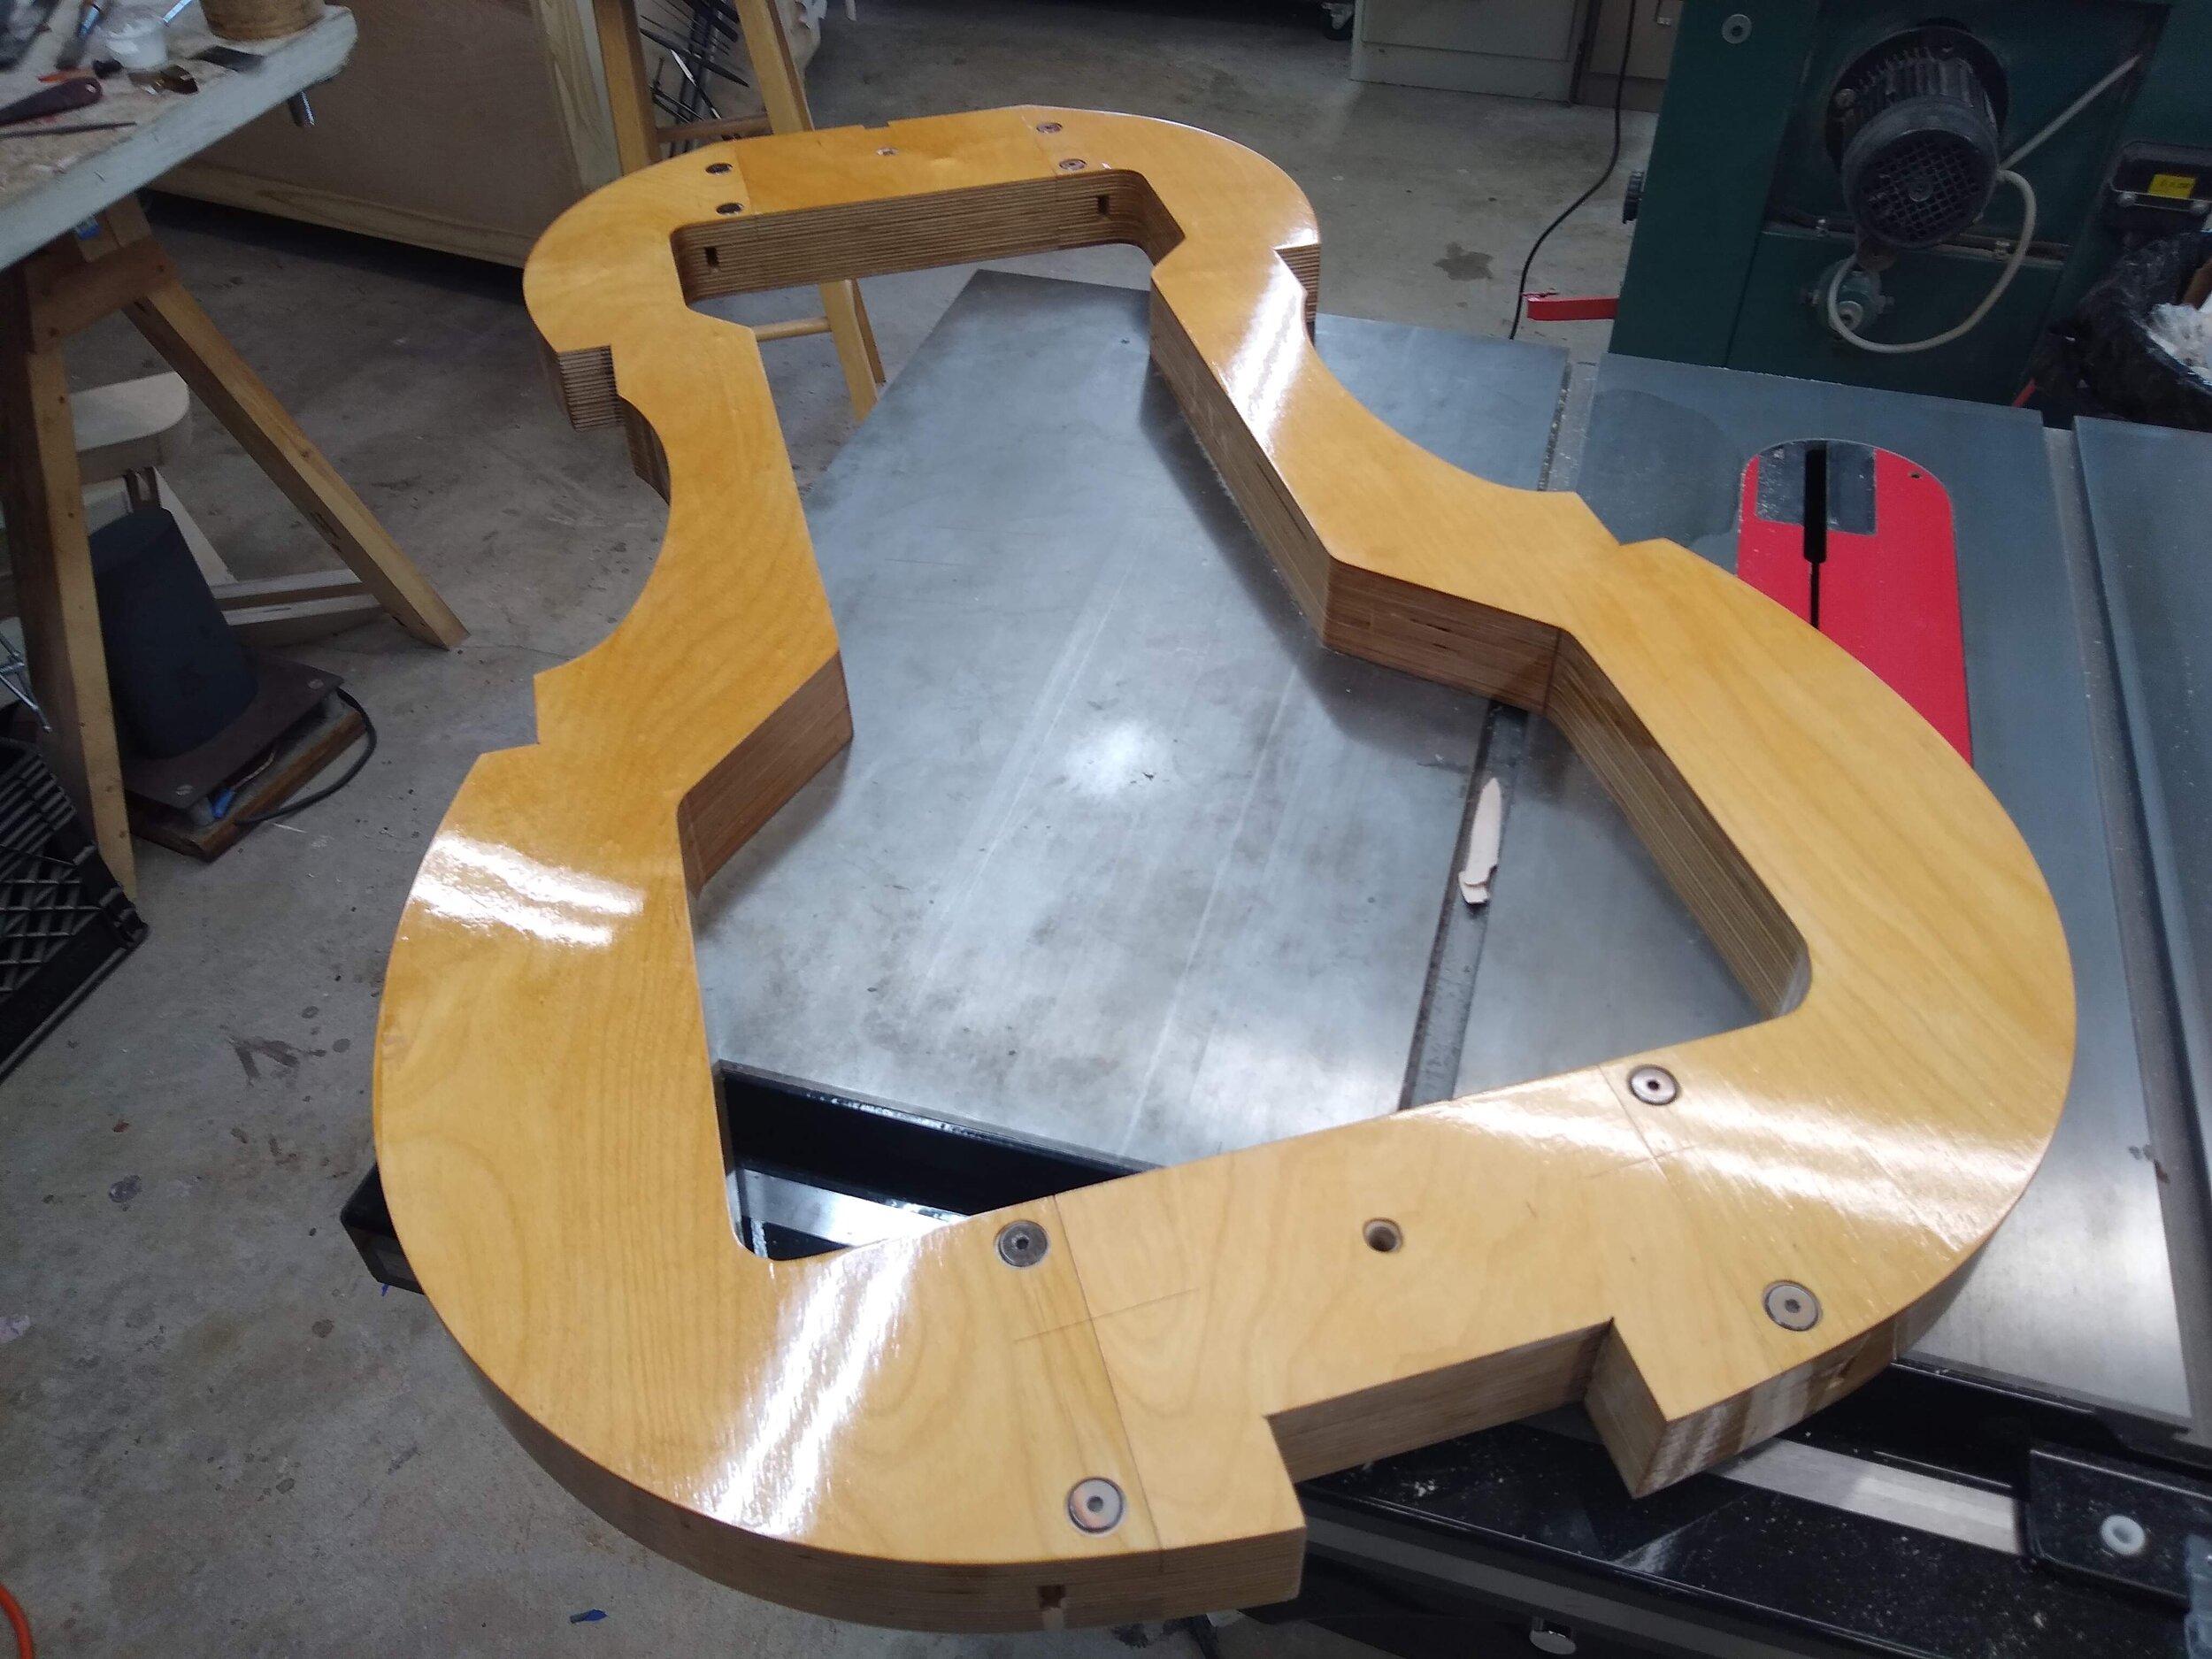
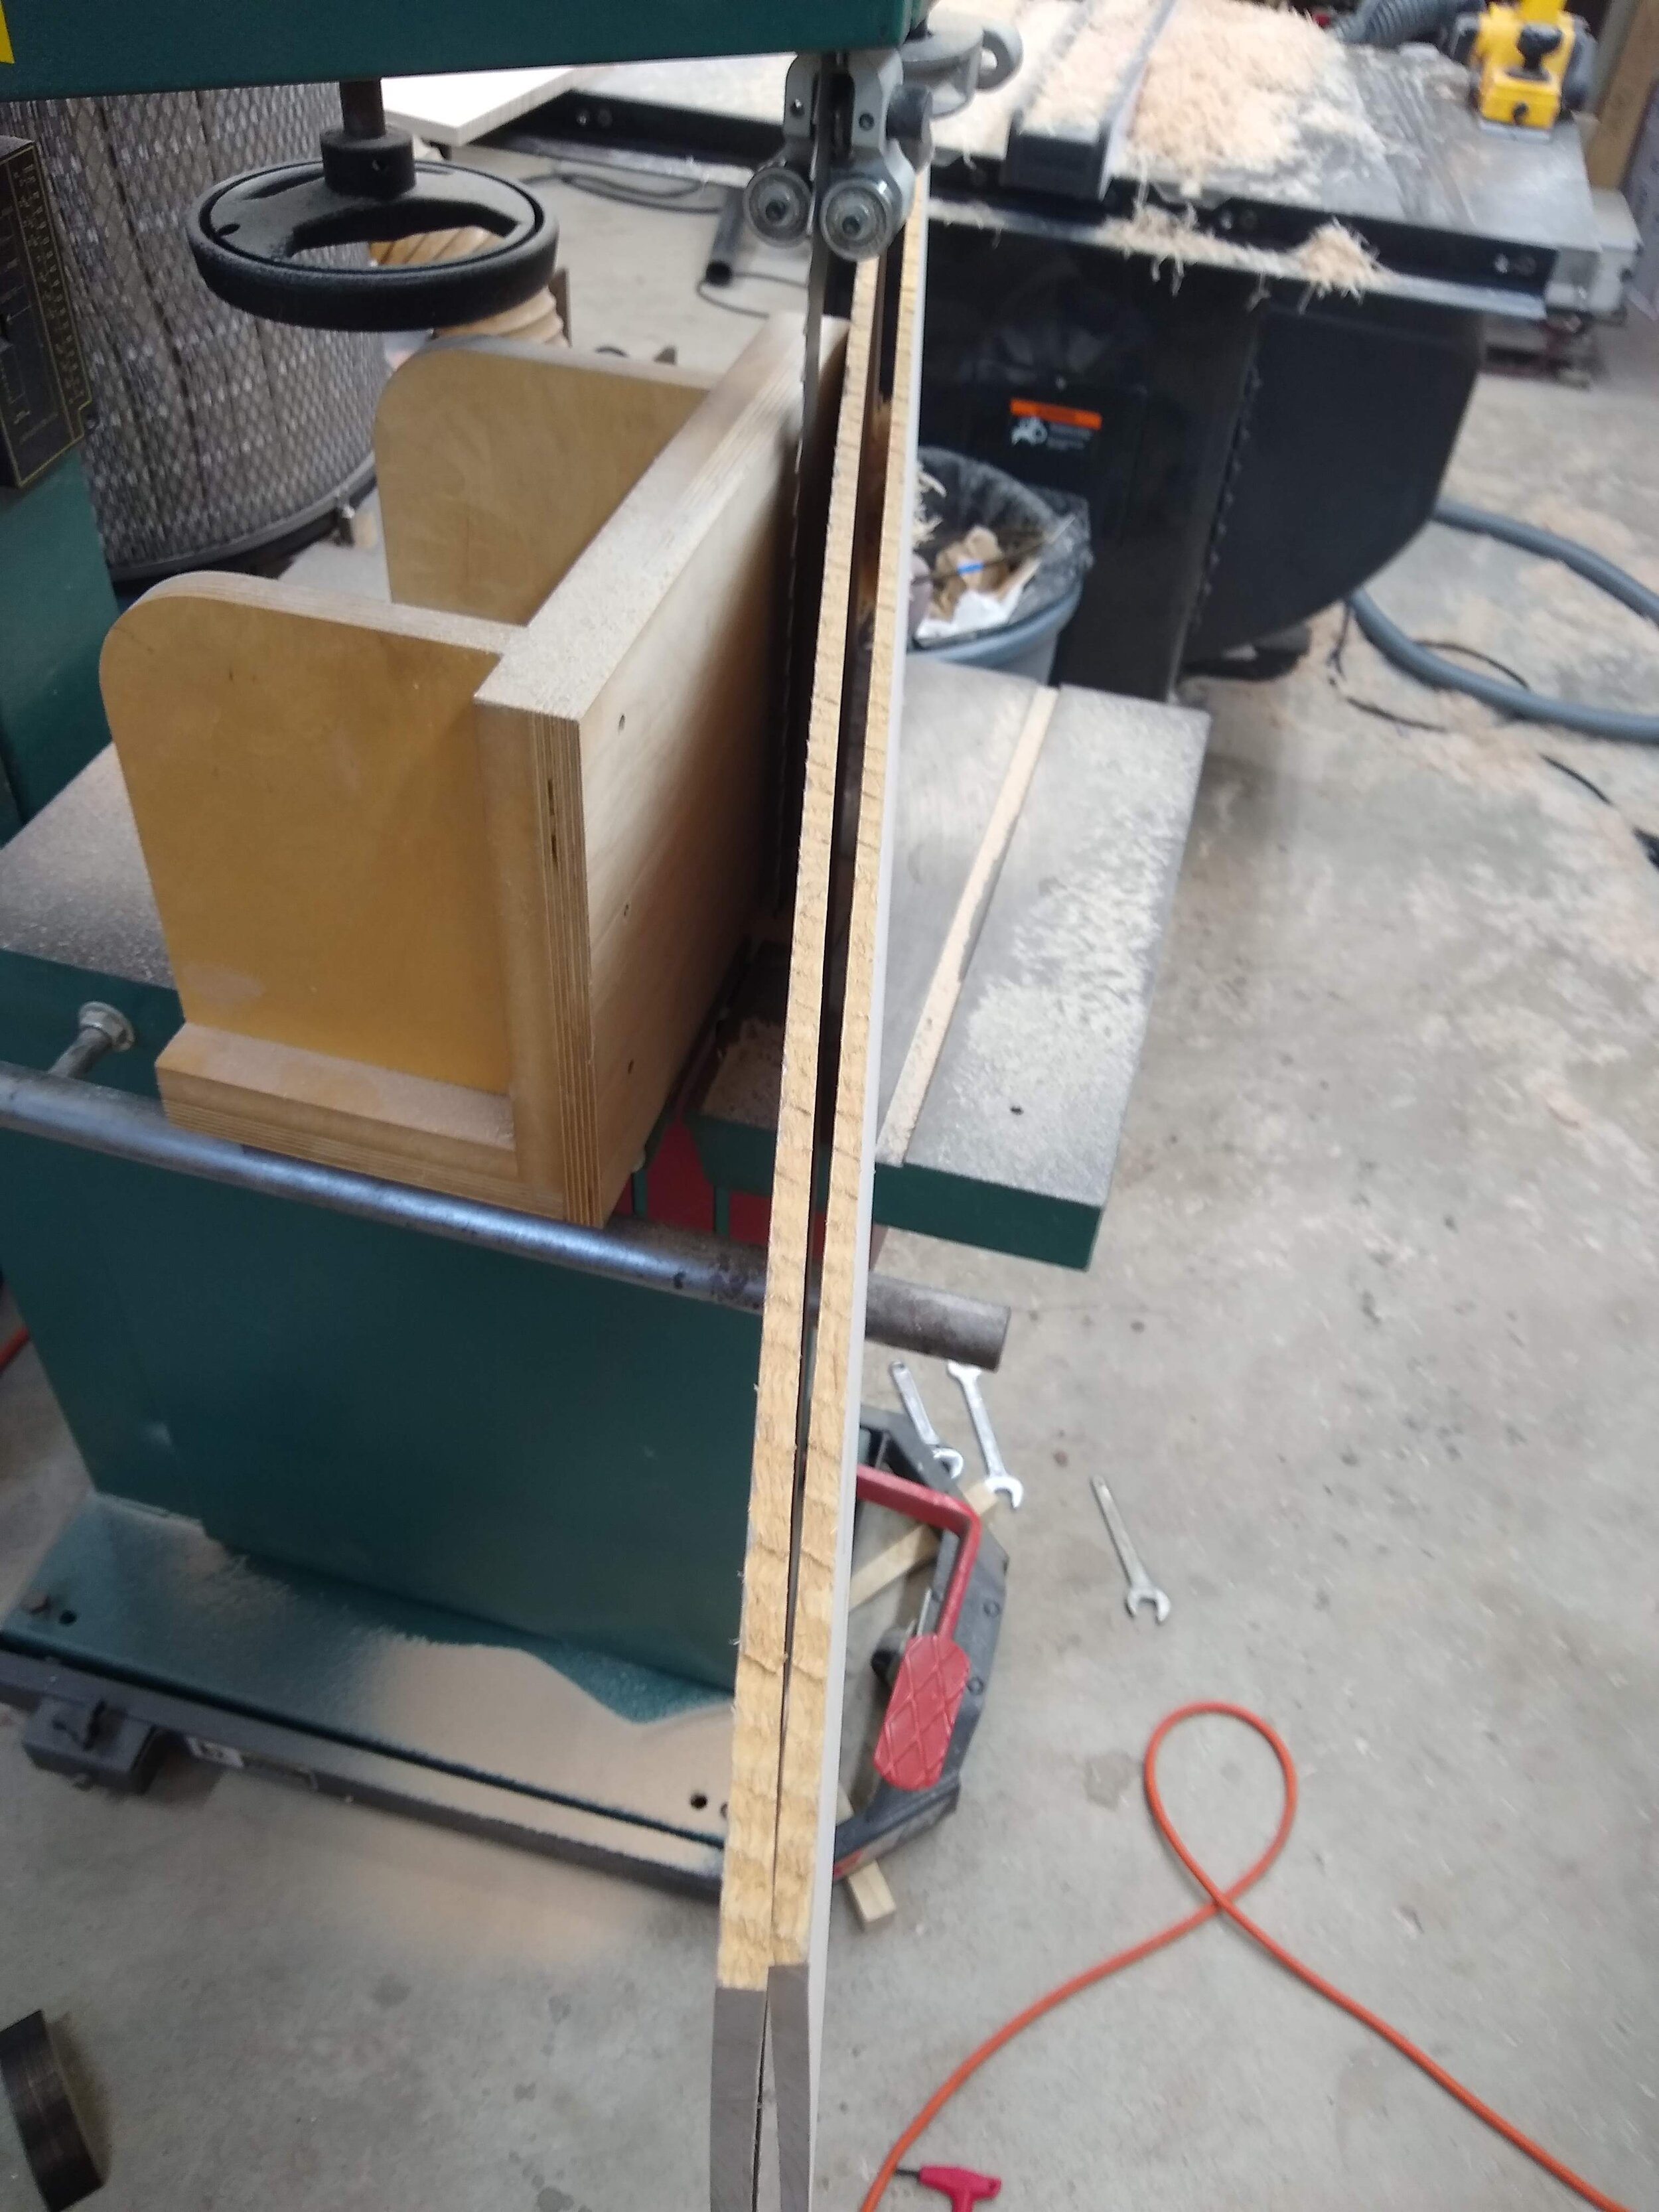
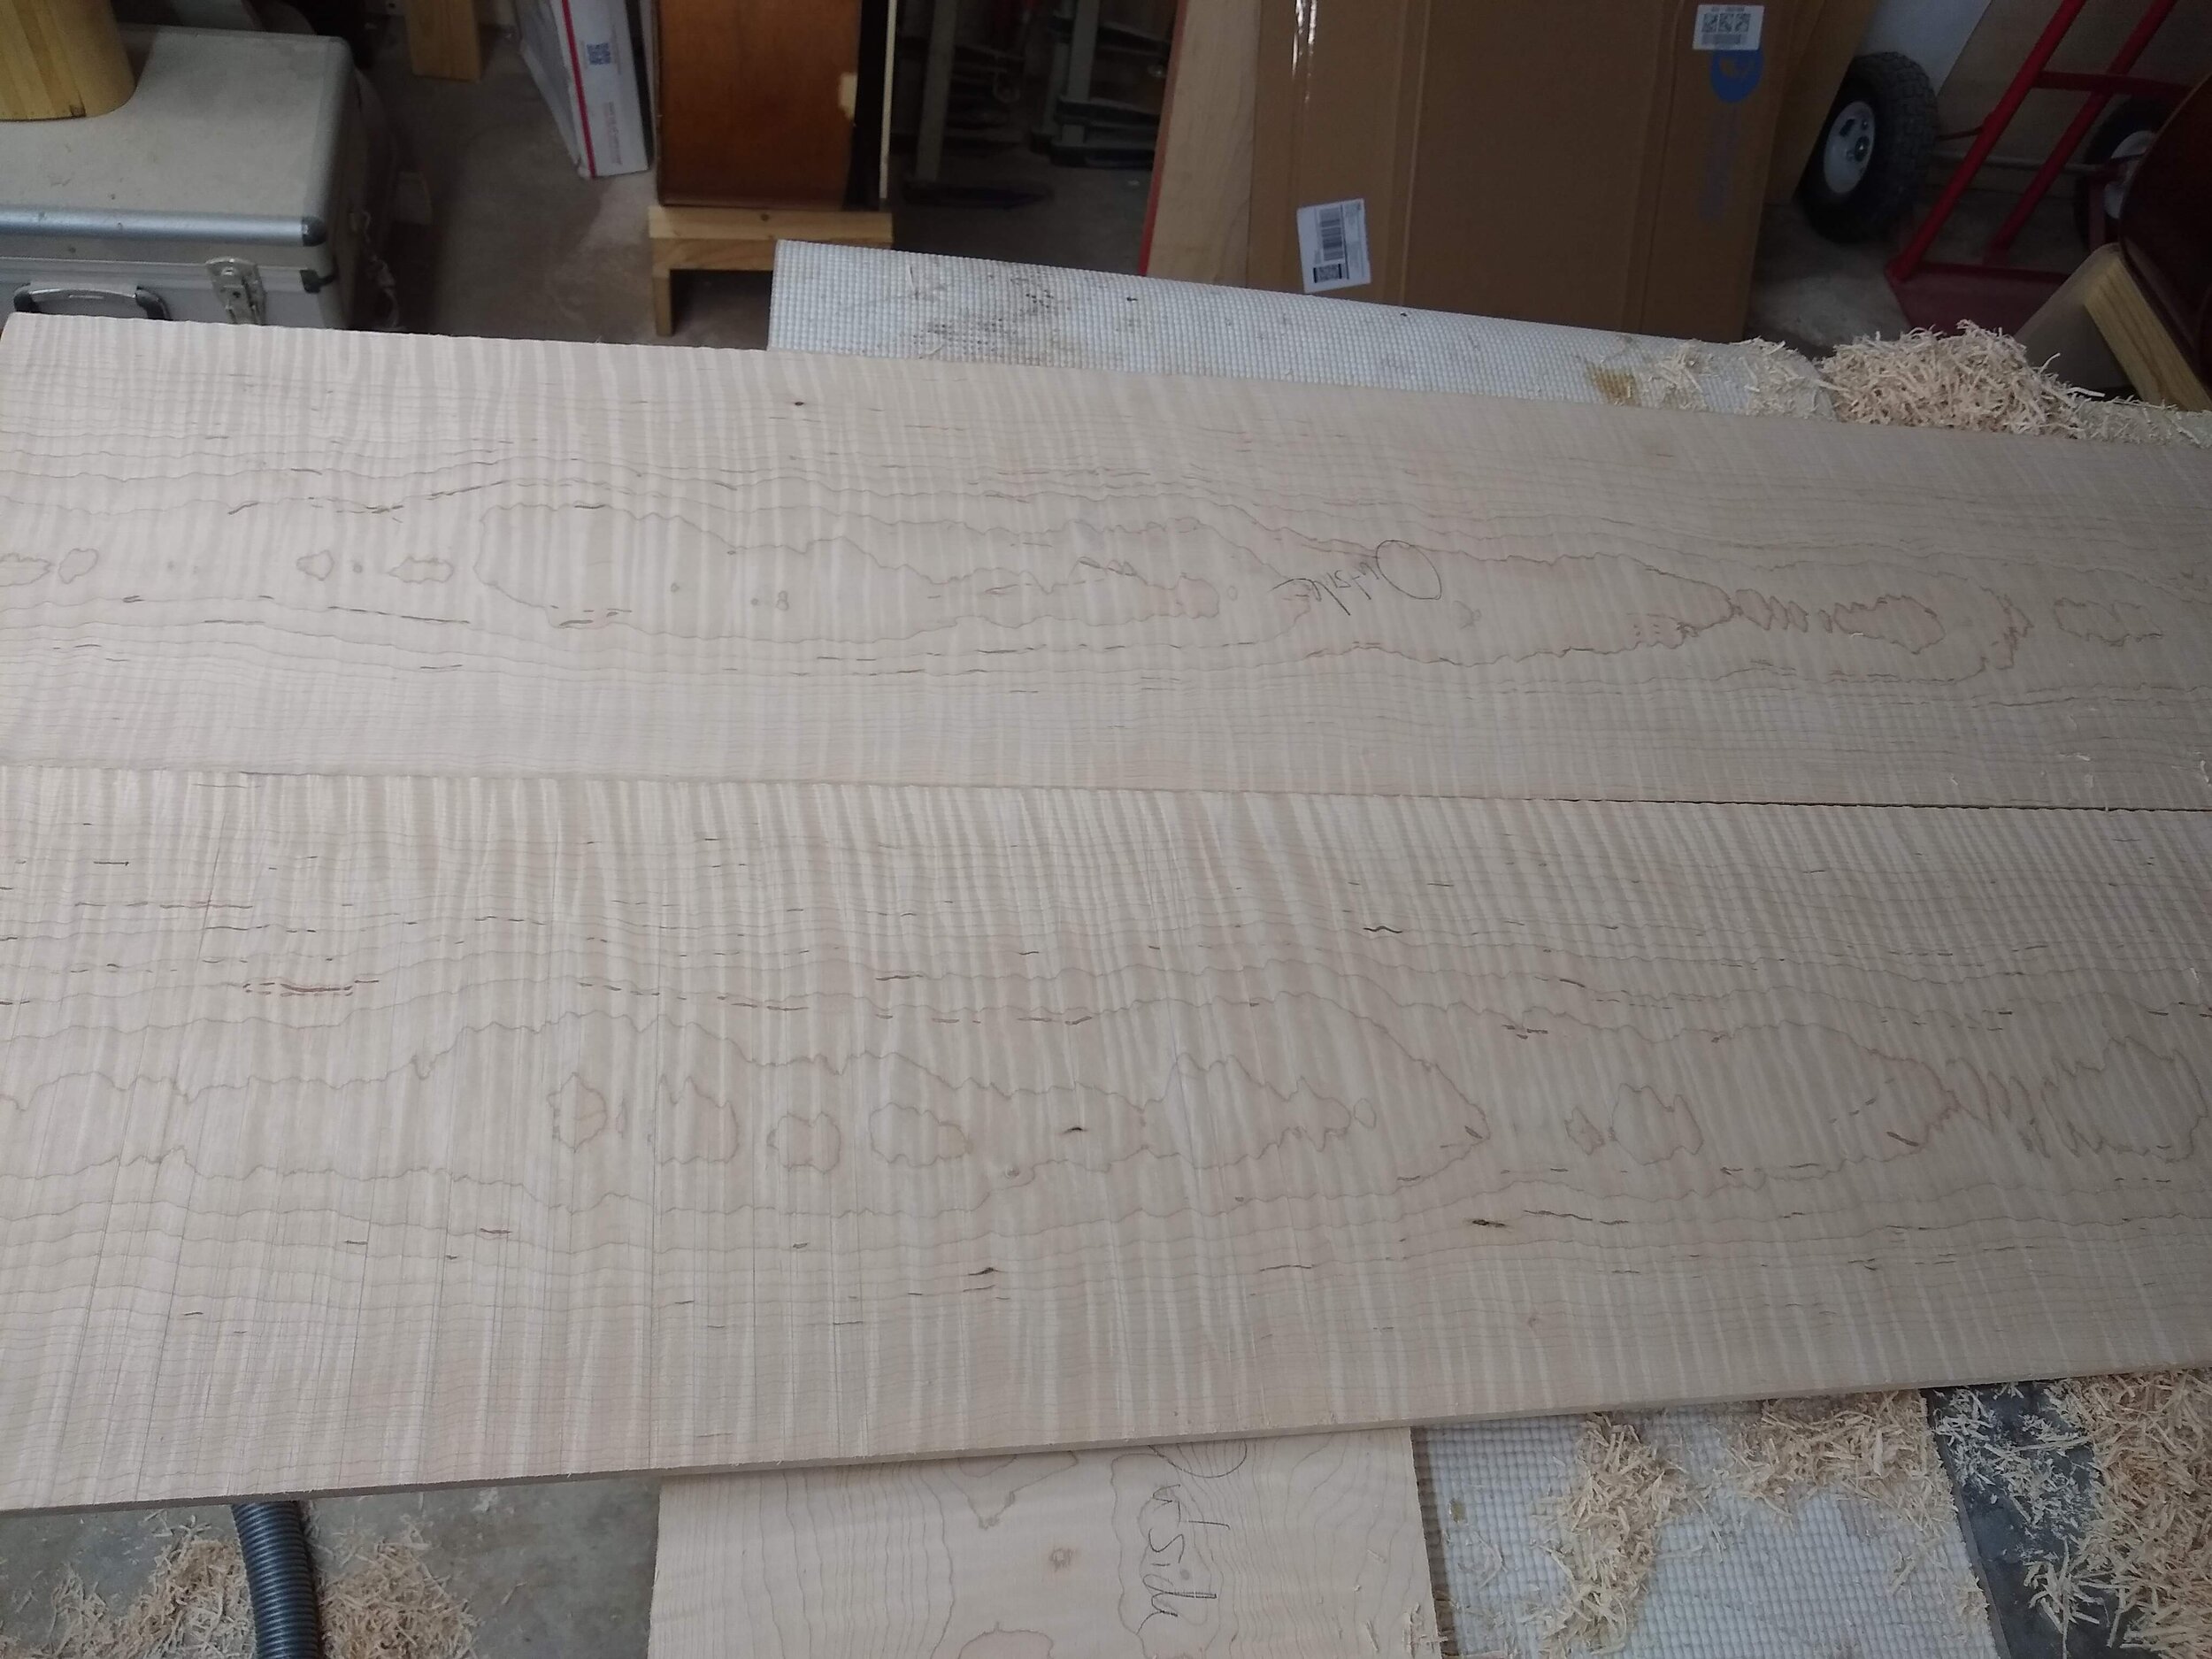
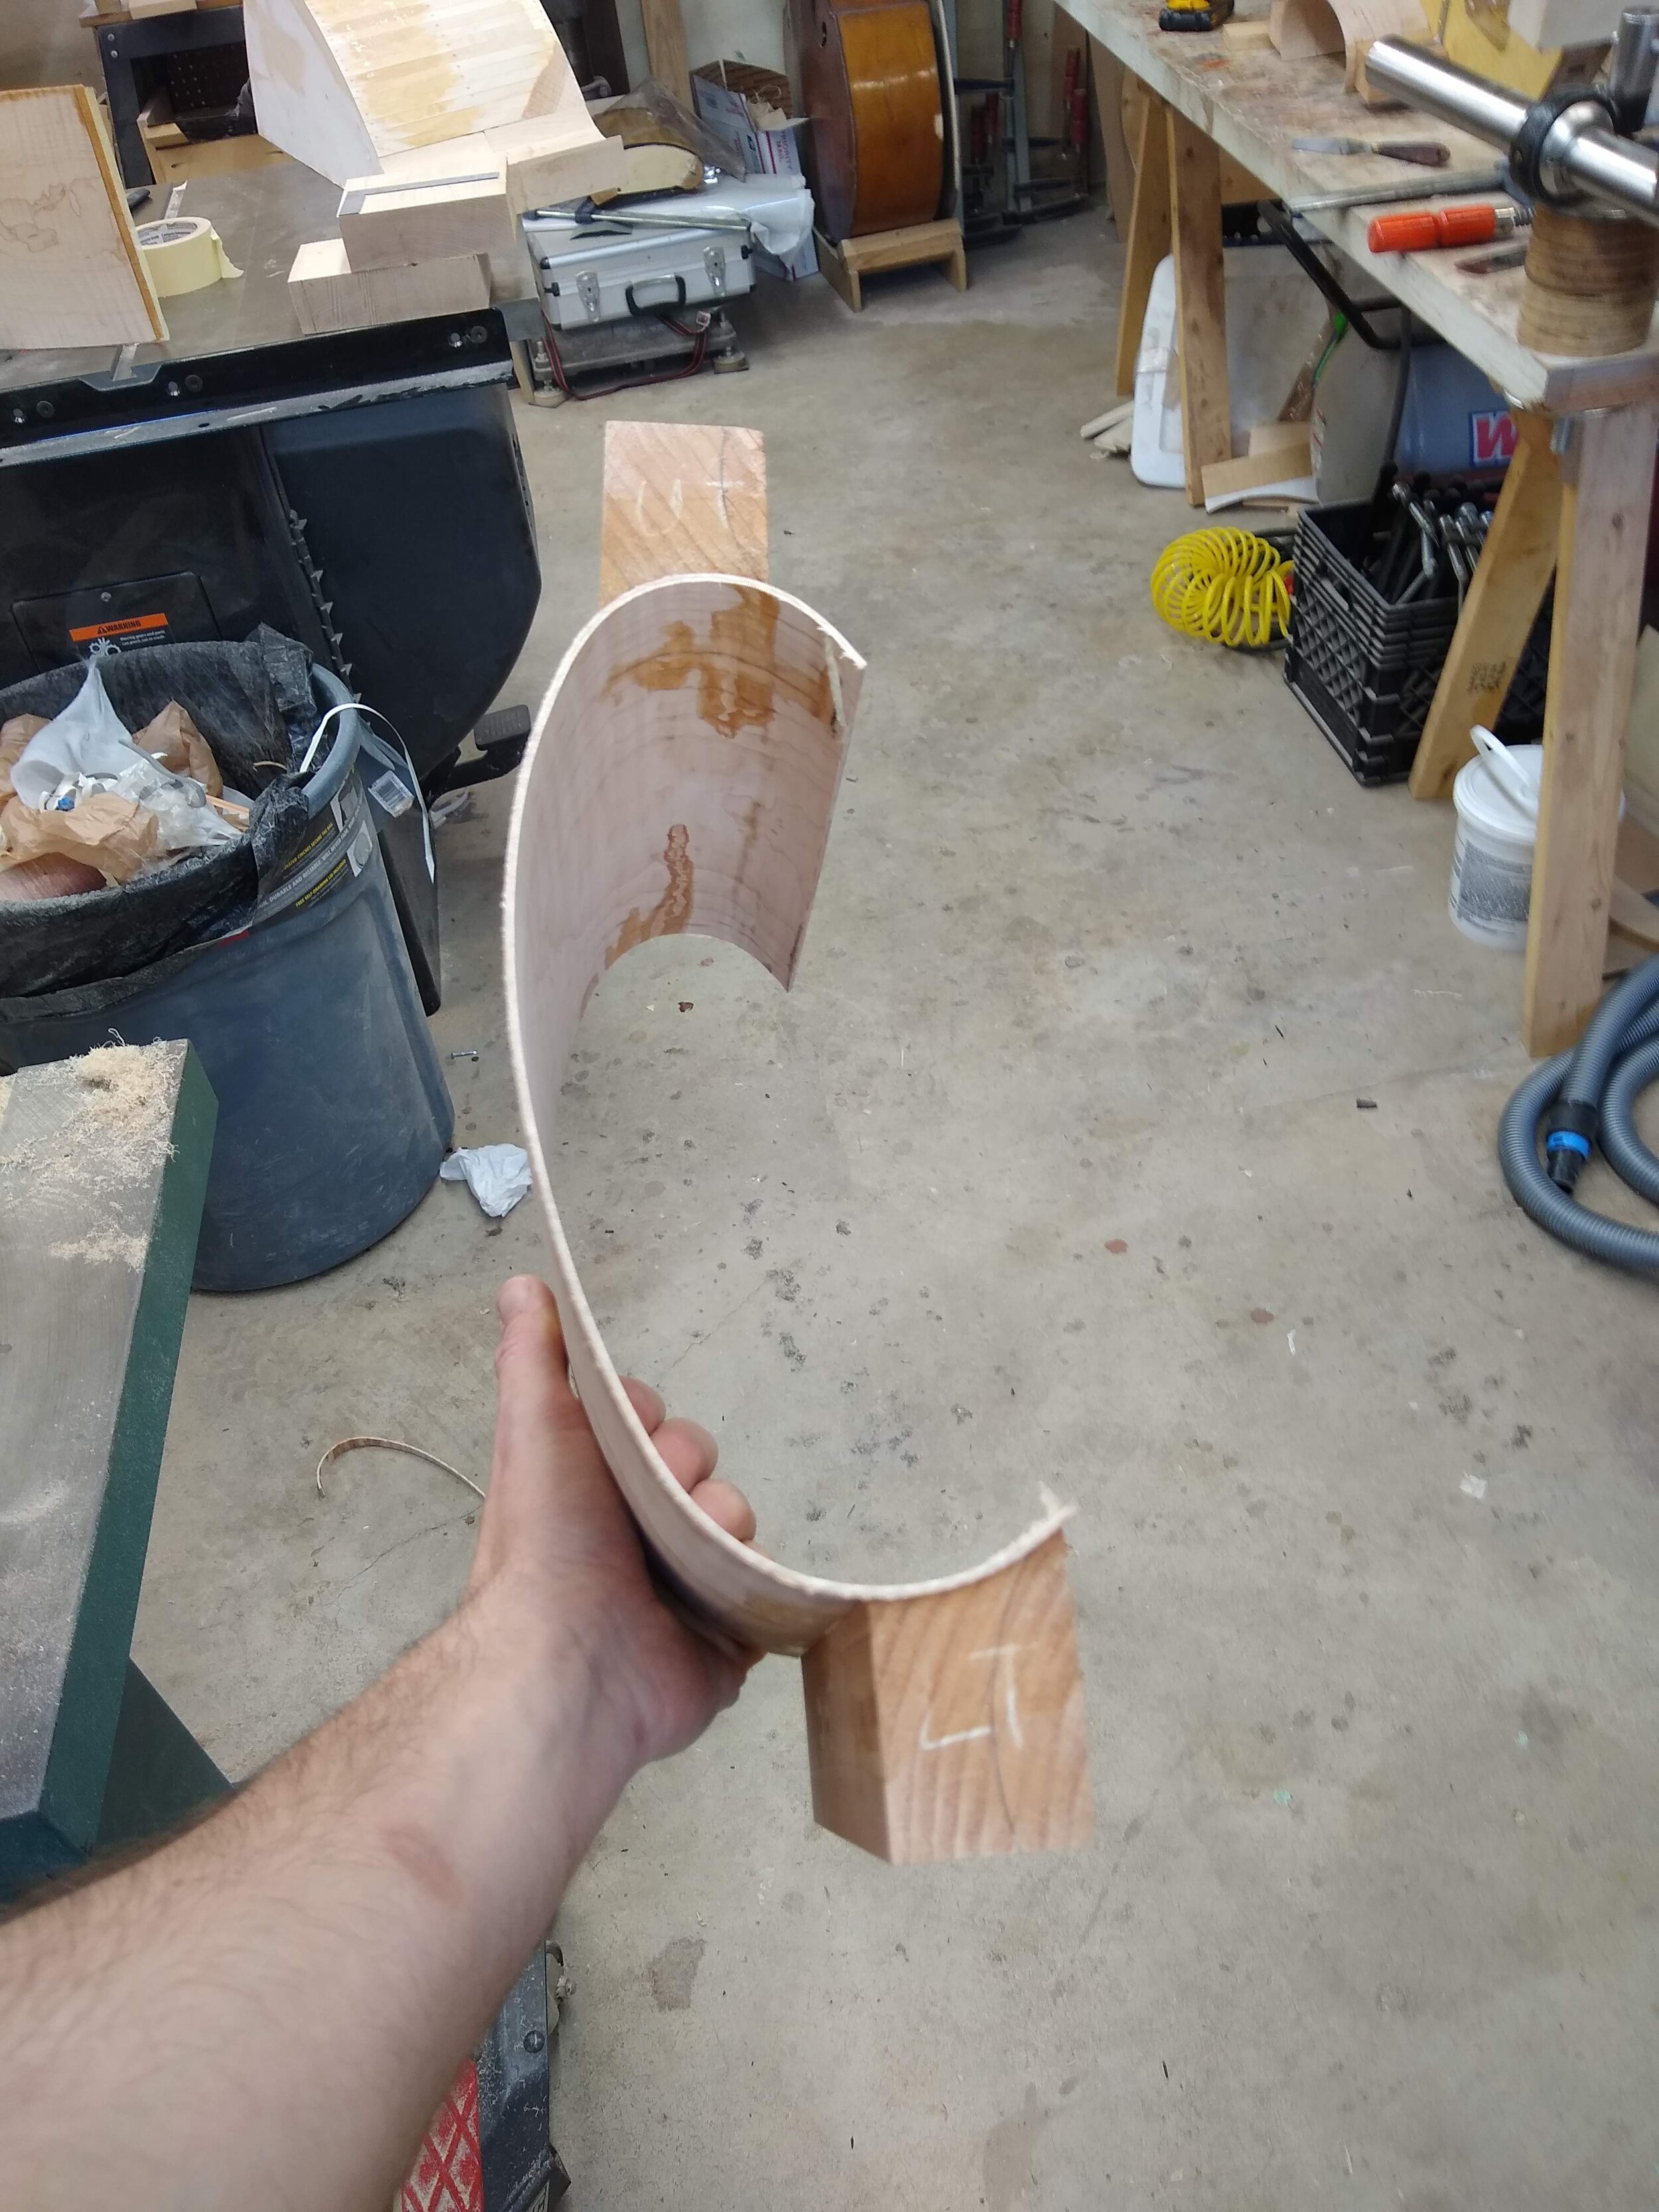
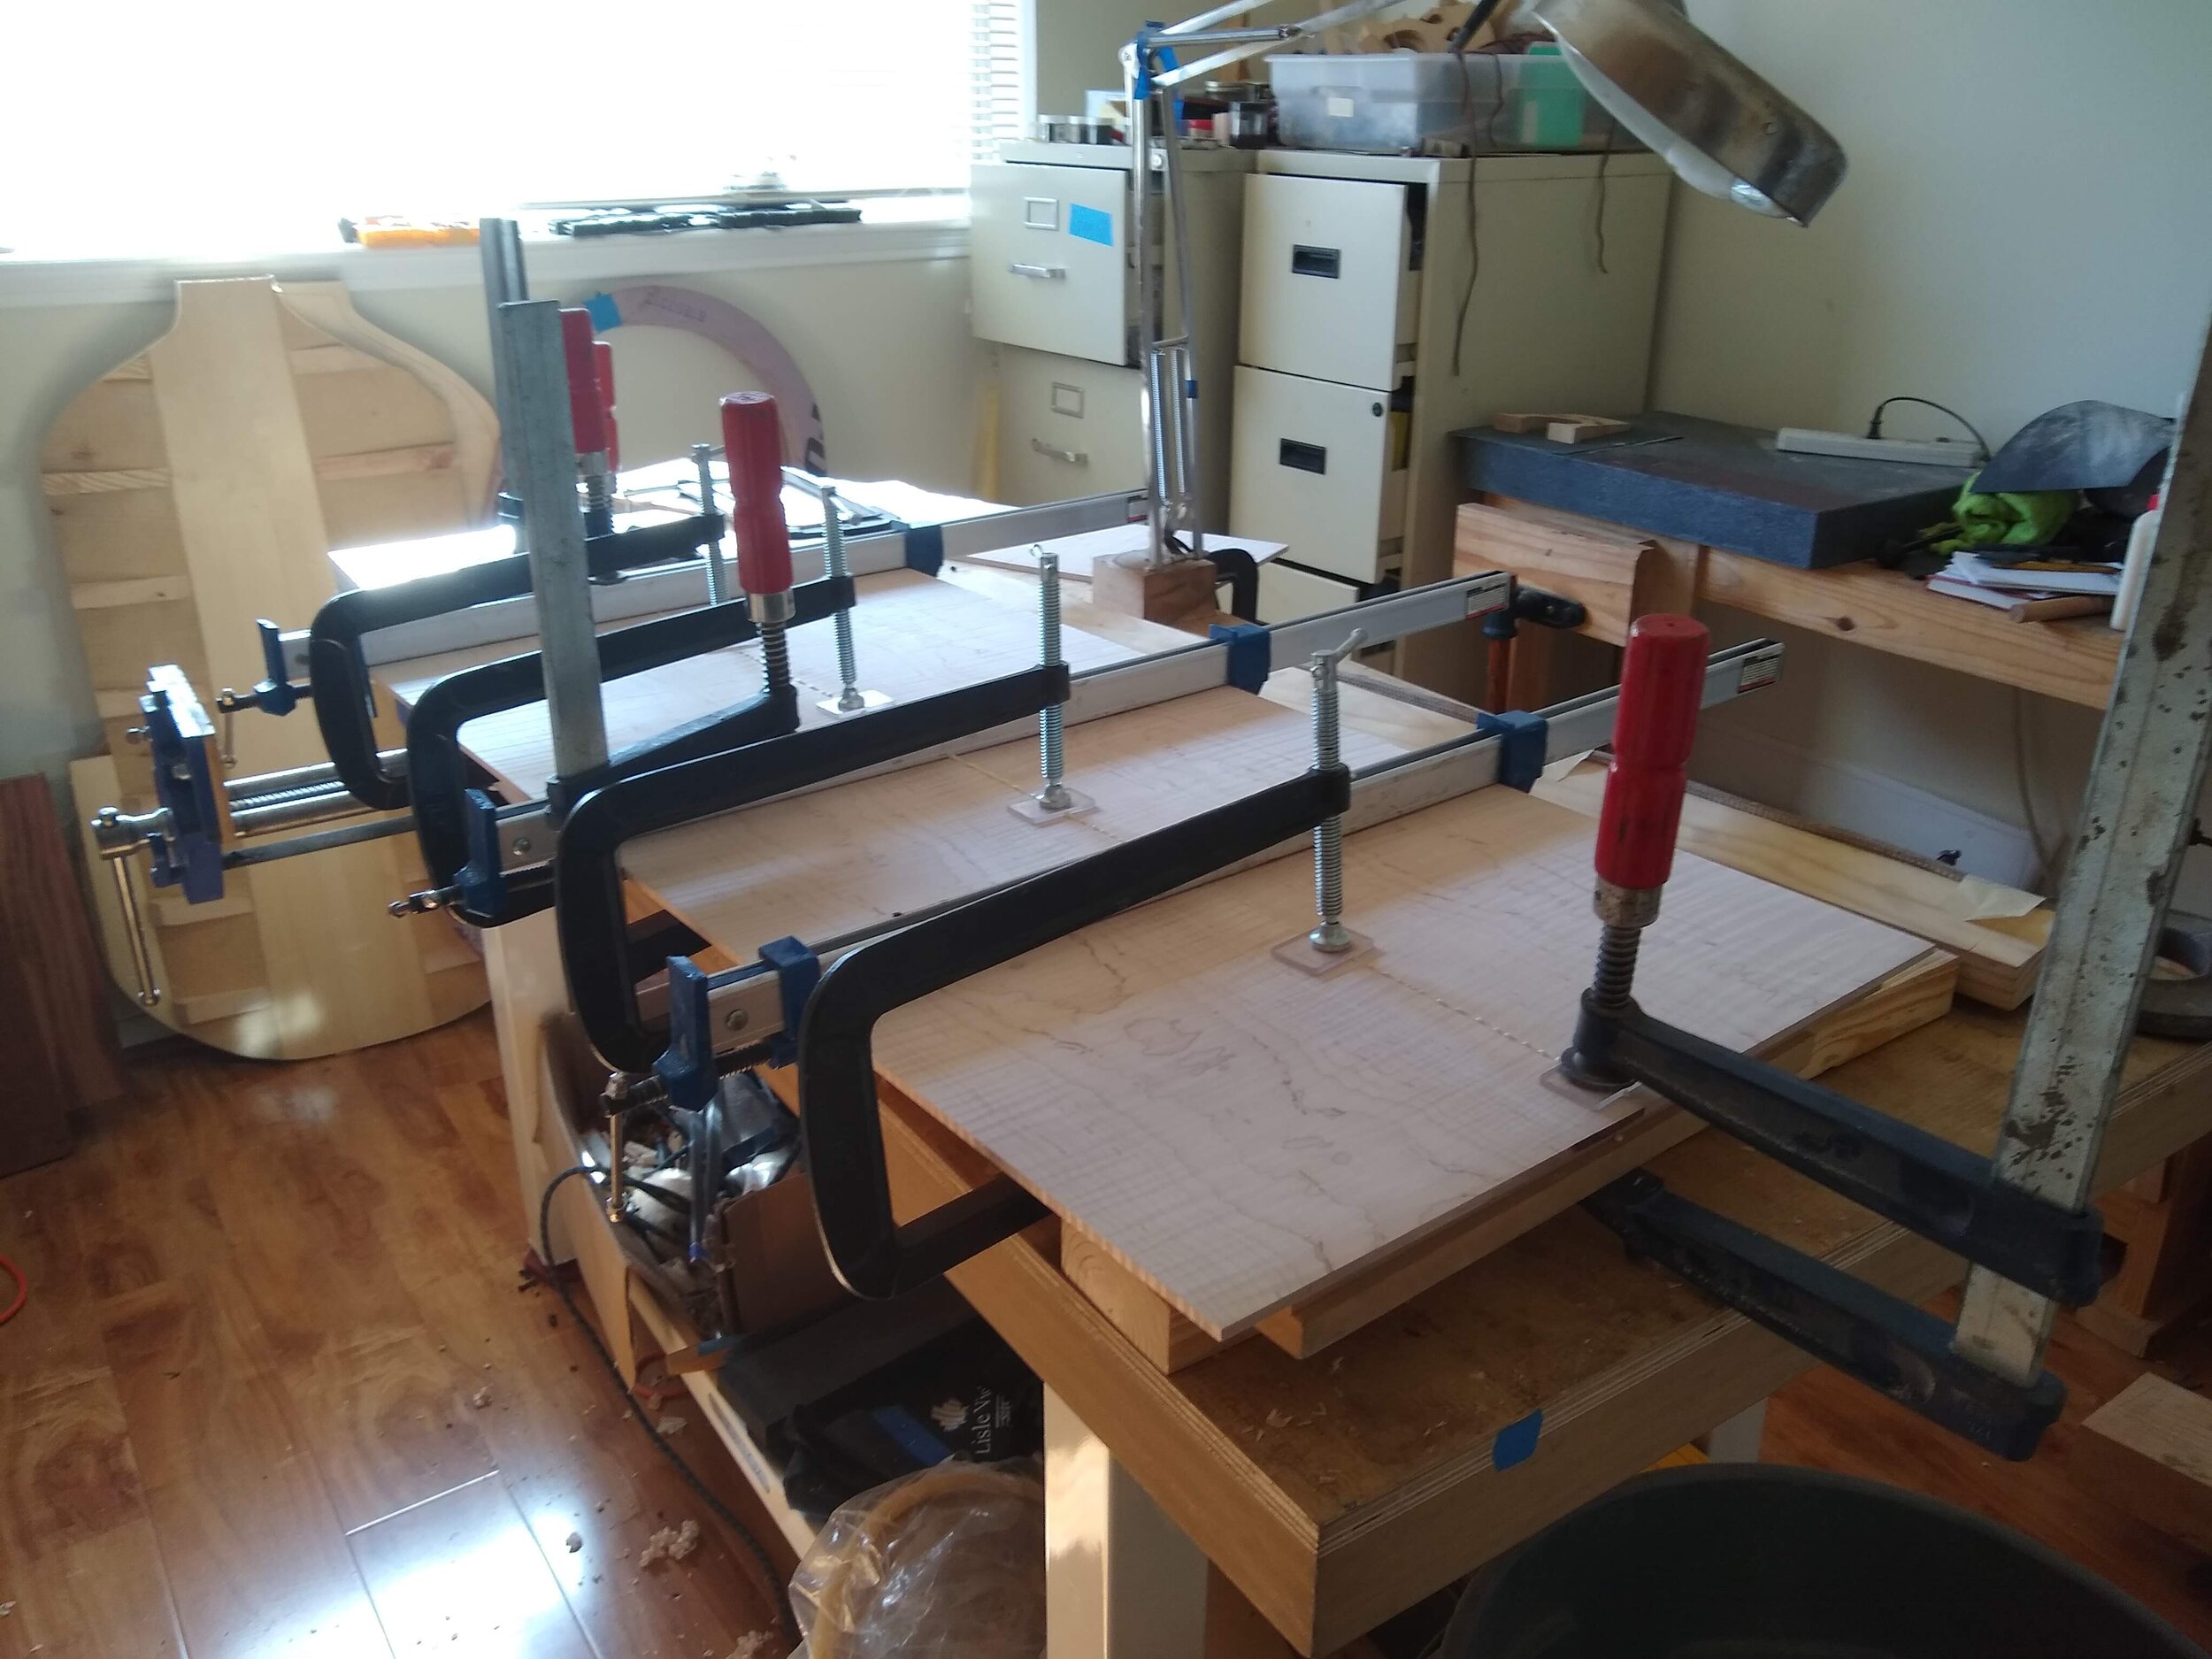
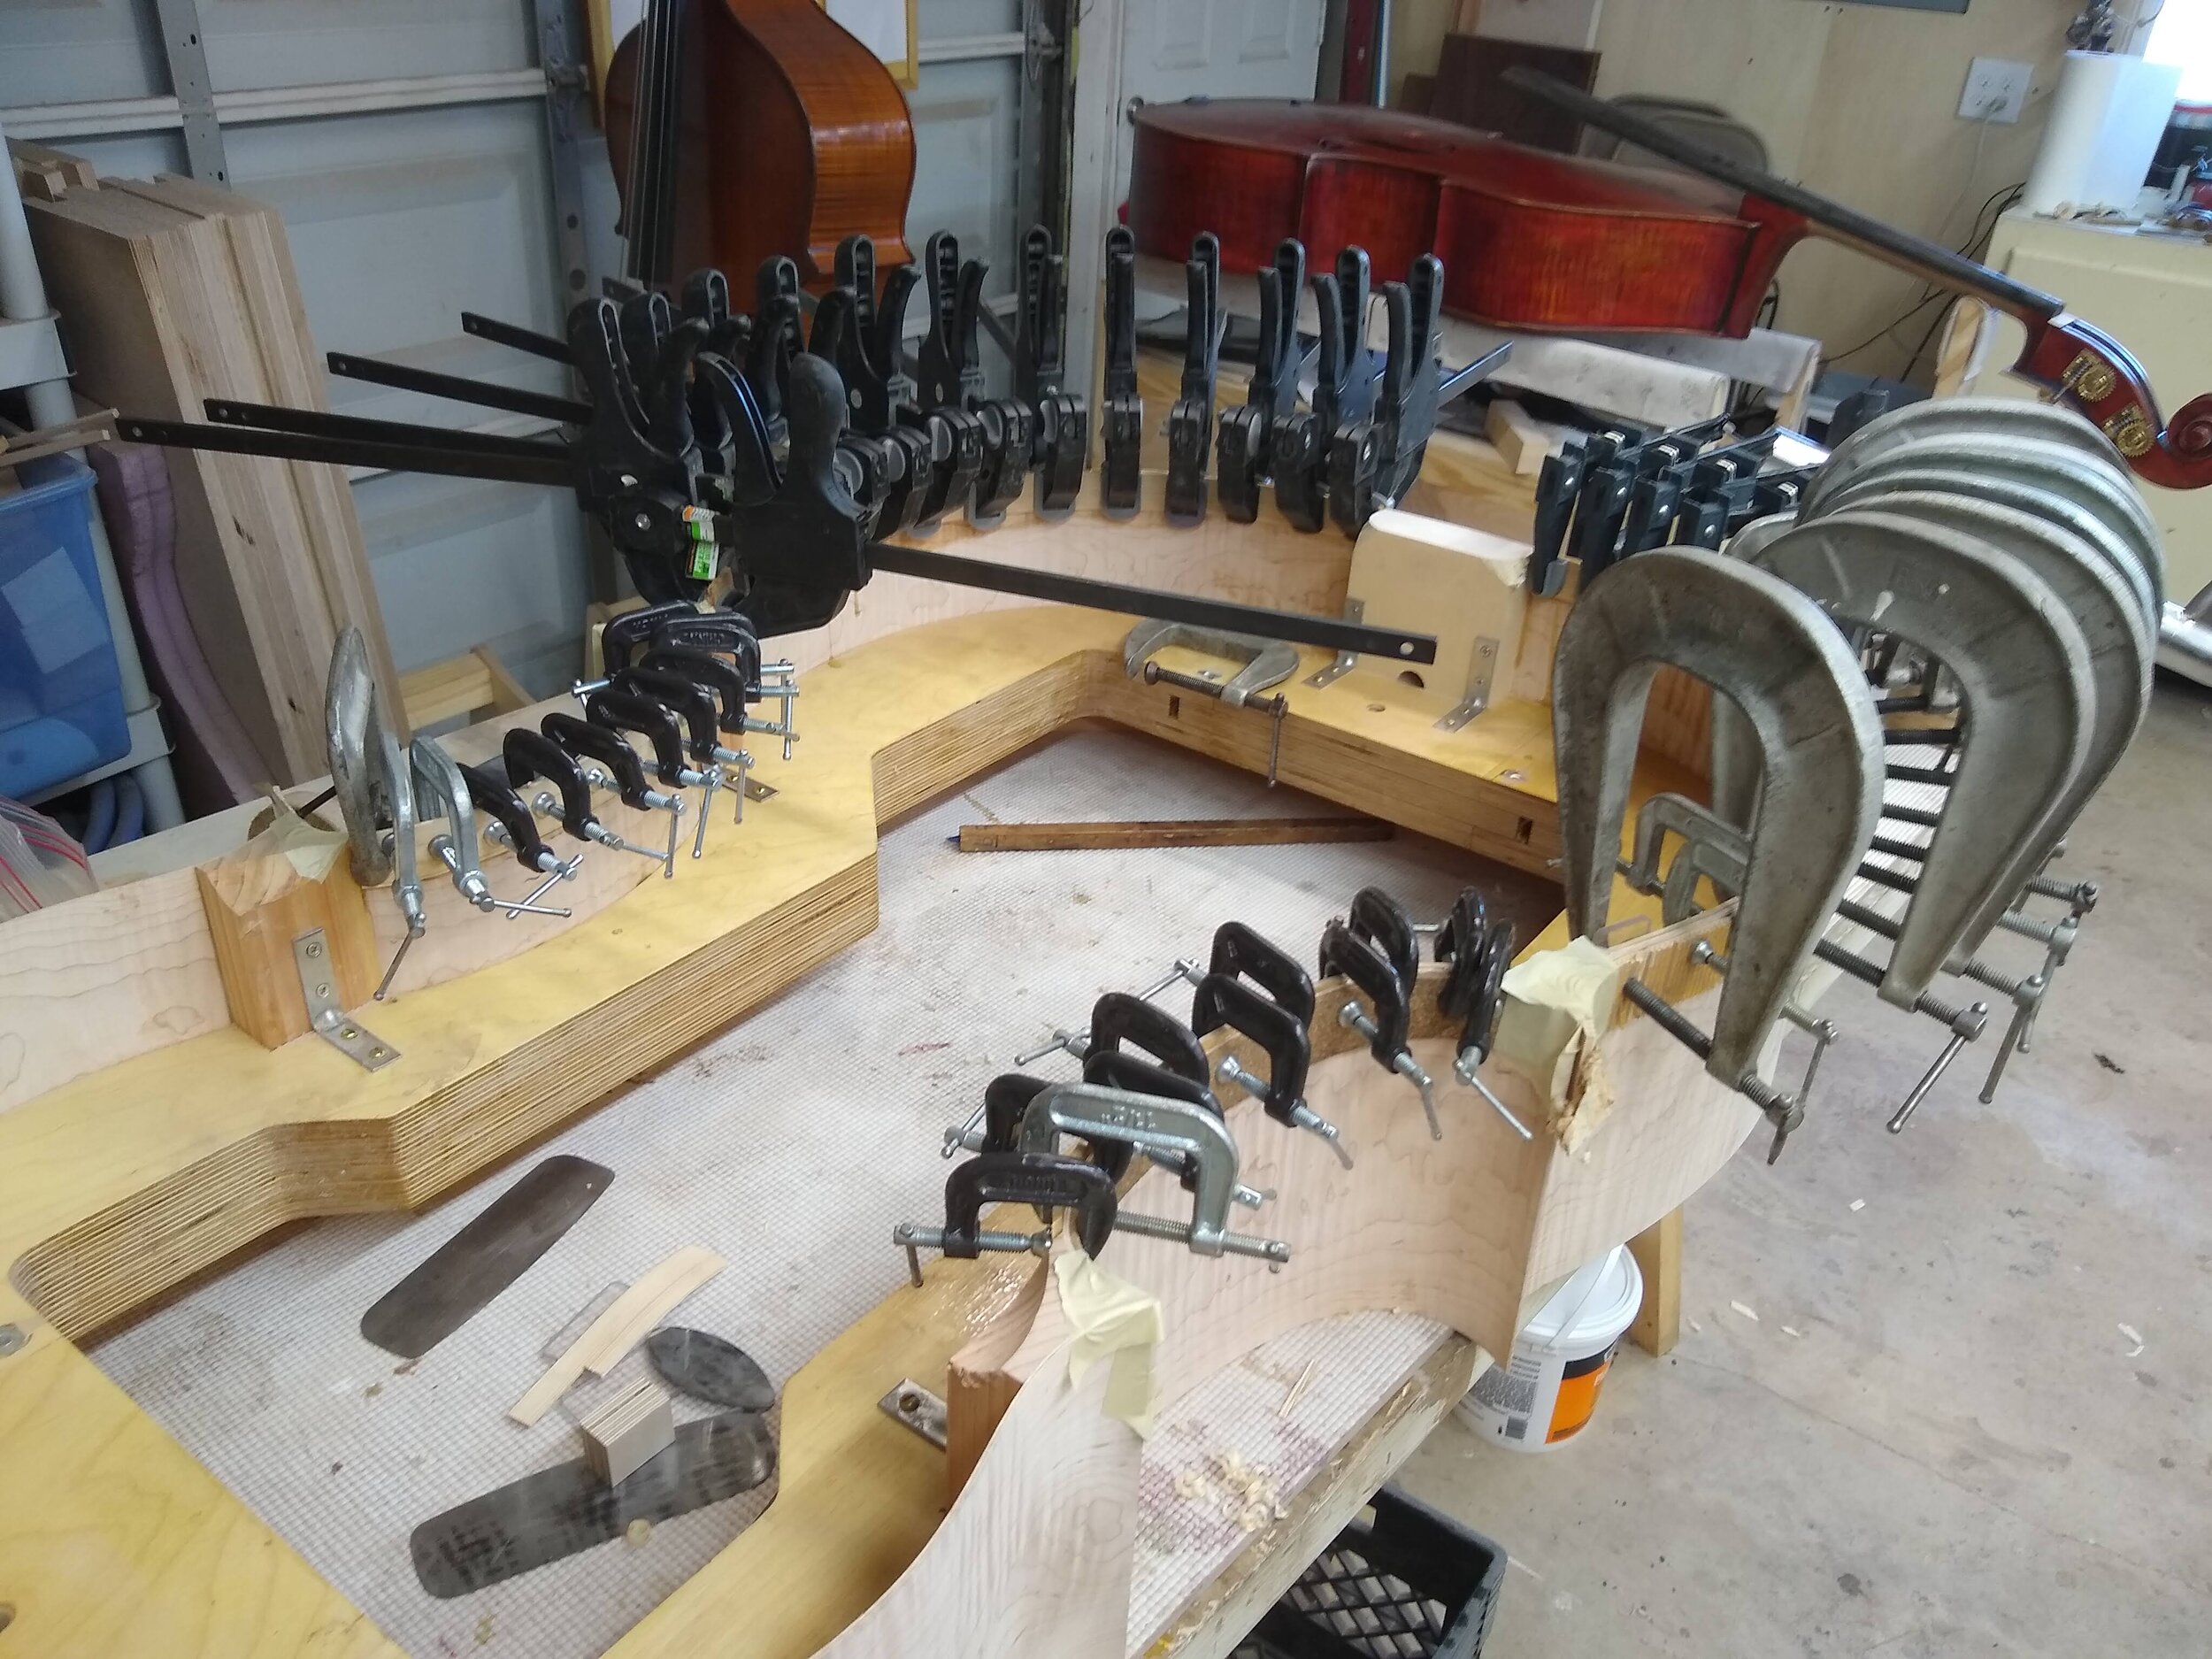
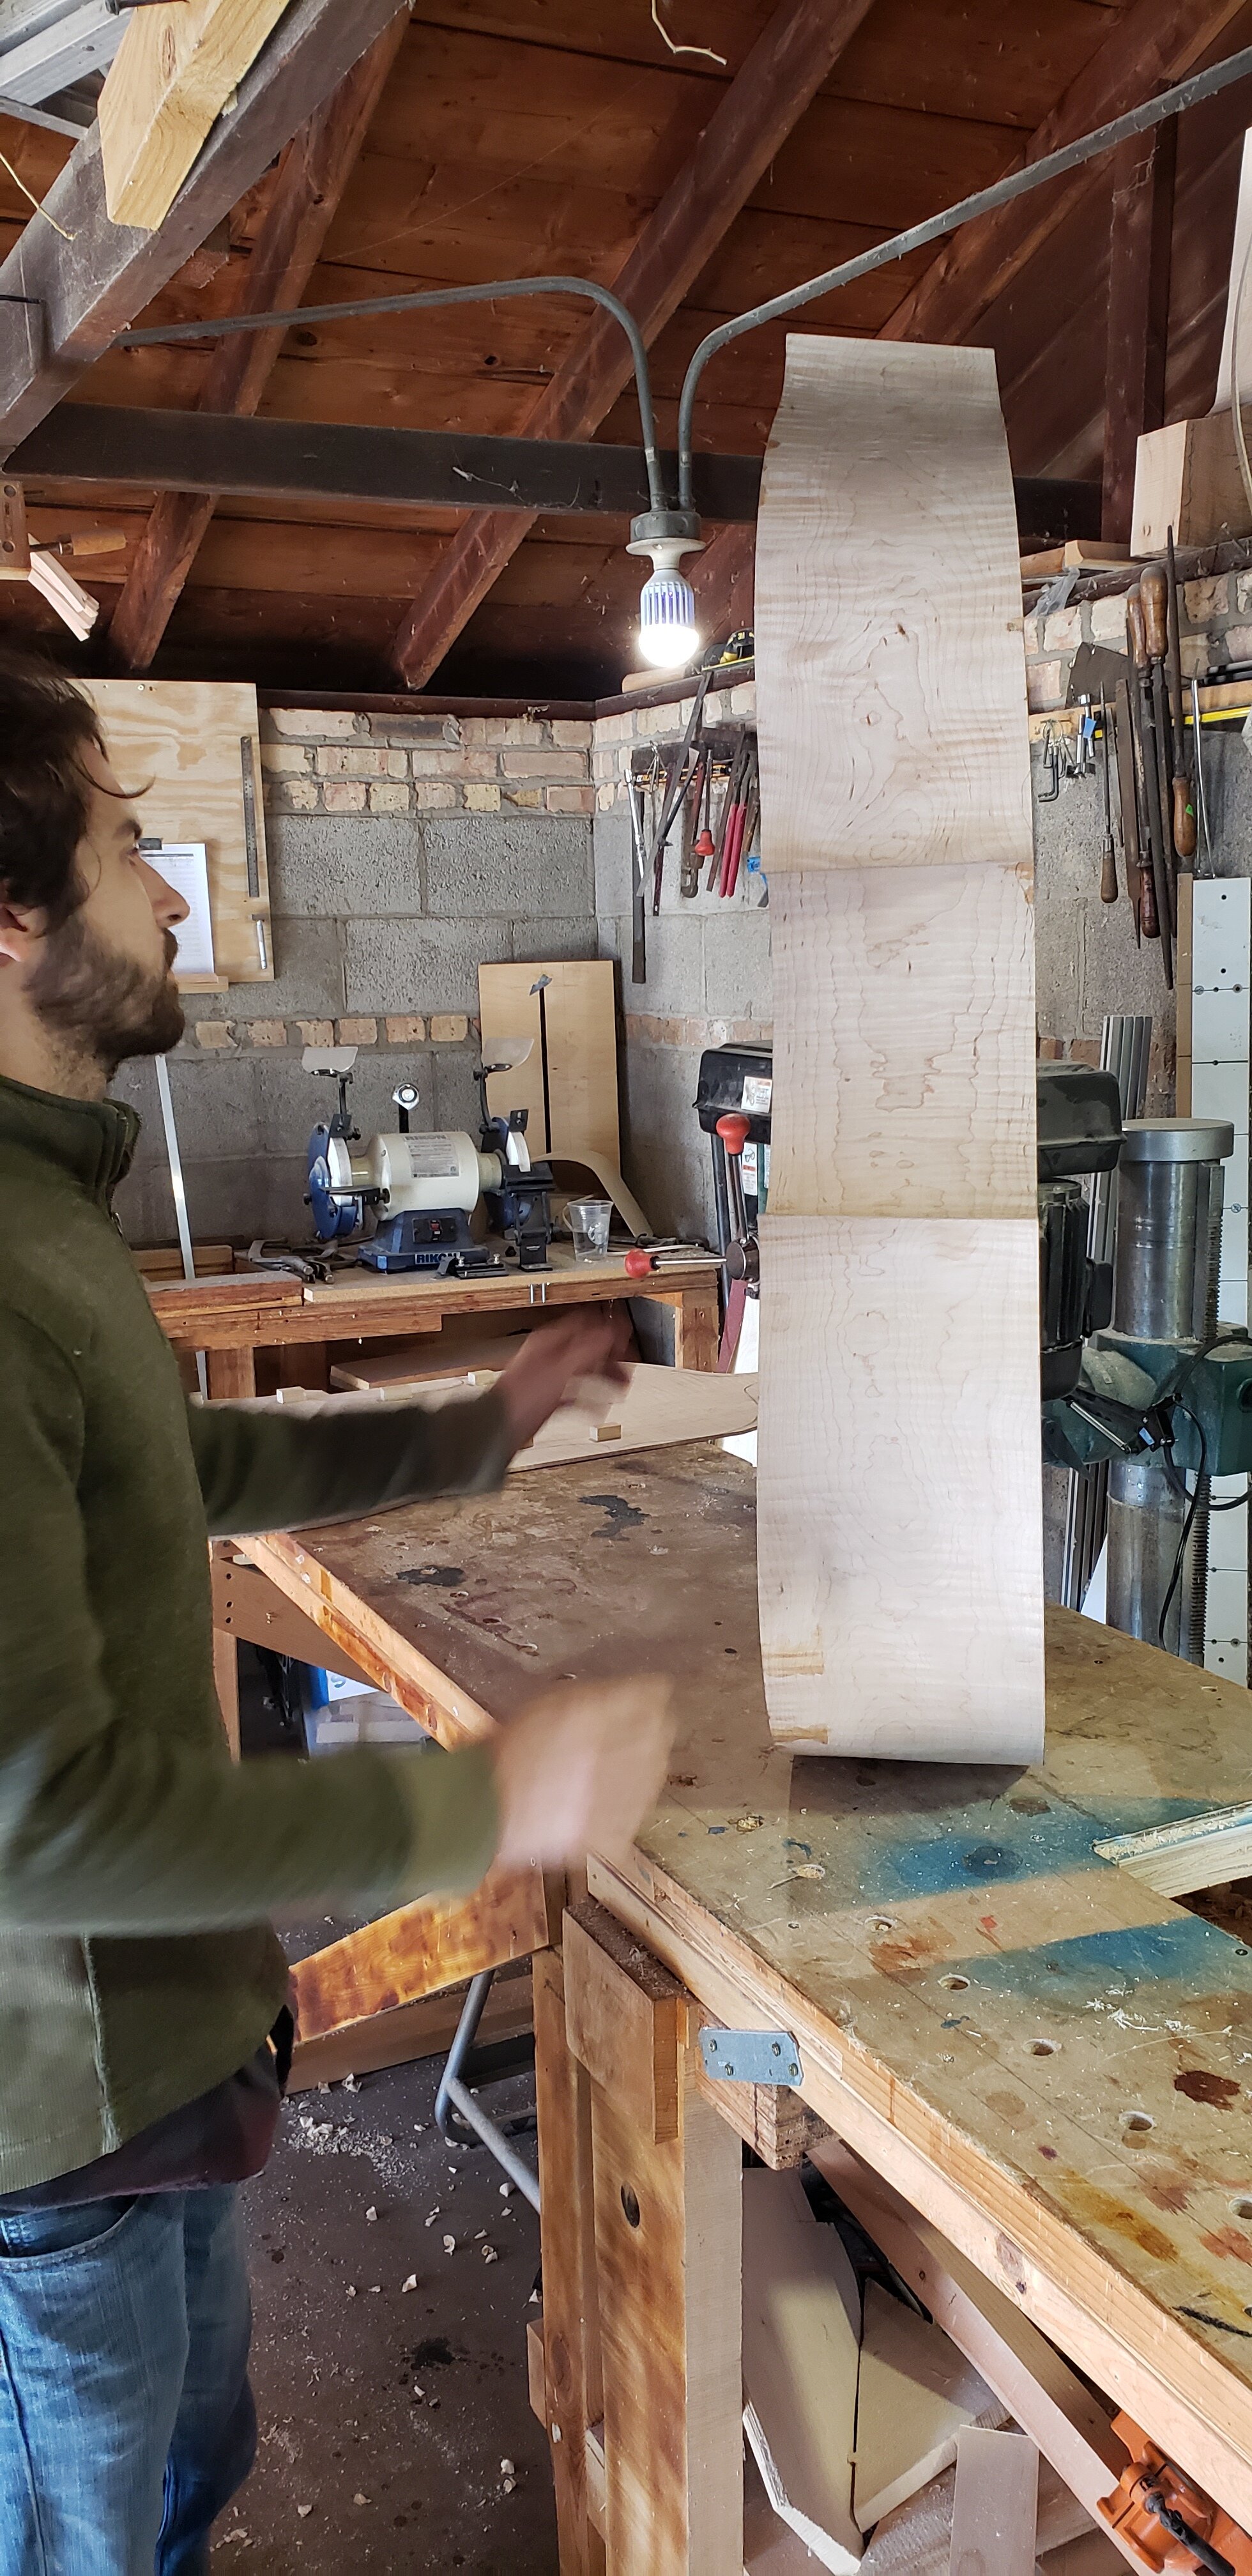
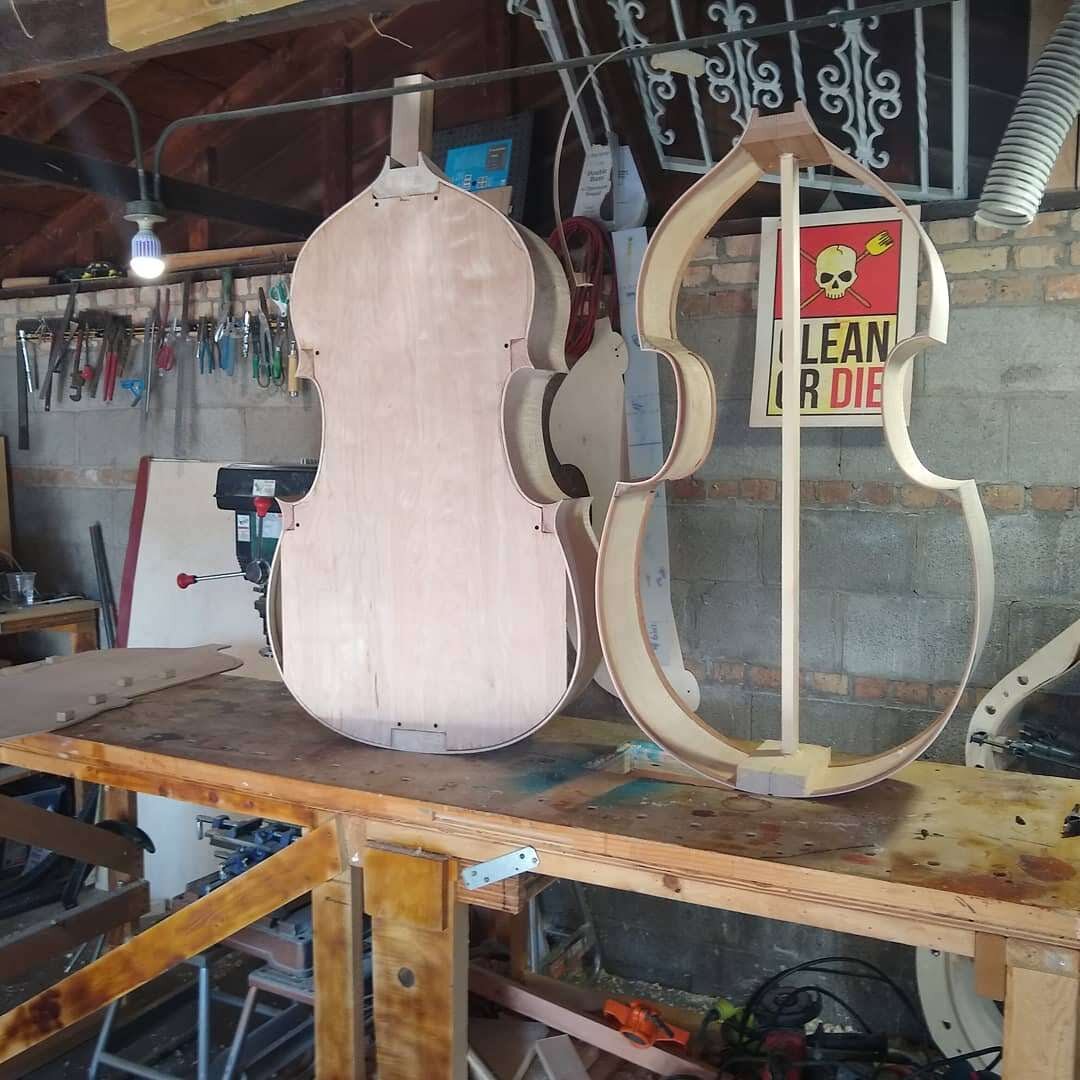
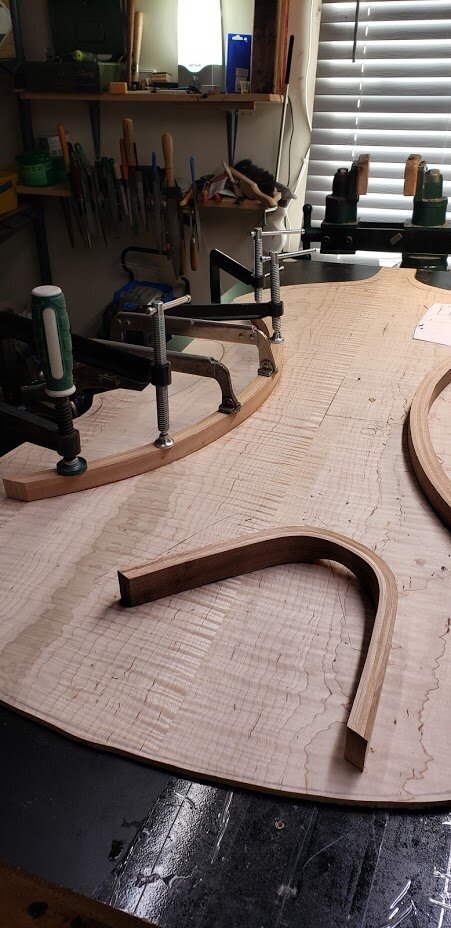
In planning on who was going to do what we came to the agreement that we would use Joey’s model (which won a silver medal at the ISB maker’s competition) scaled up to 7/8ths size and that he would make the form and rib garland at his shop in Houston and fly it up to my shop to start on. He would prepare the back and ribs, I would prepare the top and neck. You can see from the picture here Joey’s process of form making and vacuum pressing the ribs into shape as well as the linings and back preparation. On my end I flattened and joined the spruce top and flattened and squared the neck block. Also not pictured is a lot of tool sharpening, and a pretty sweet Excel spreadsheet that divided up the materials and work that we’d each be doing.


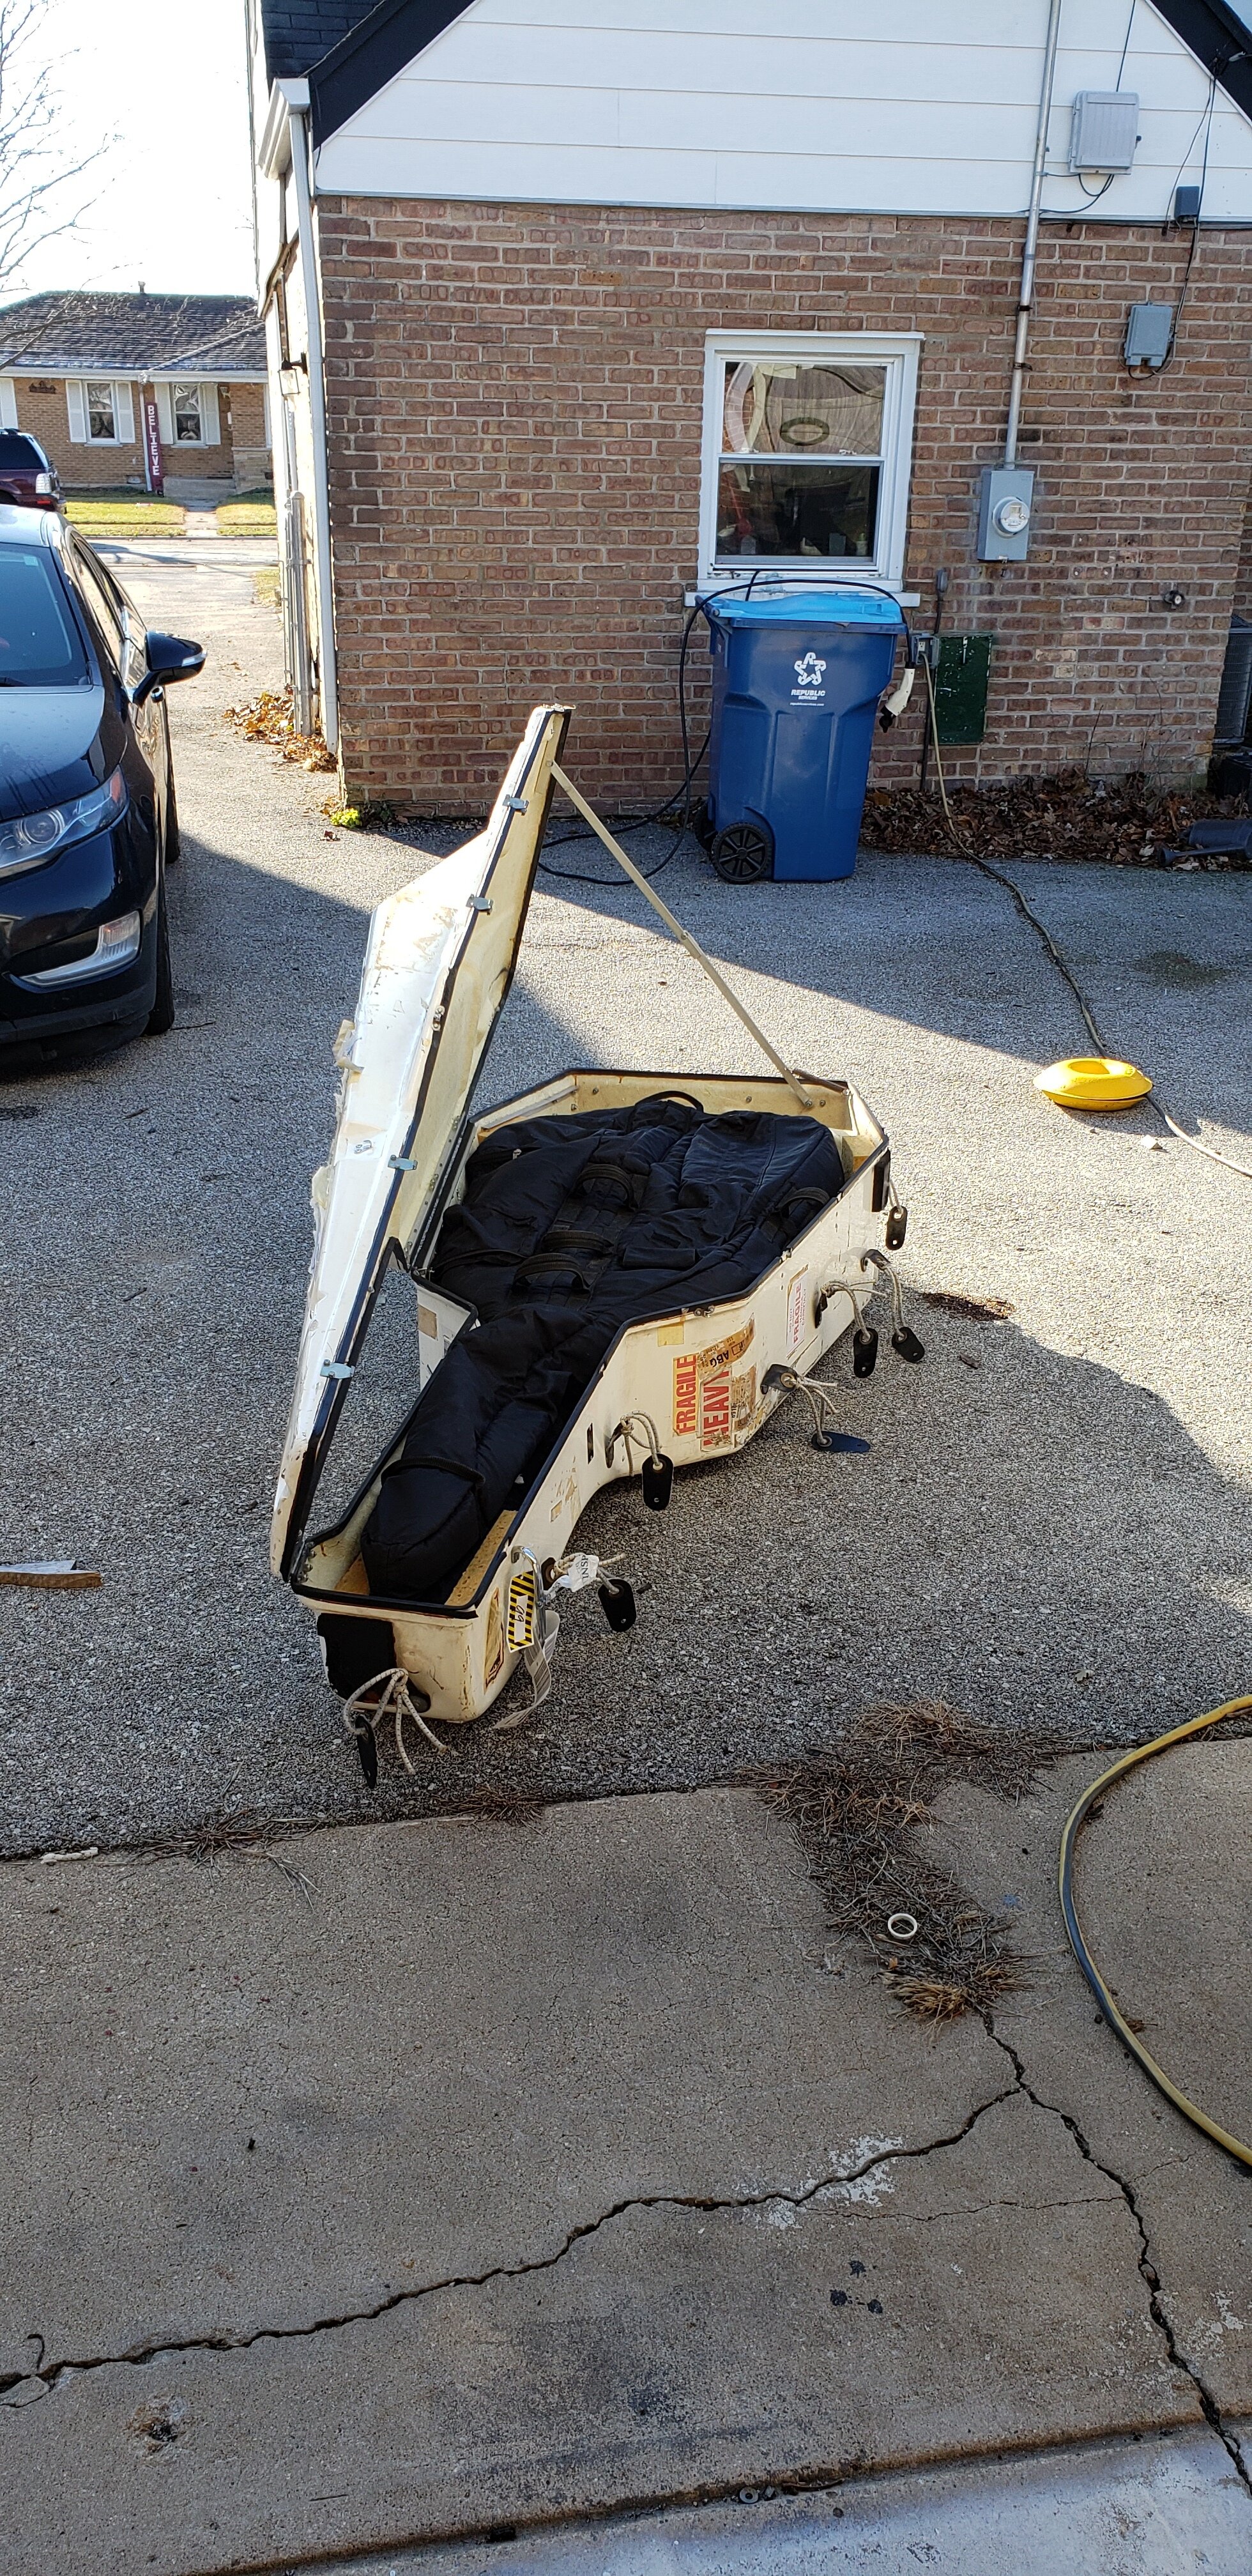
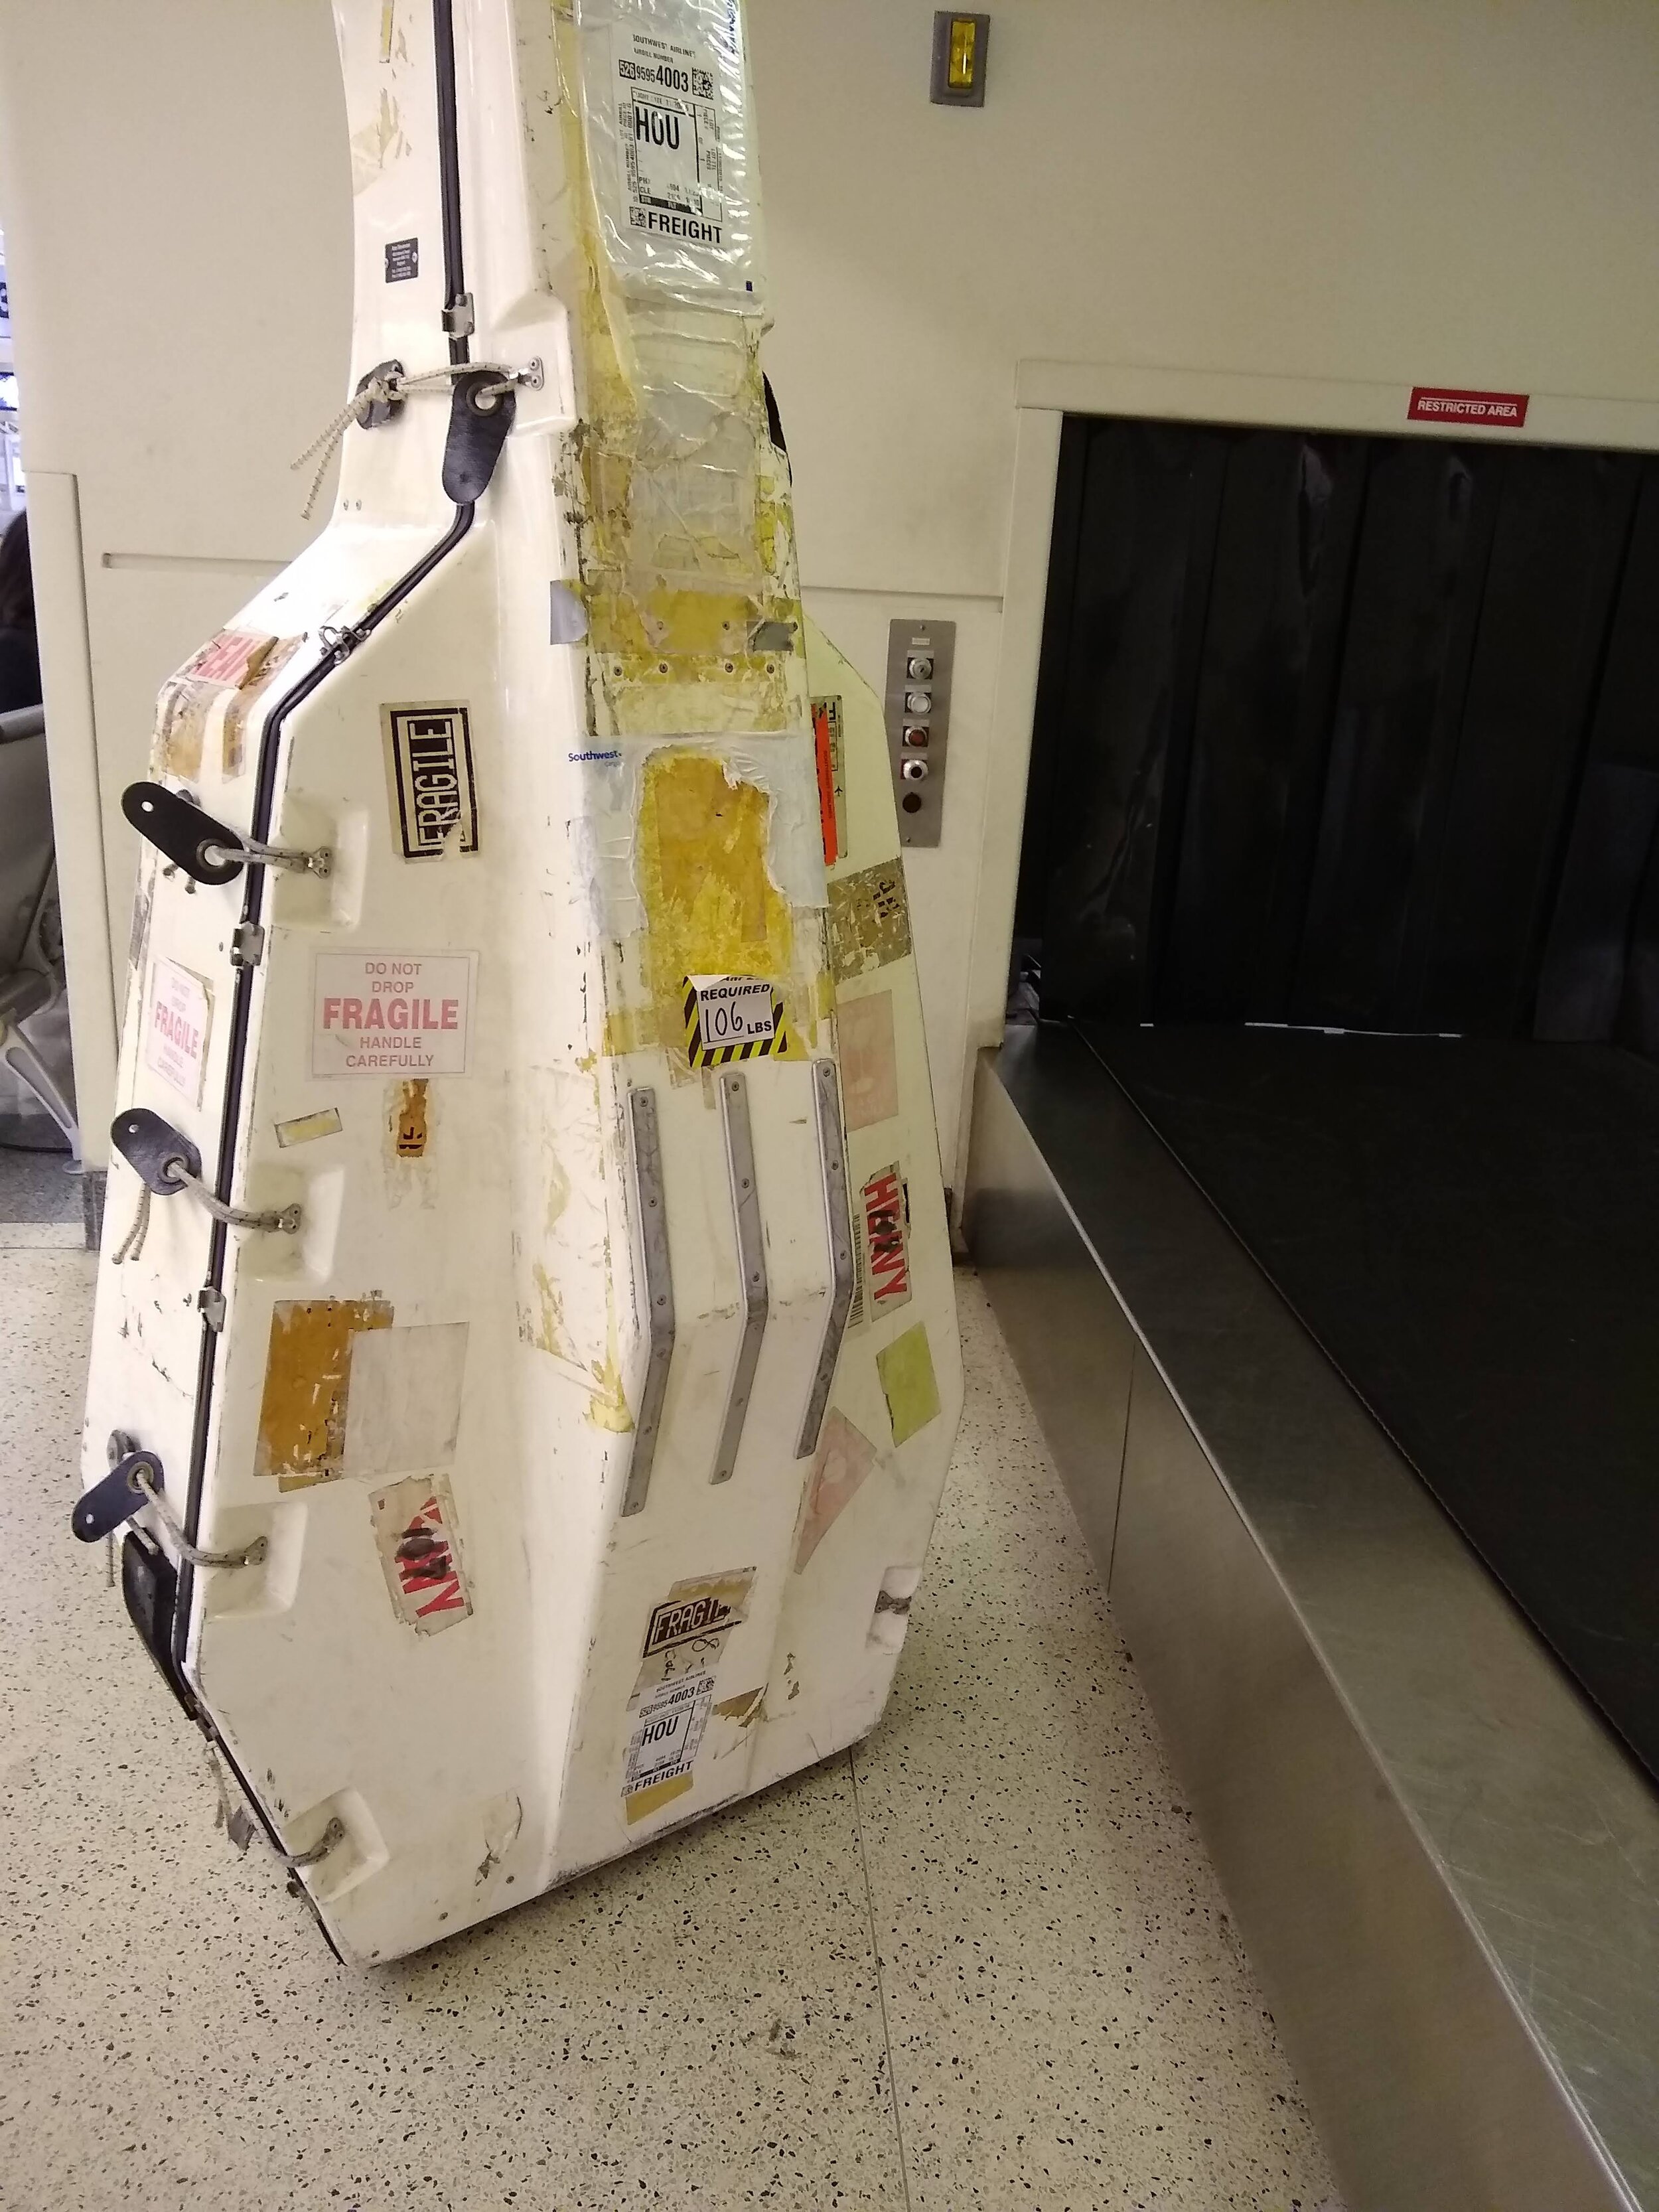
Travel
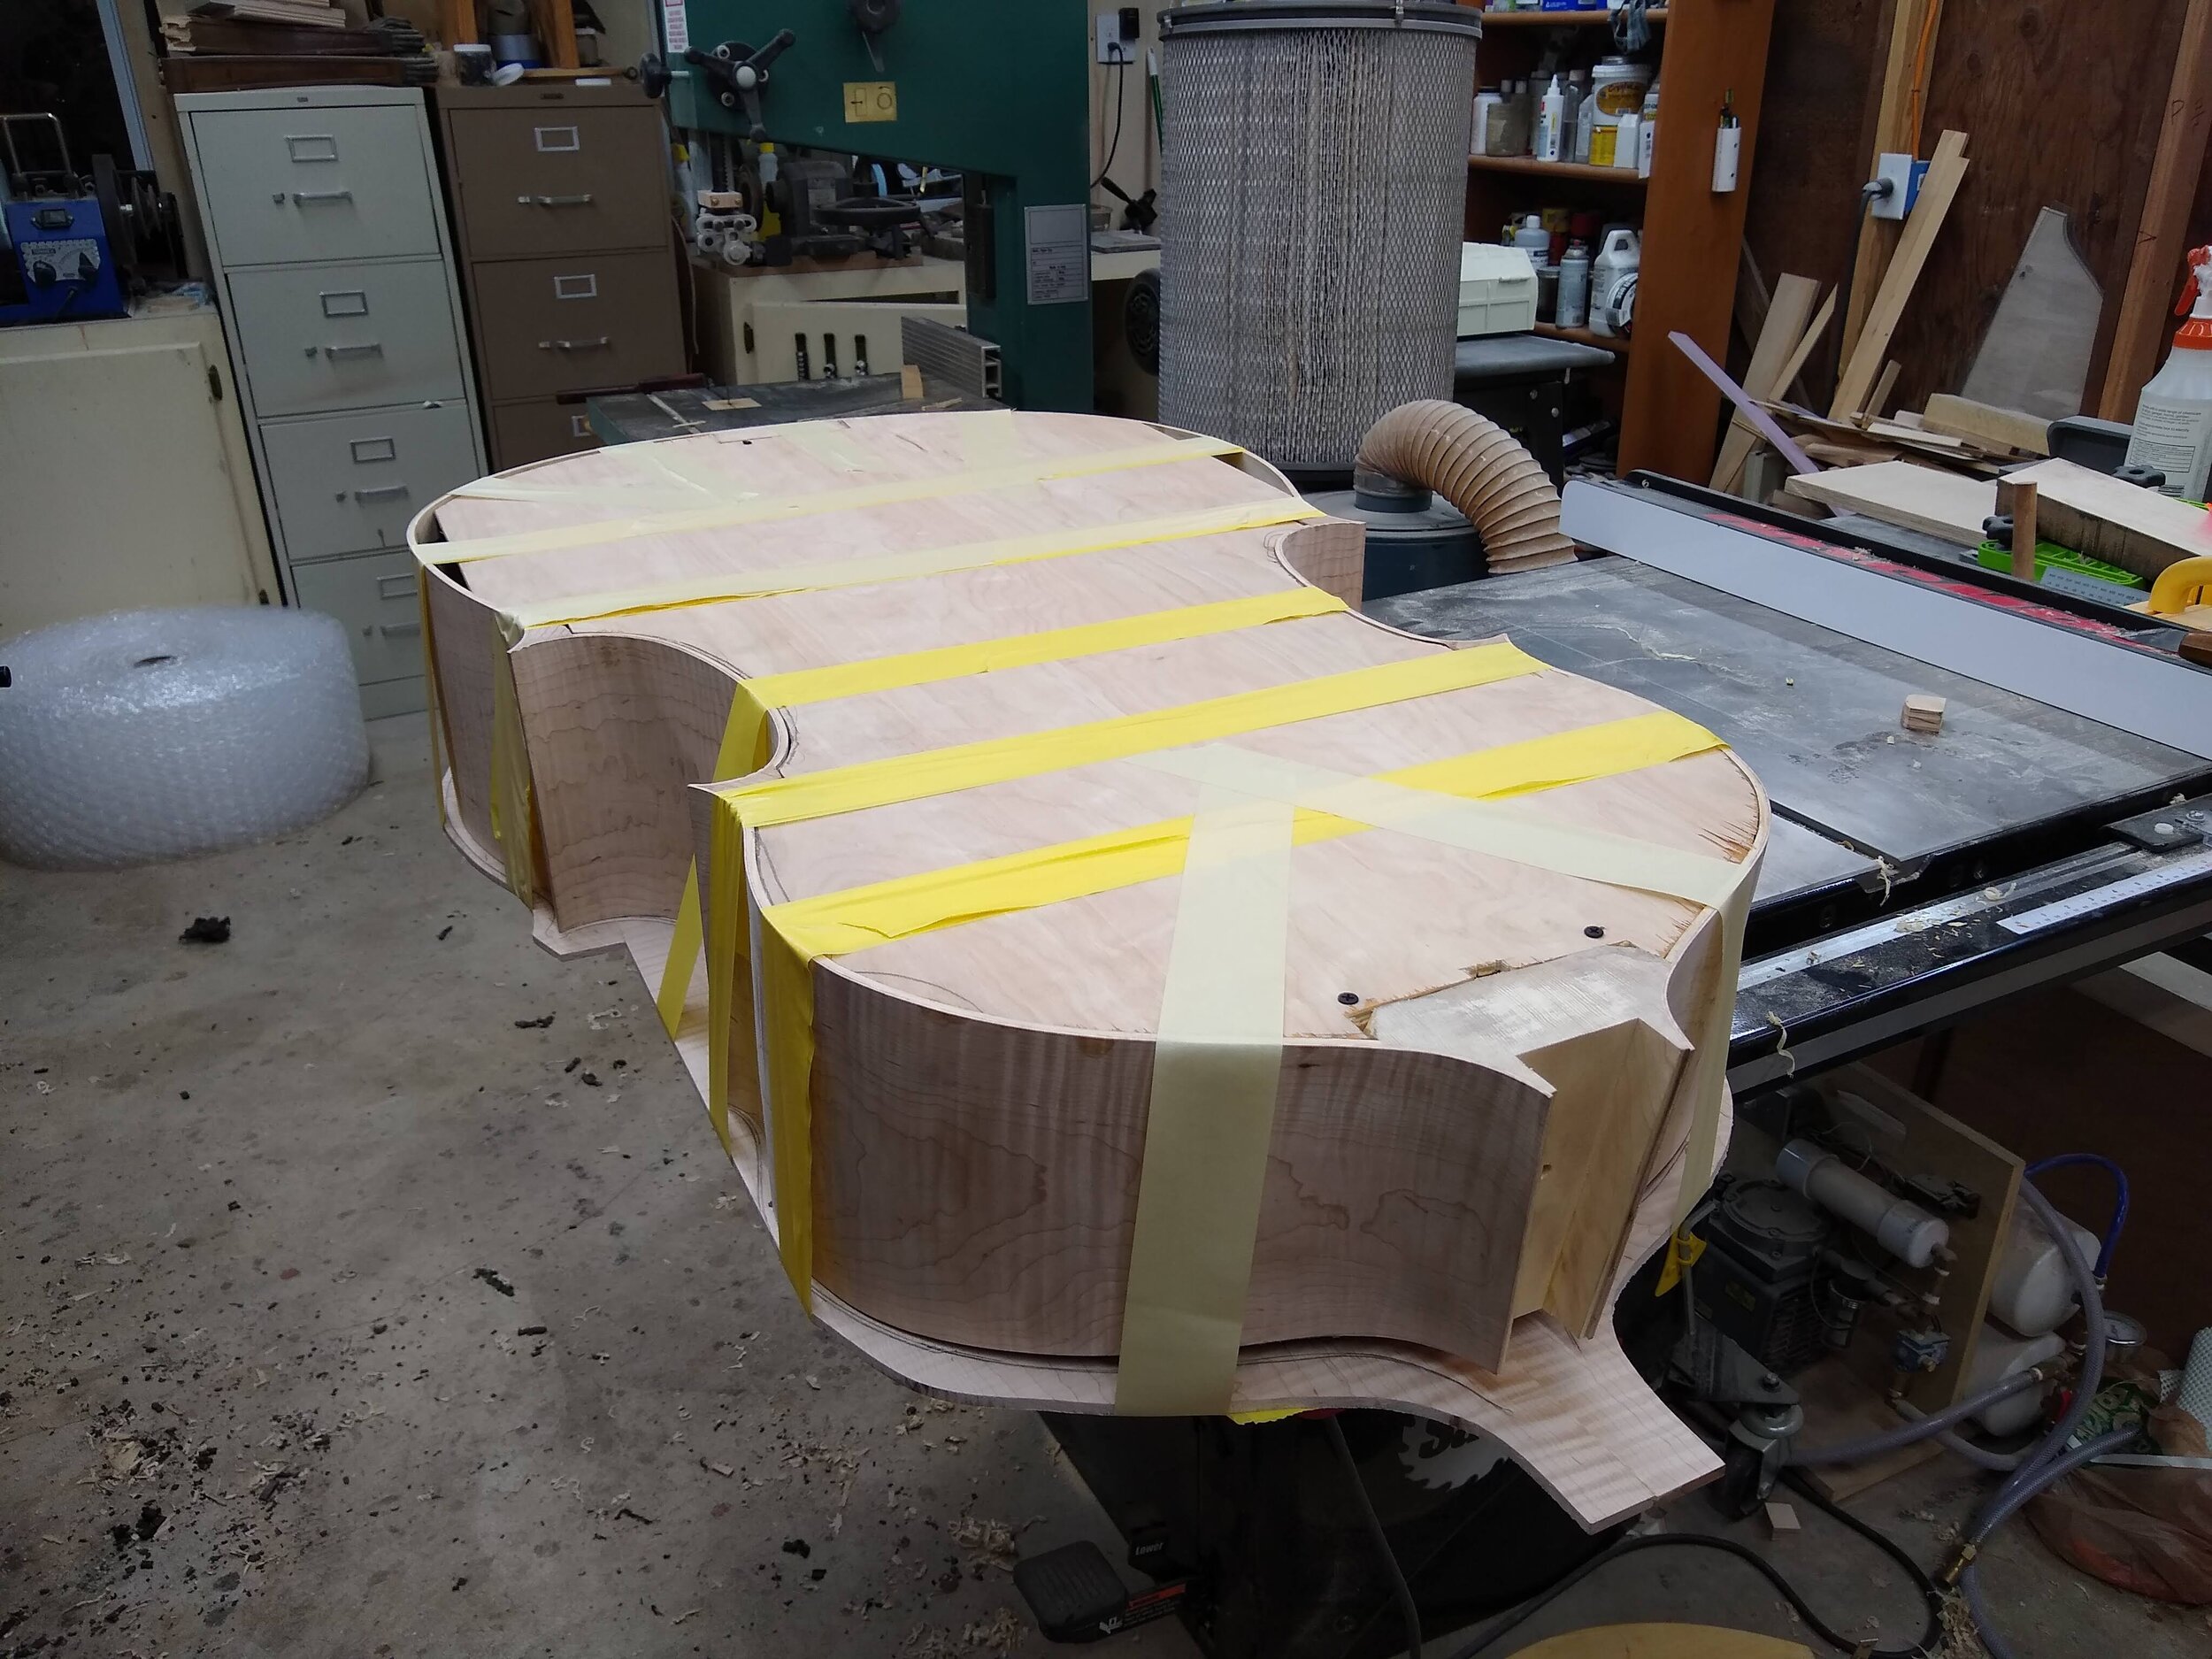
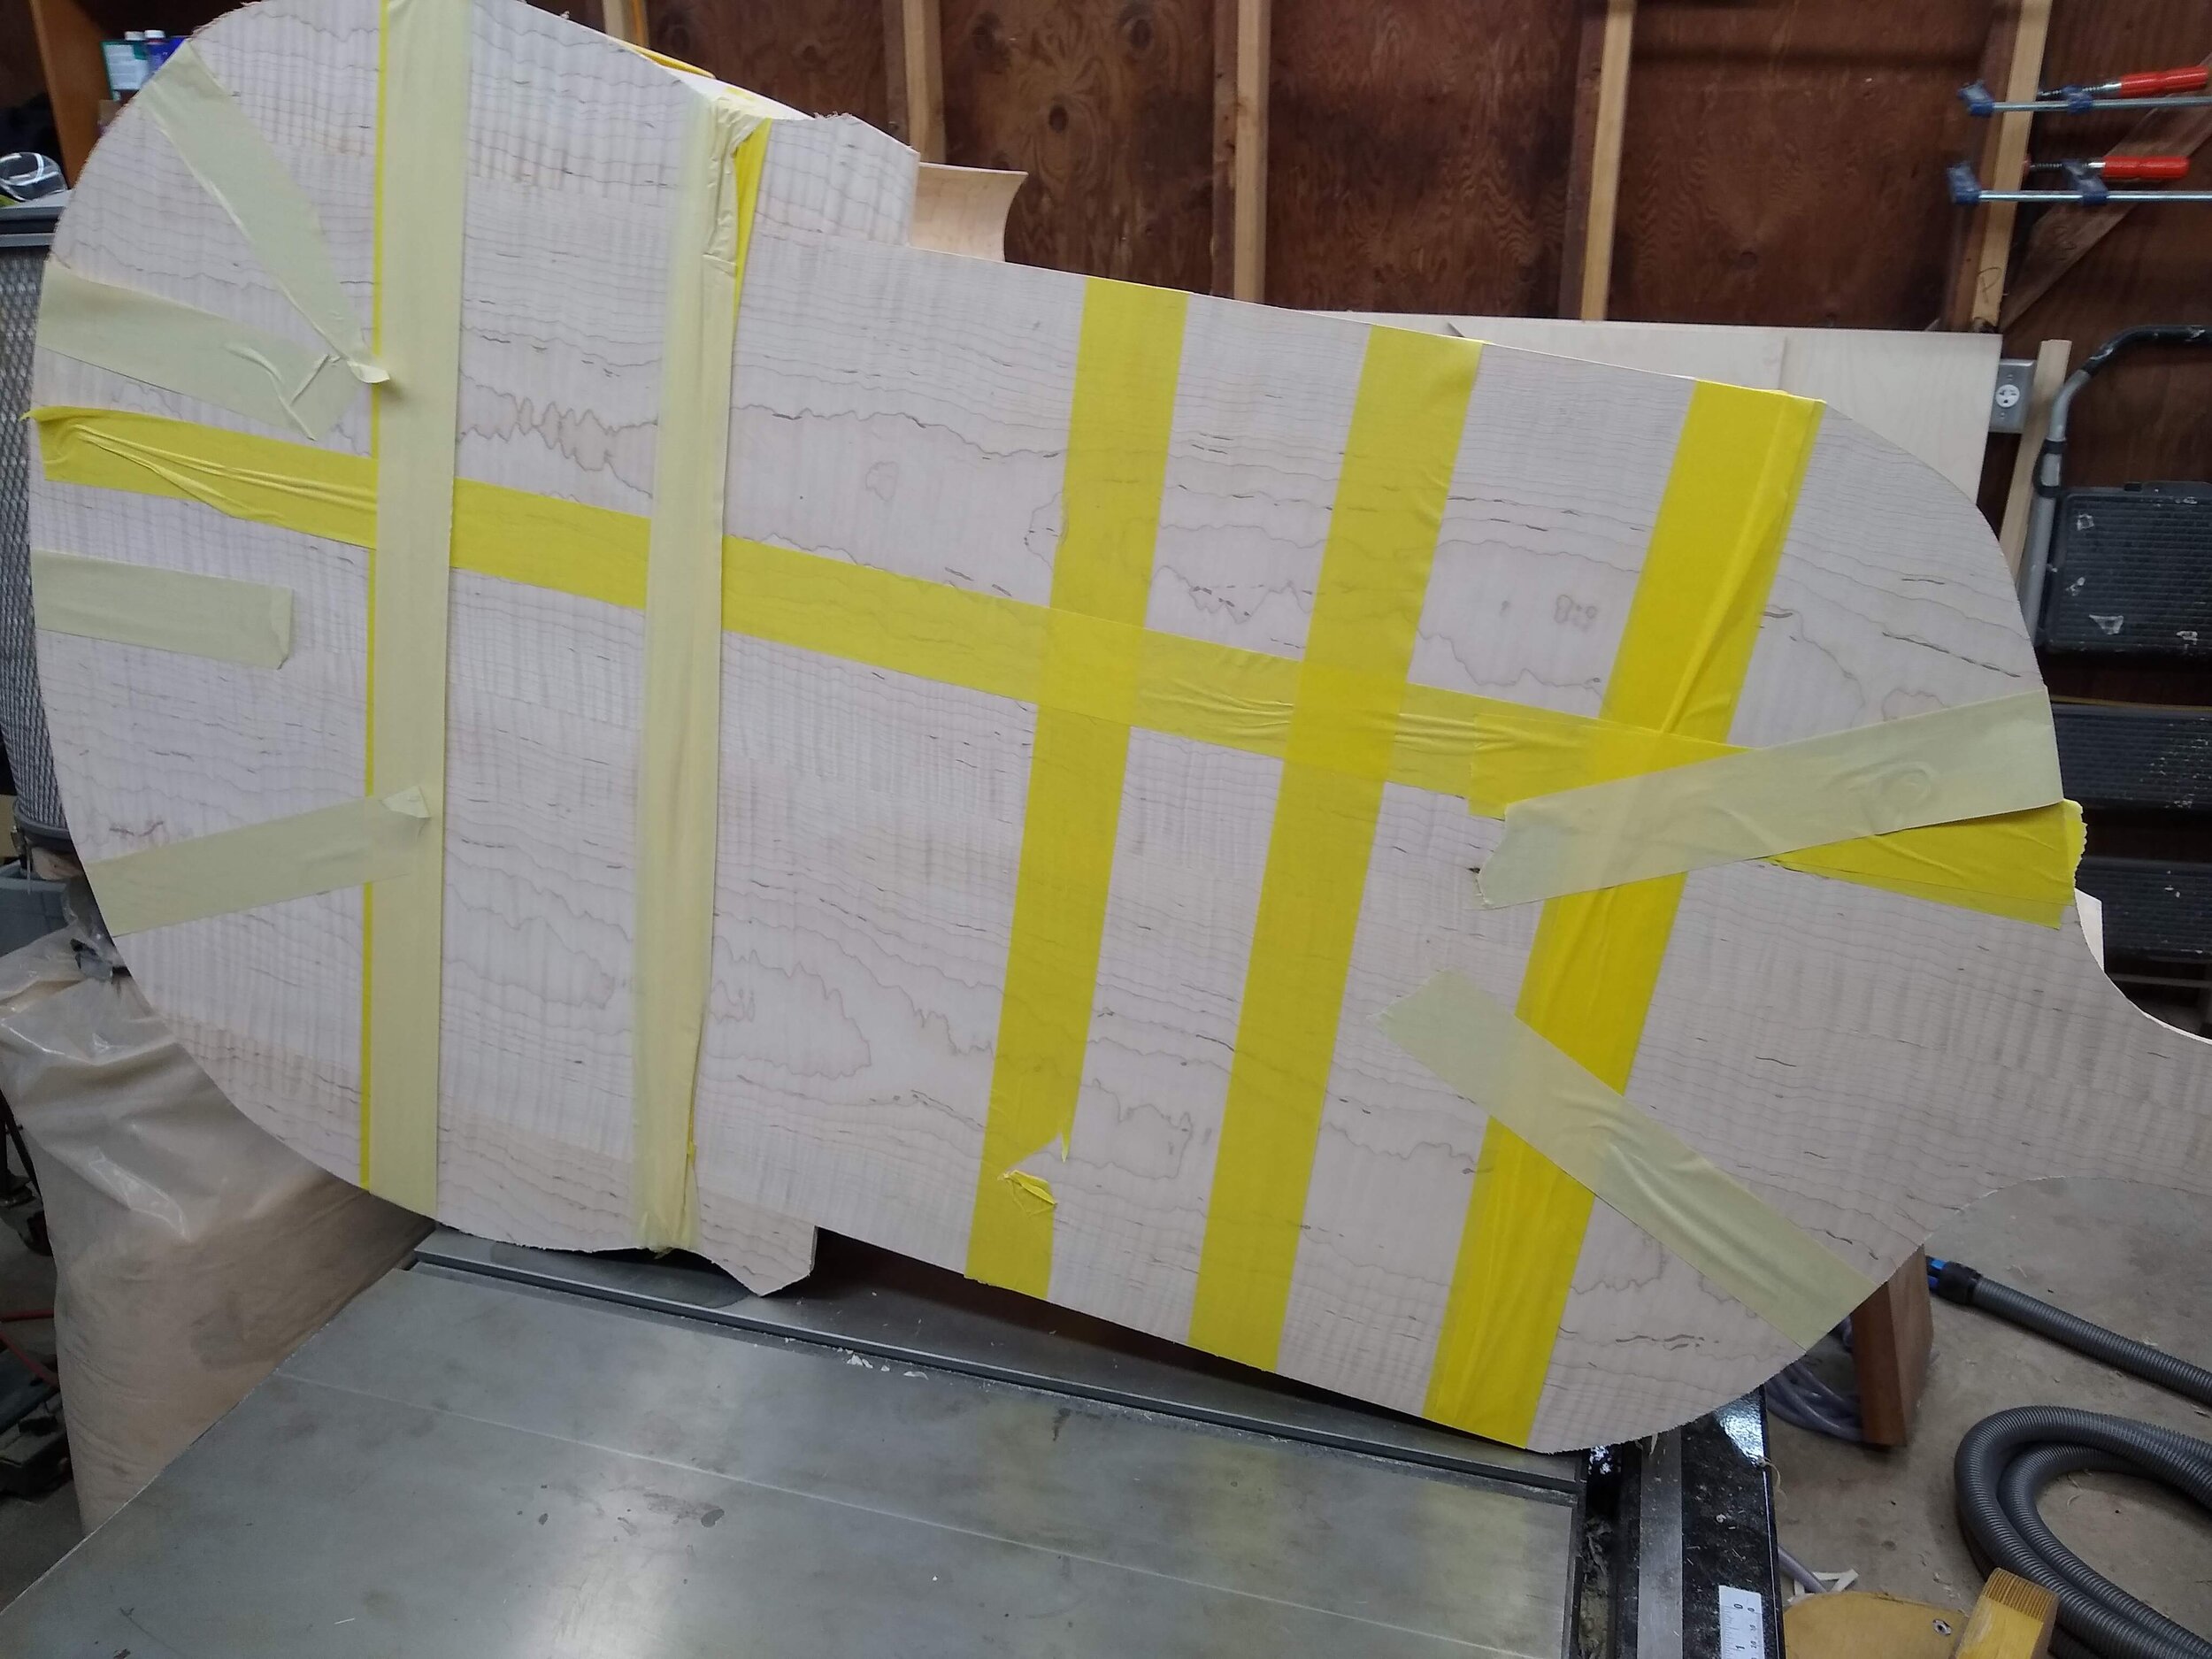
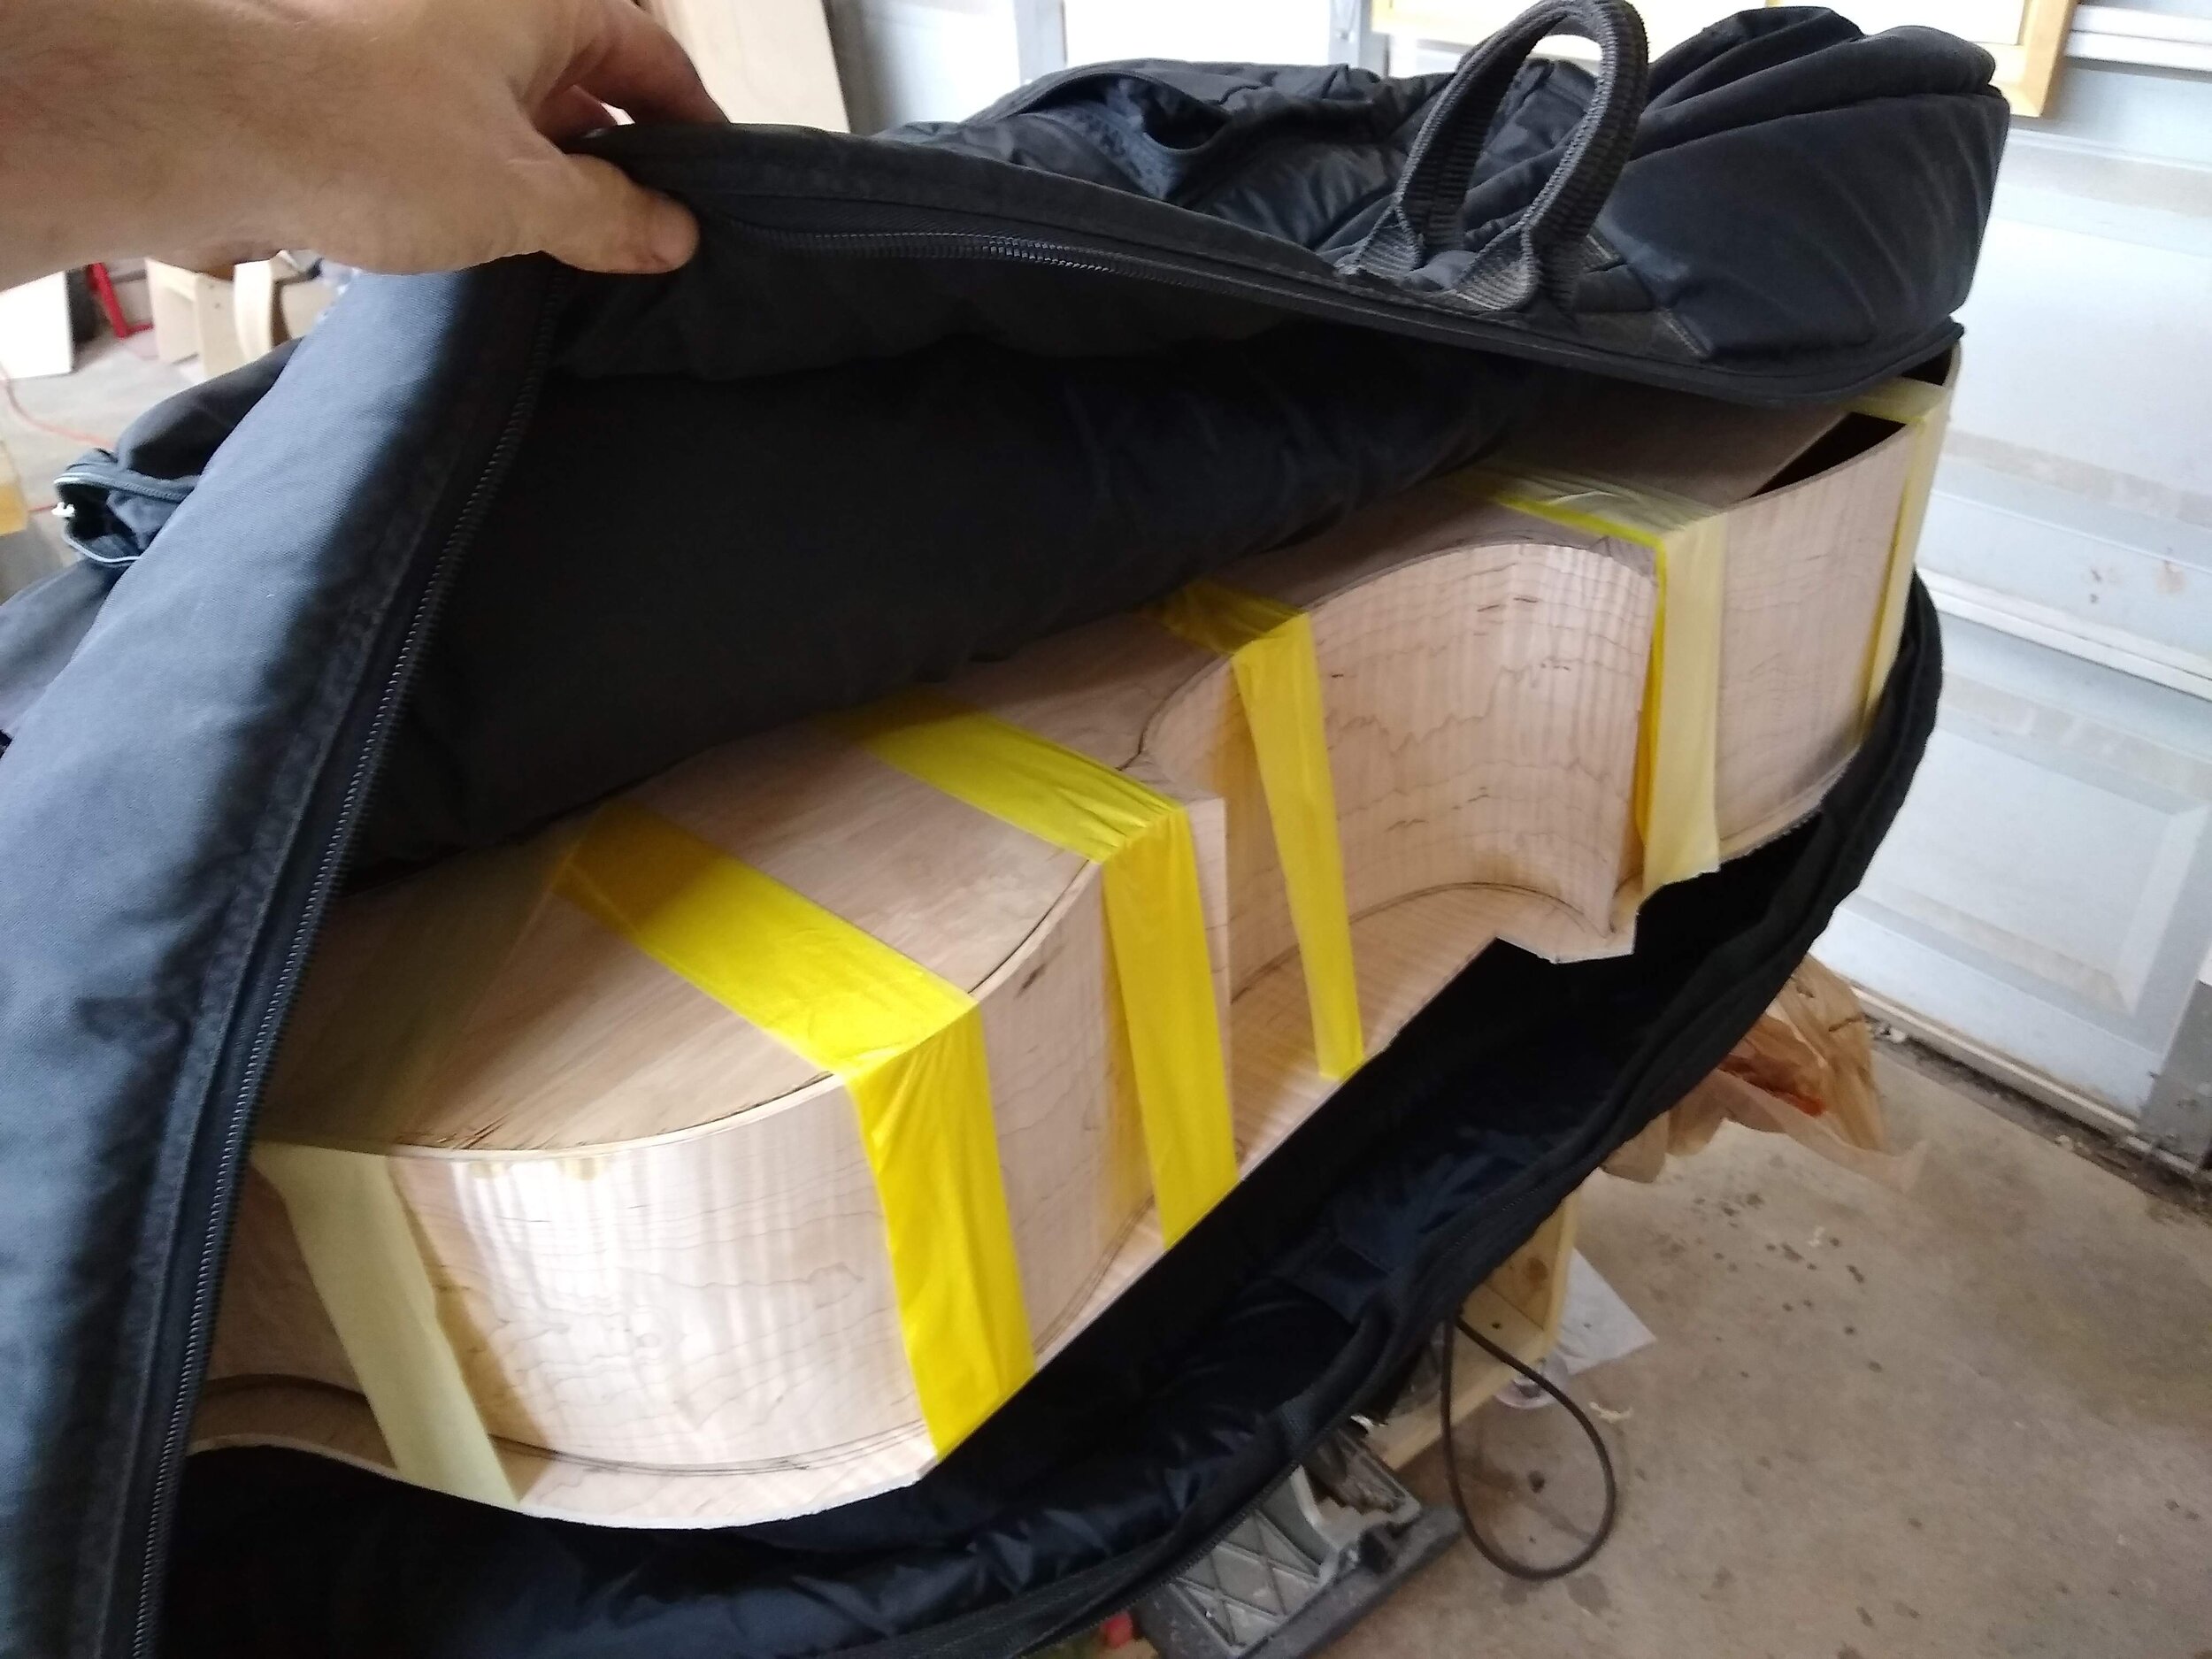
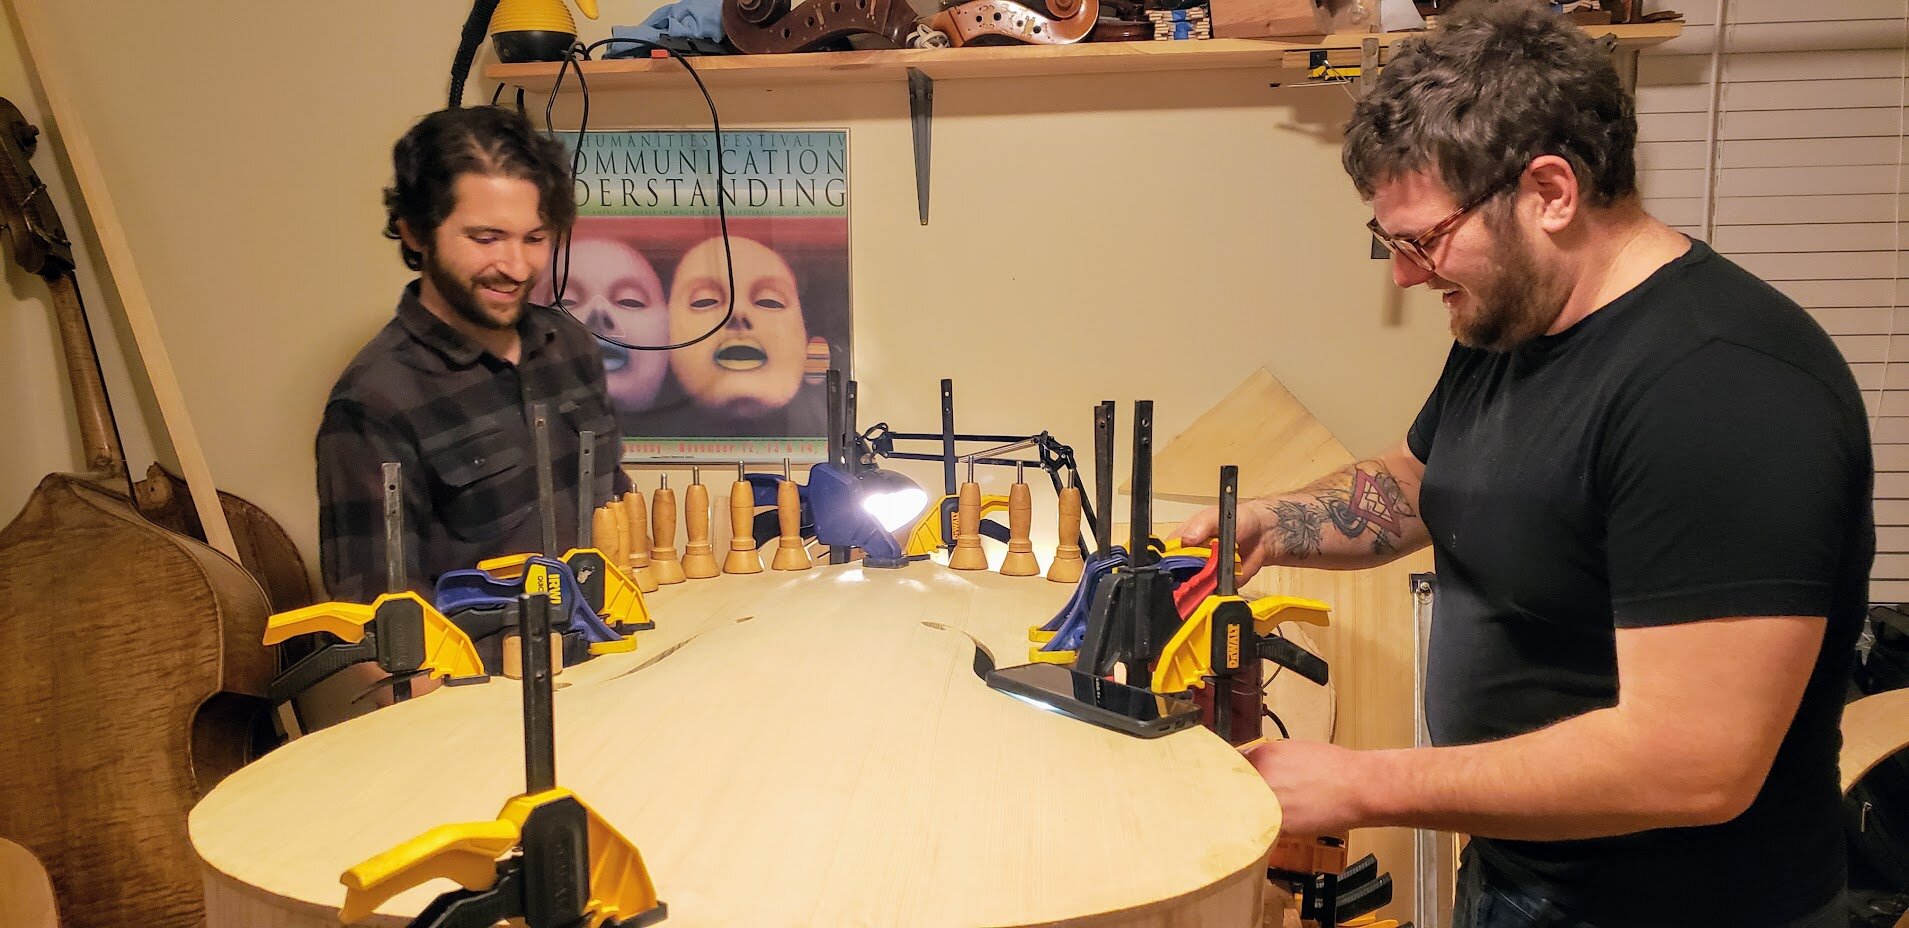
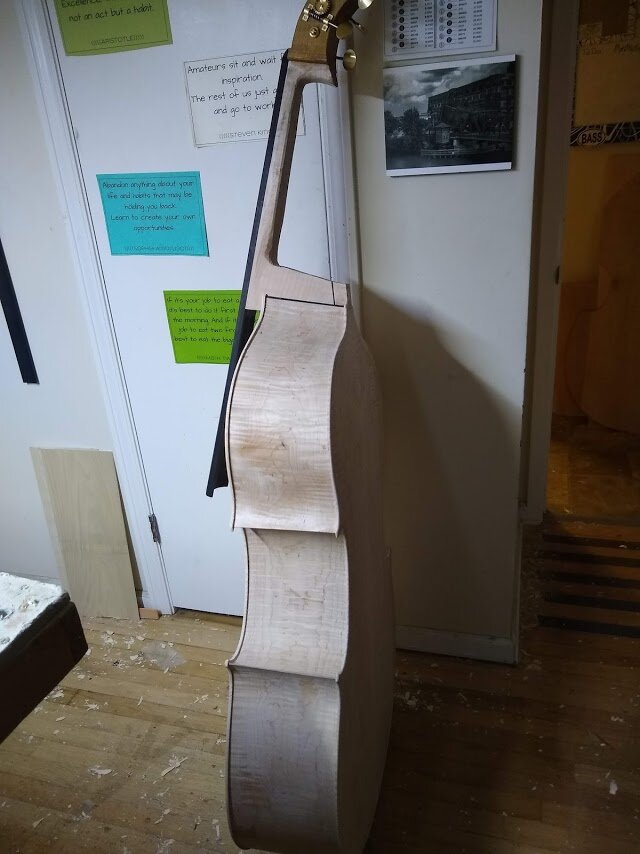
For some reason we thought that building a bass in December in Chicago was a better idea than in Houston… I have since decided that maybe we were wrong there! With the rib garland built, Joey built a temporary internal form and taped the back on to pack in the flight case. When he arrived at my shop (via Uber XL) we immediately started geeking out about tools and wood and how our models compared to each others. After a bit we immediately got to work by tracing the rib shape onto the top and preparing for the next phase. Making a bass in 12 days.
Construction
Day 1-2:
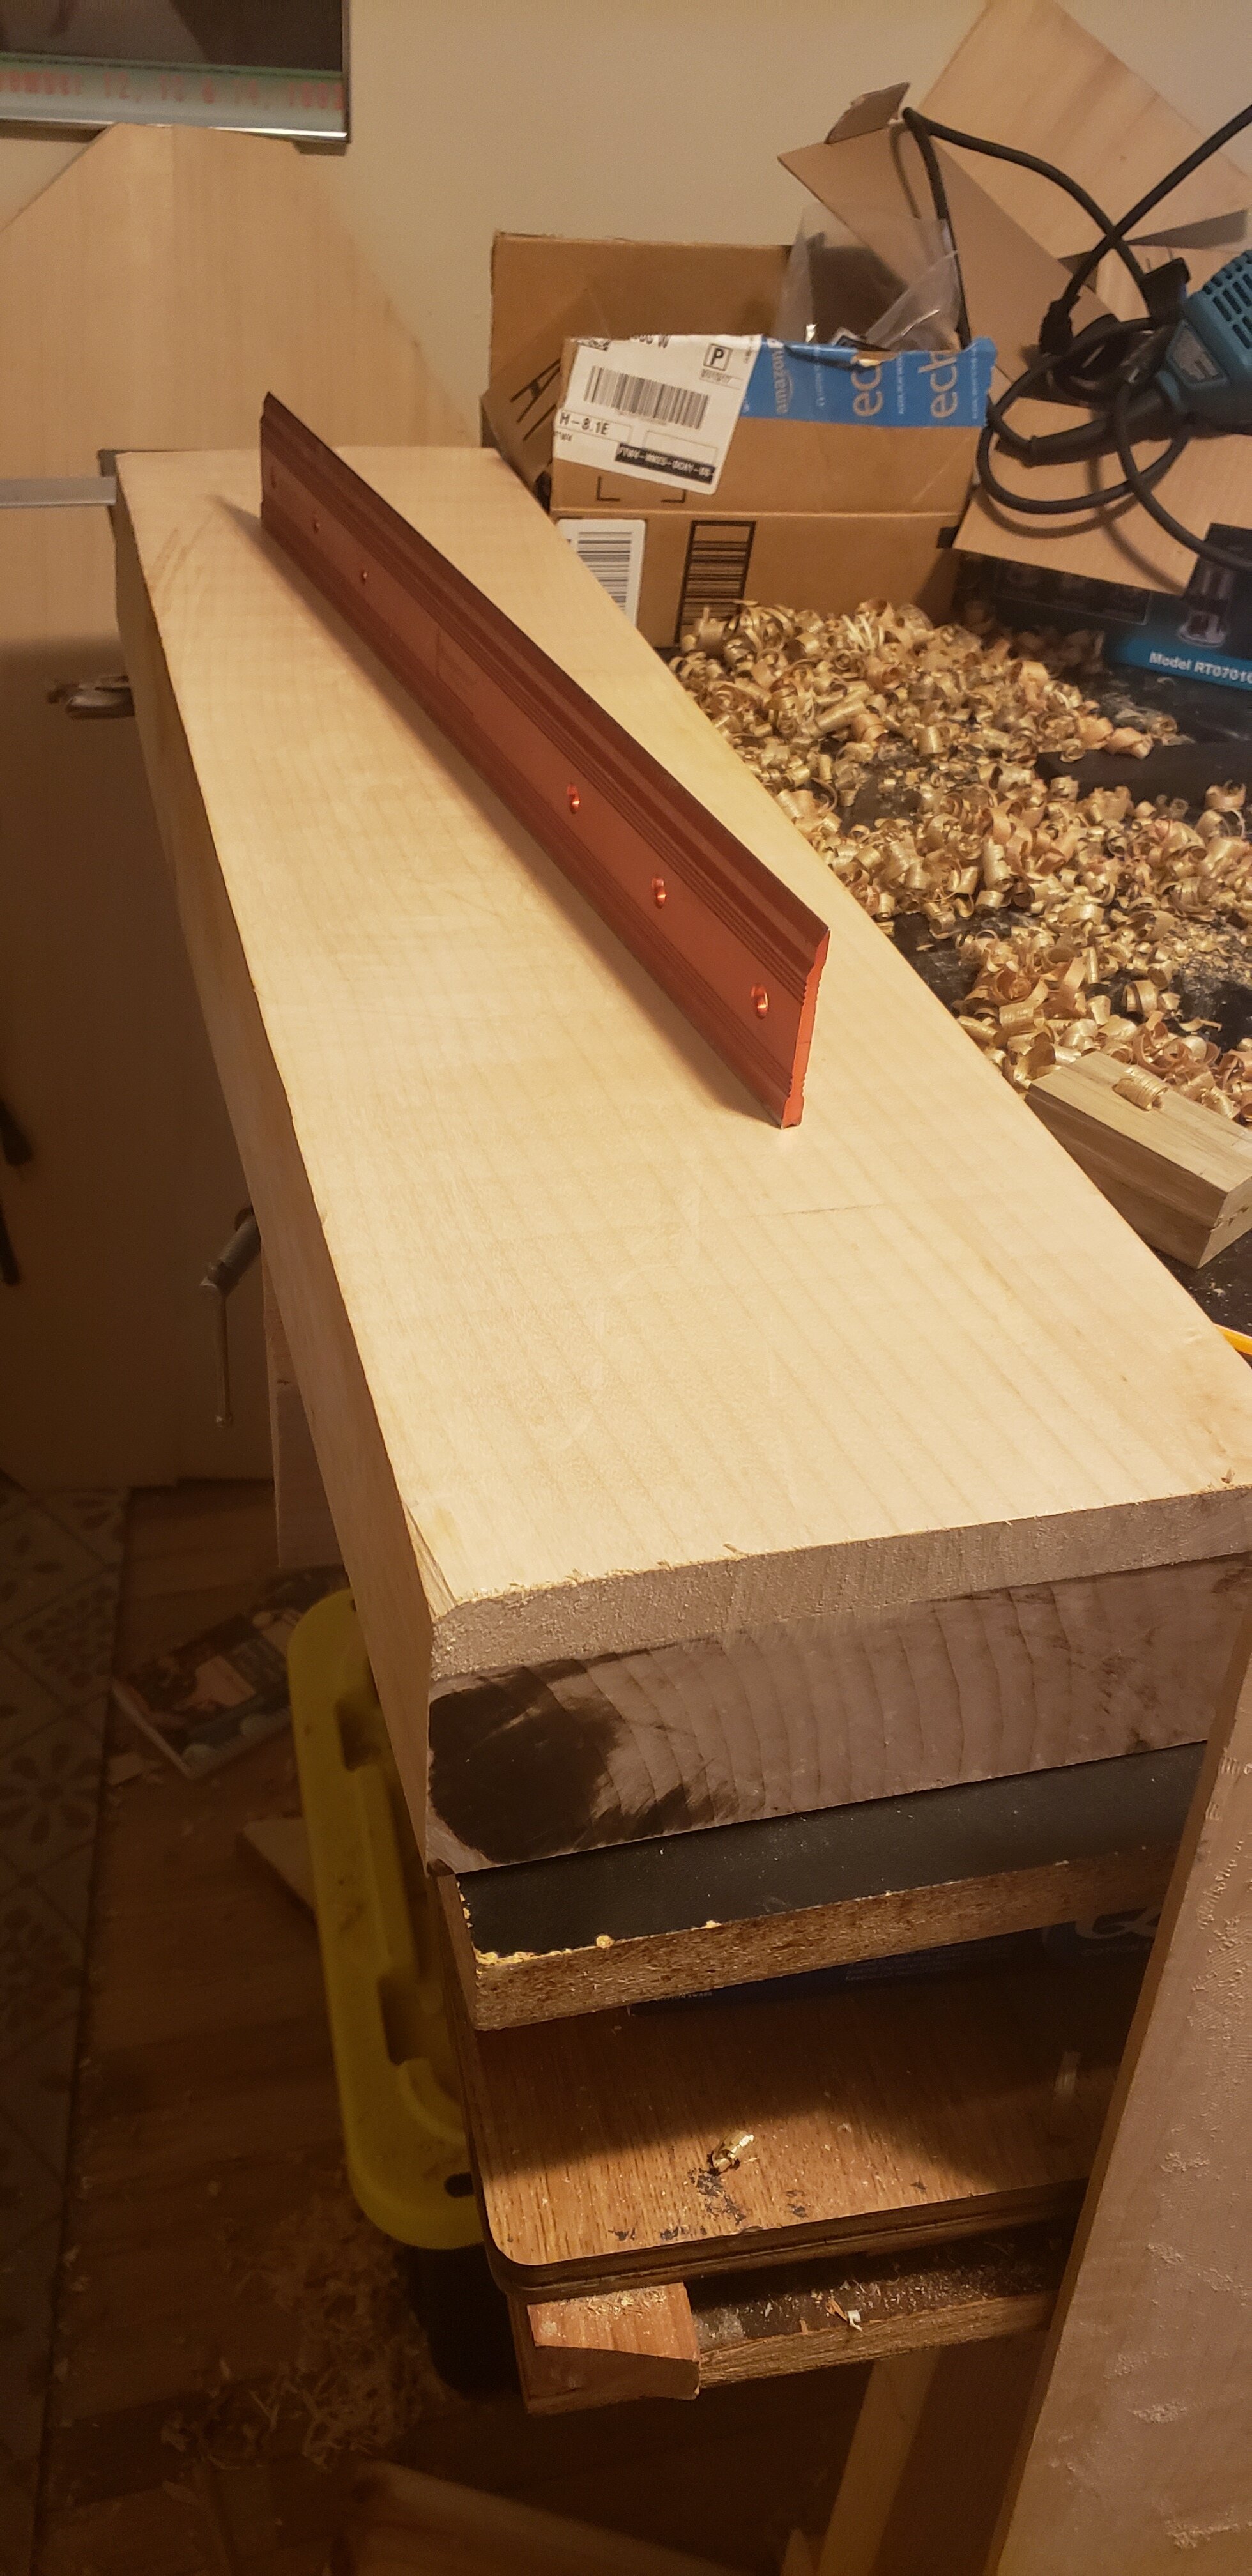
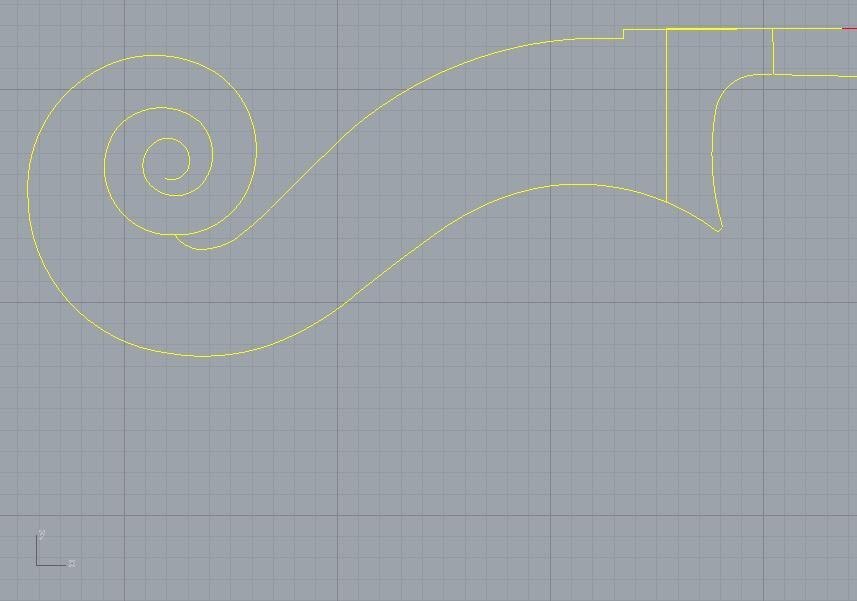
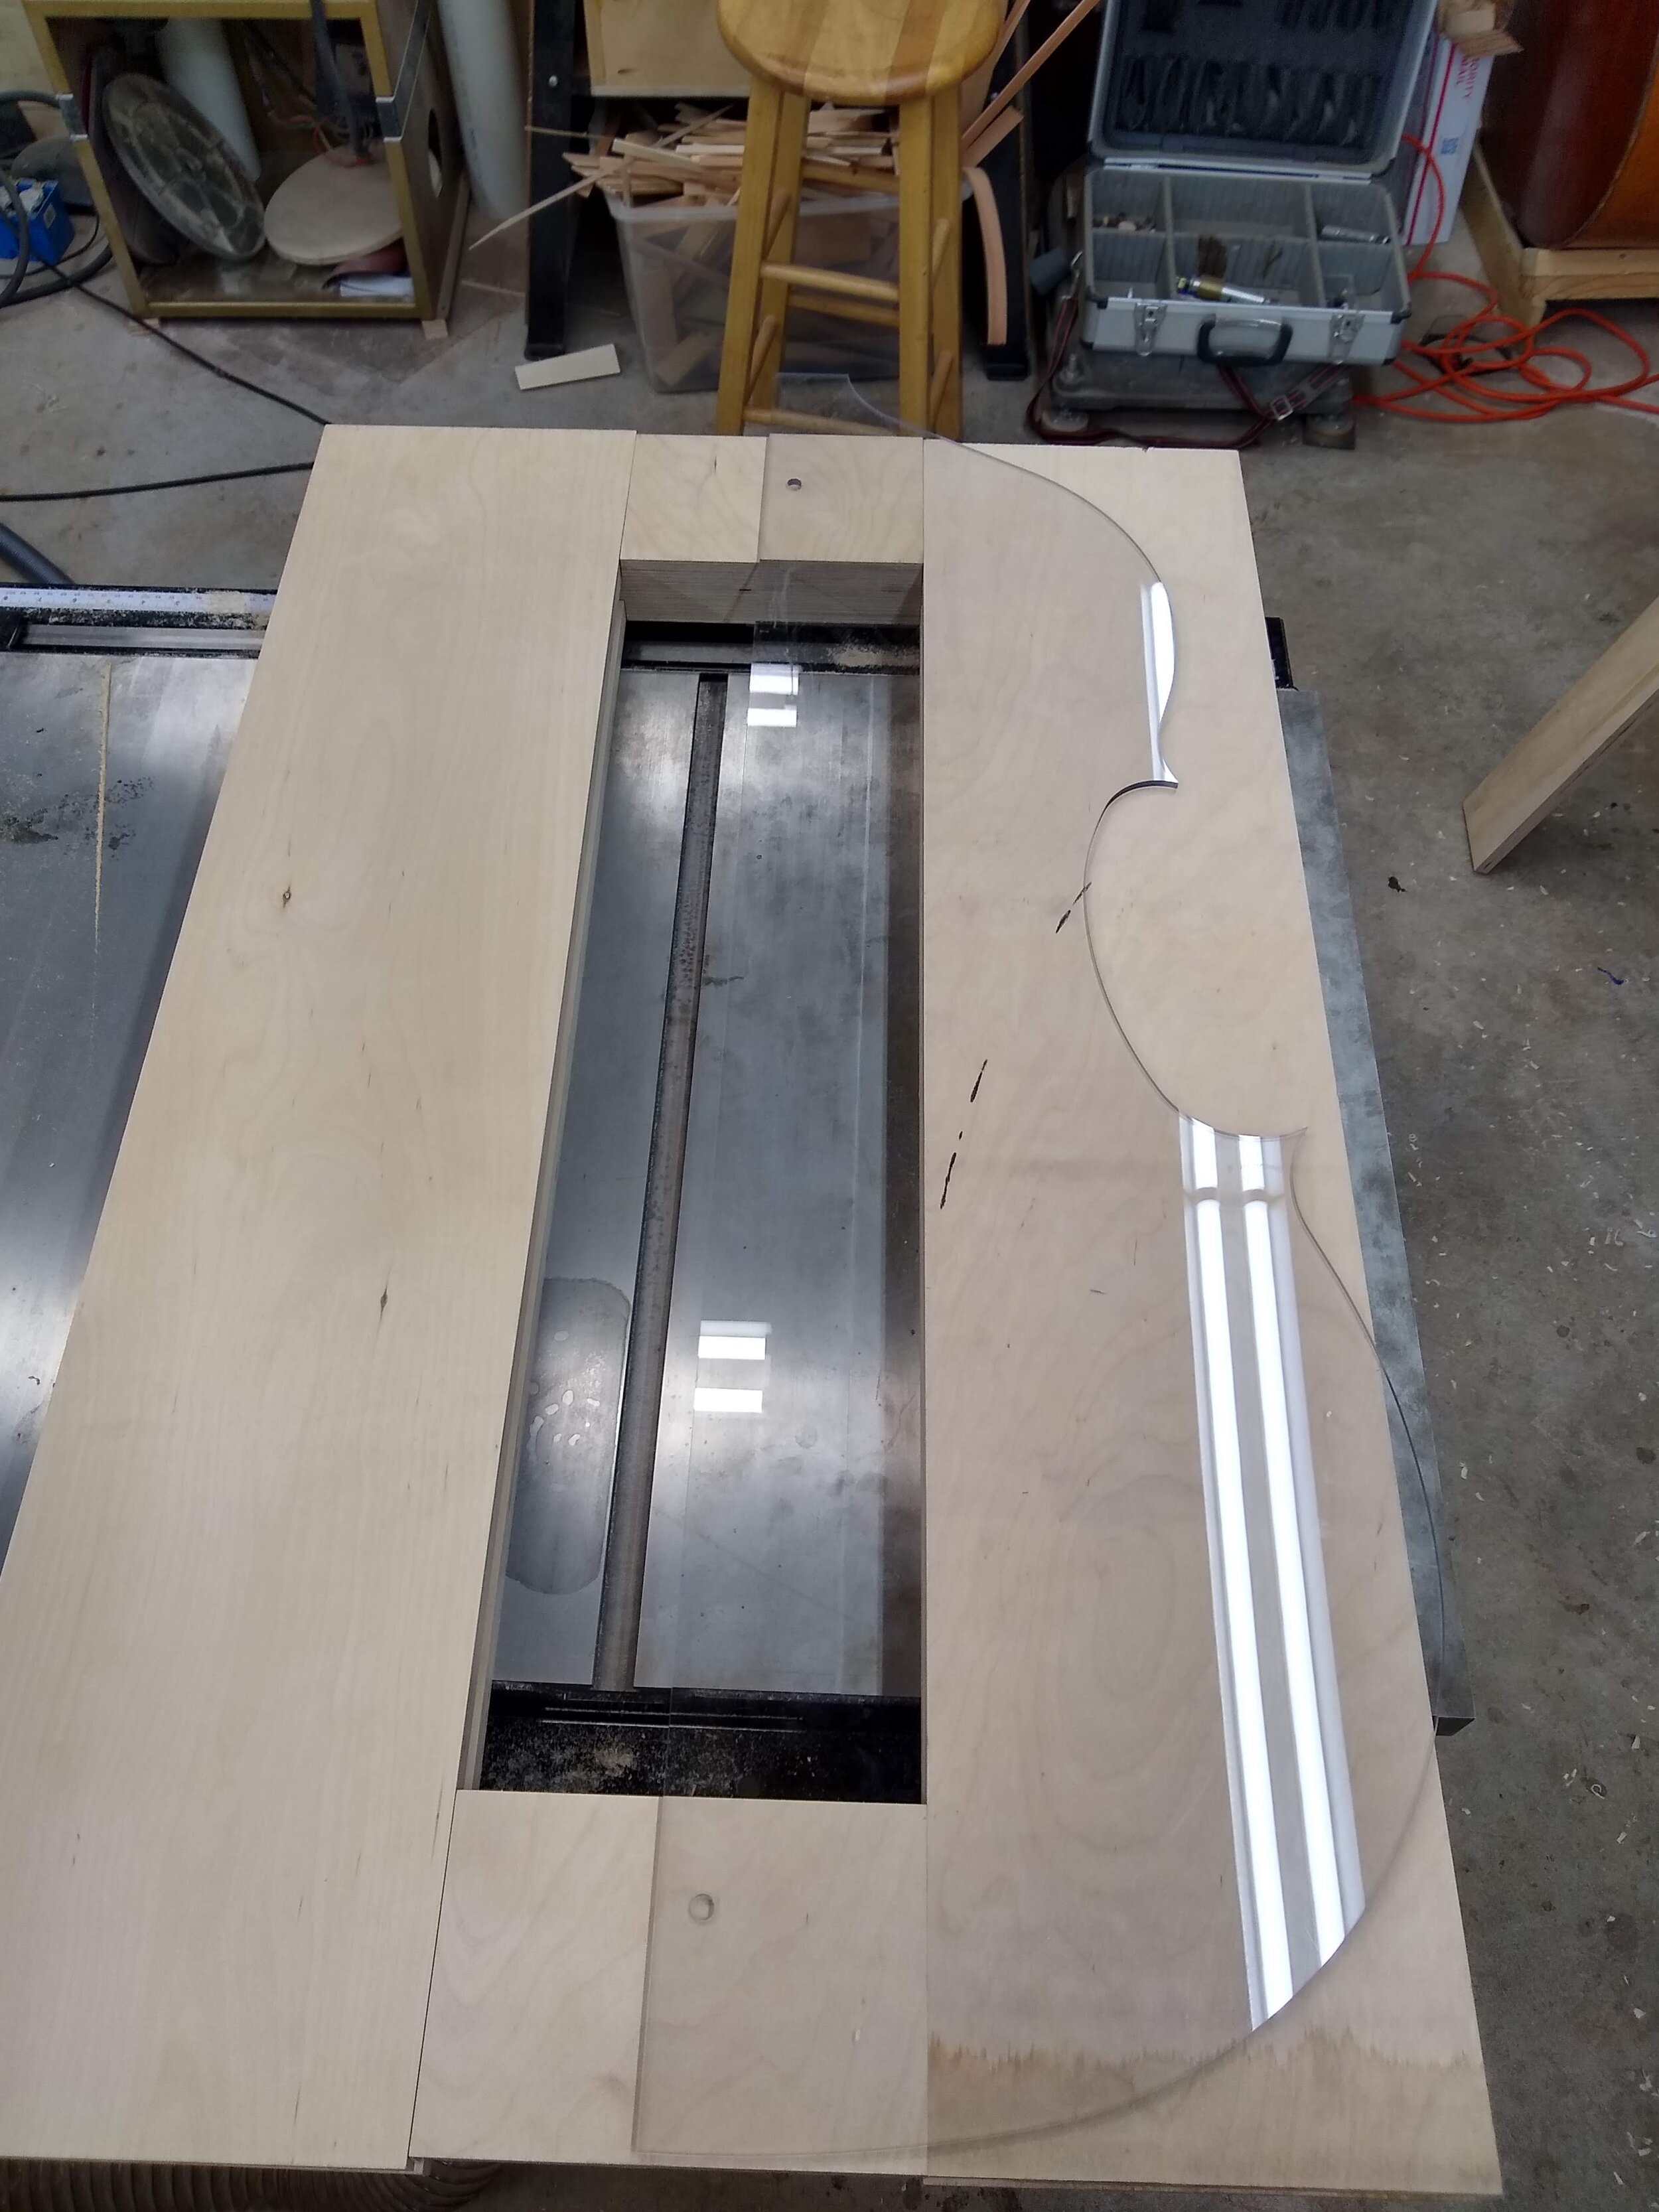
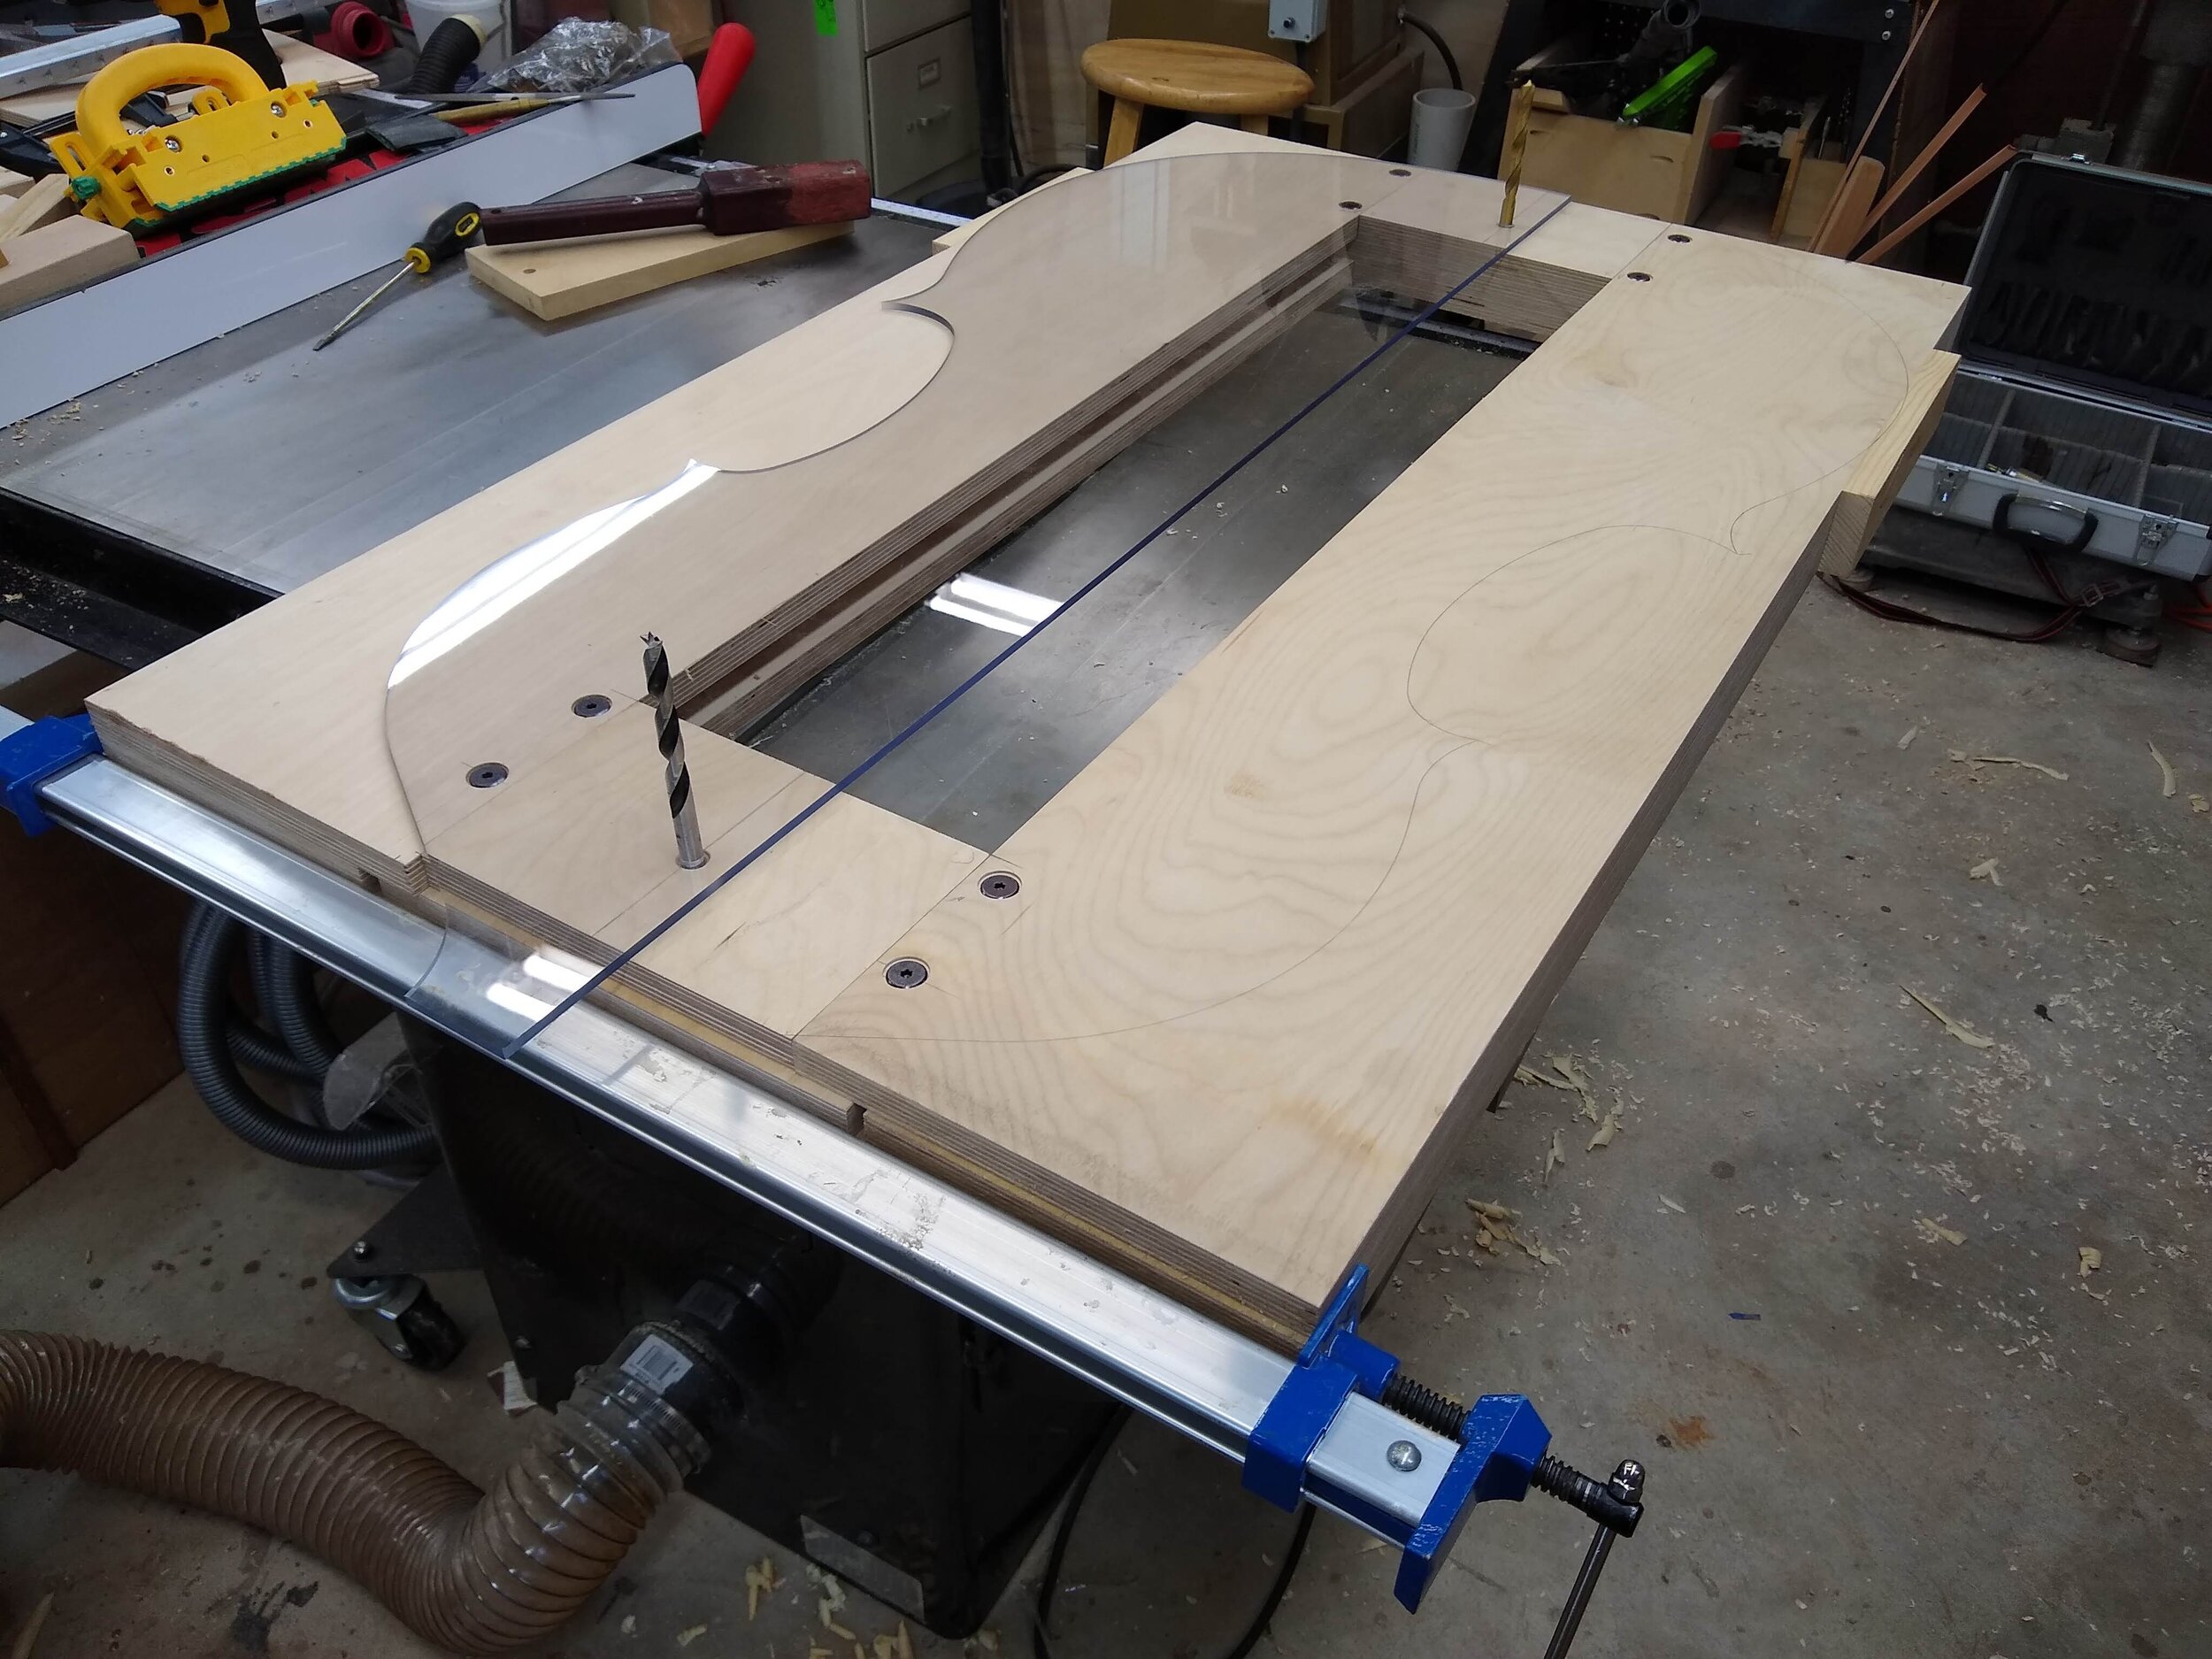
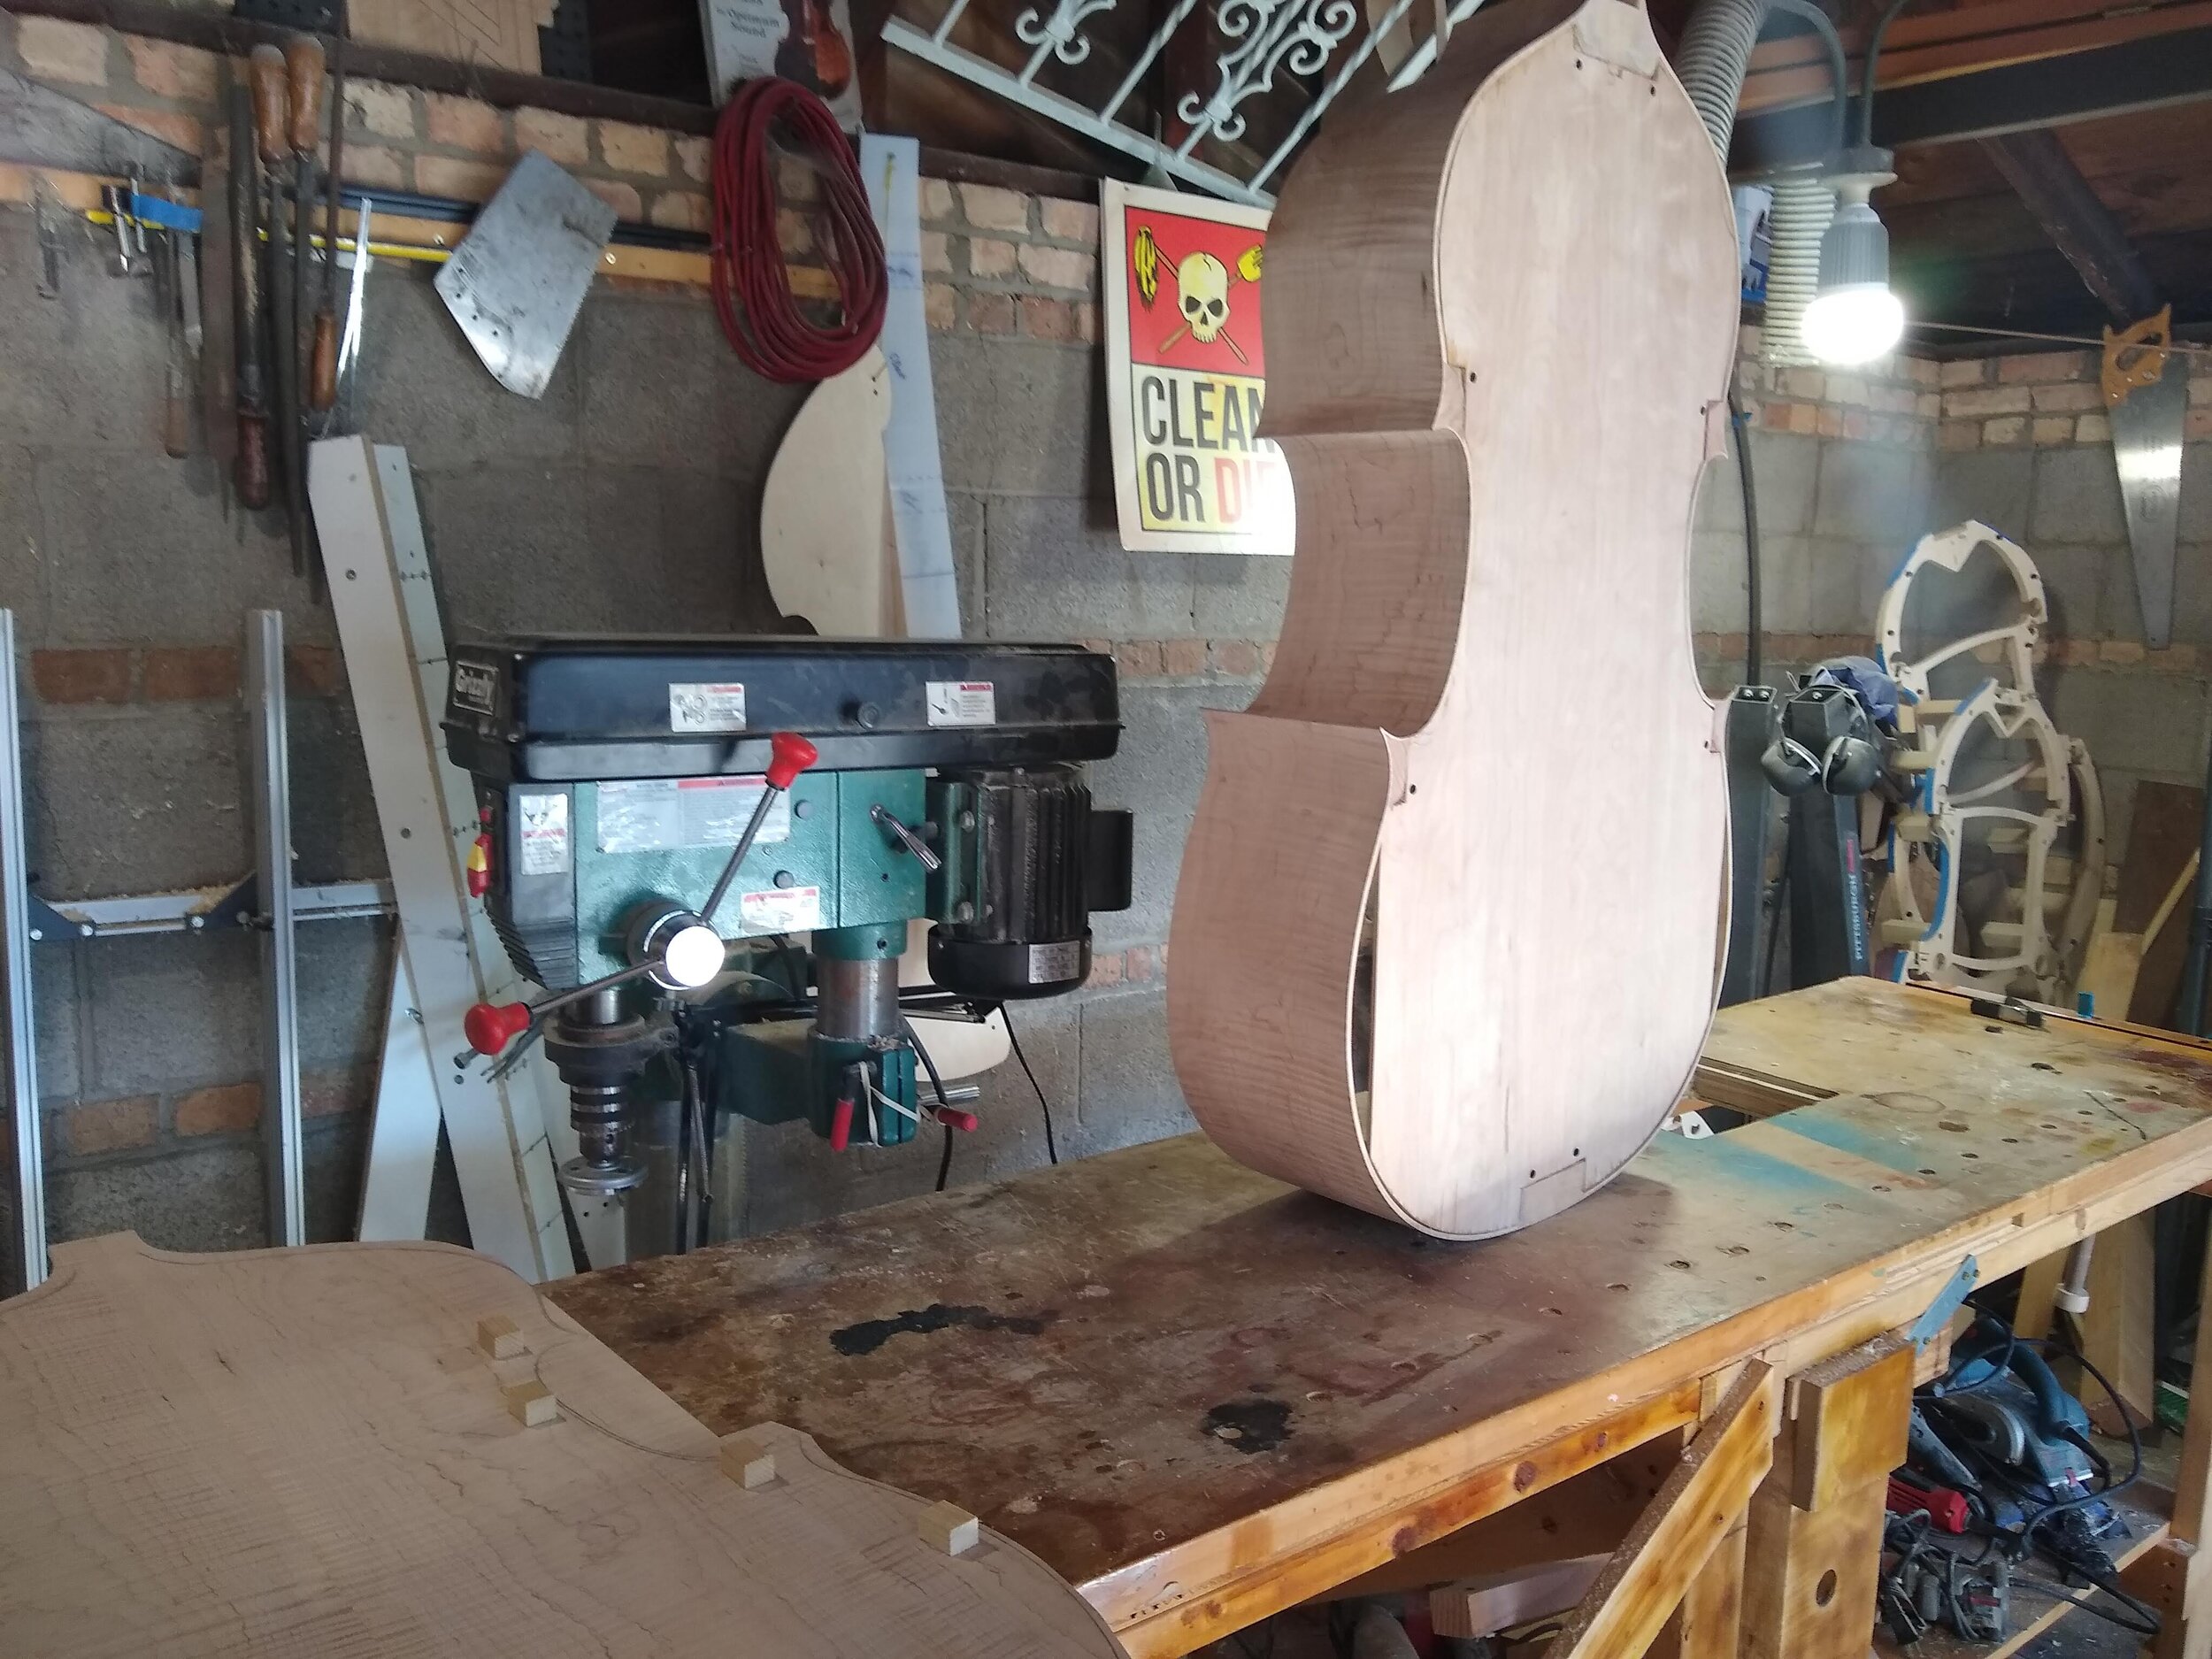
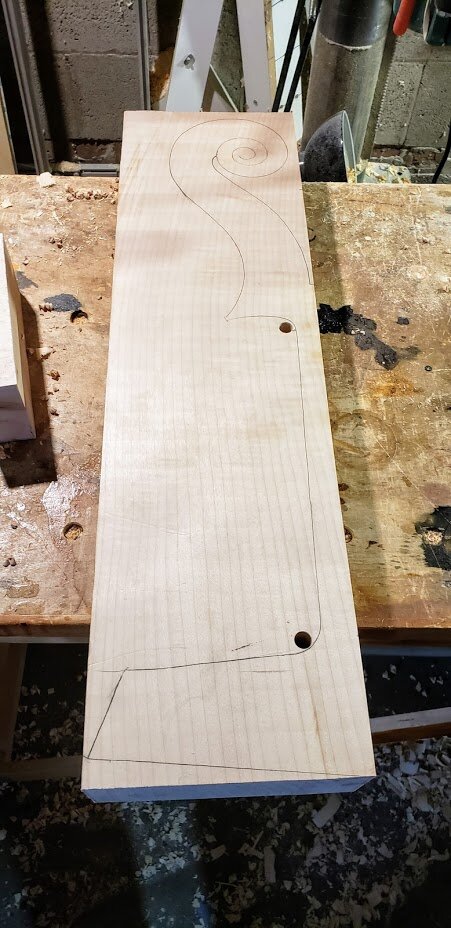
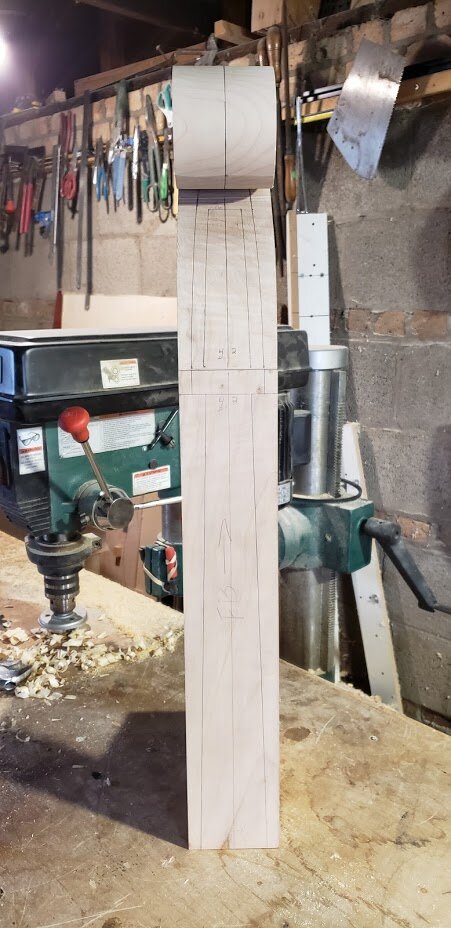
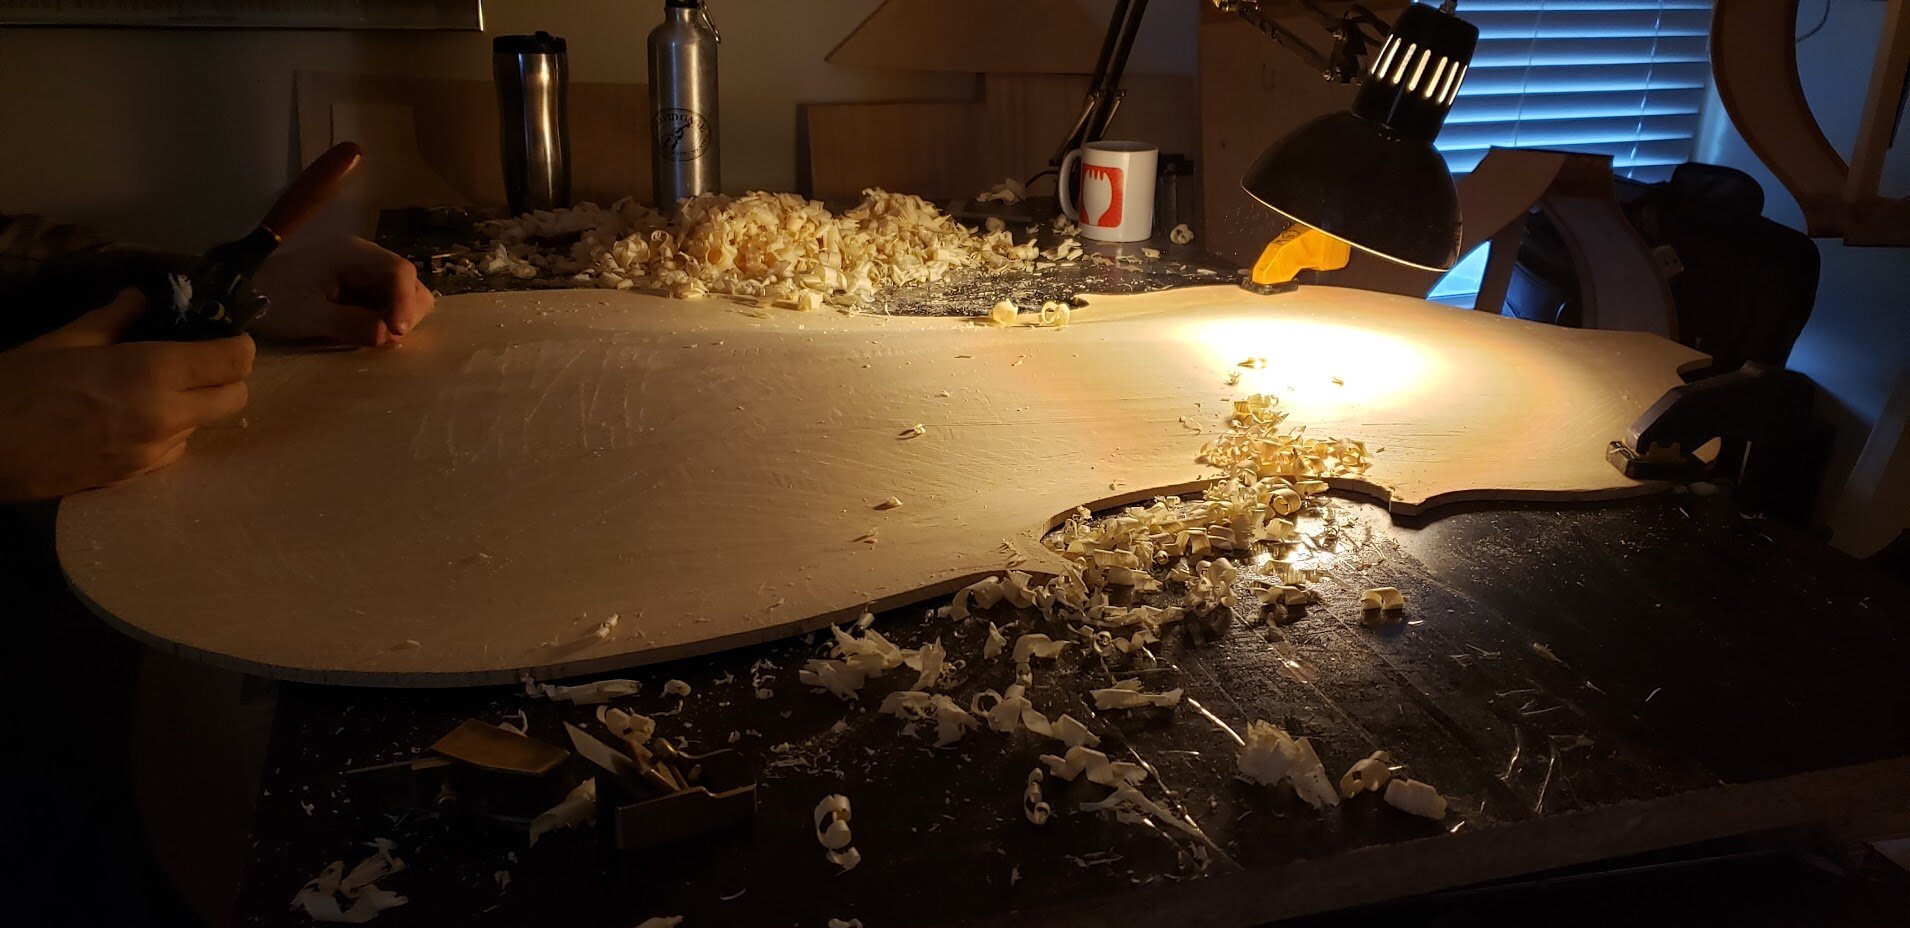
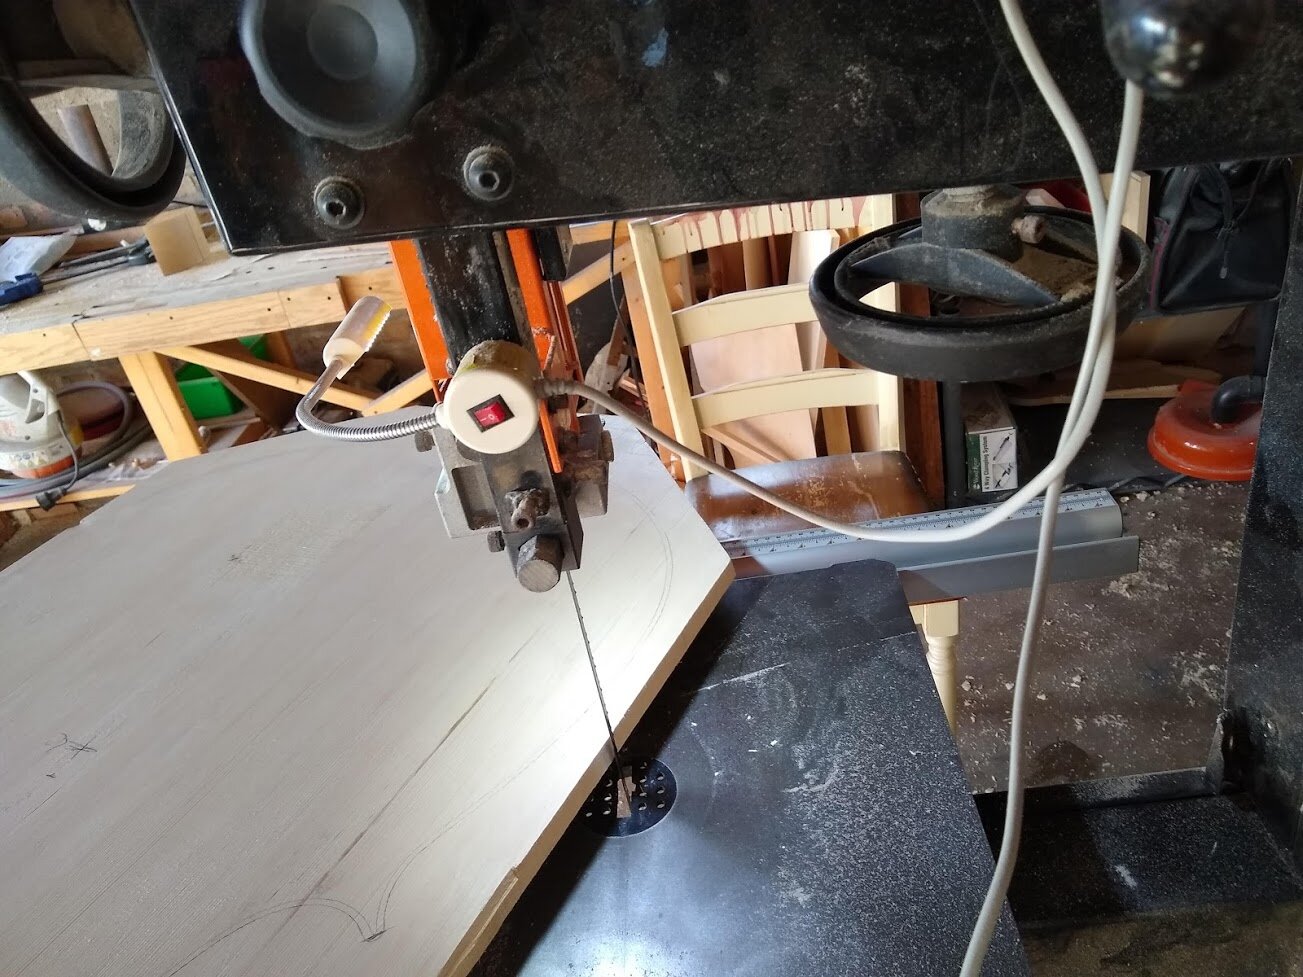
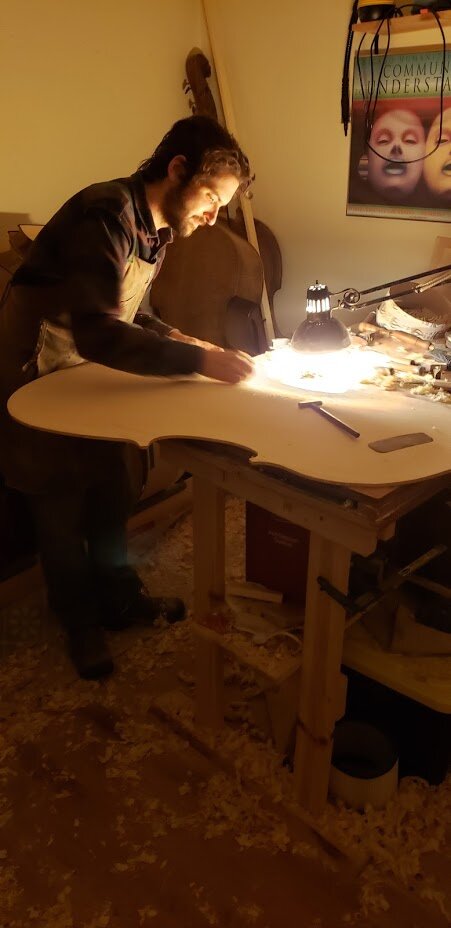
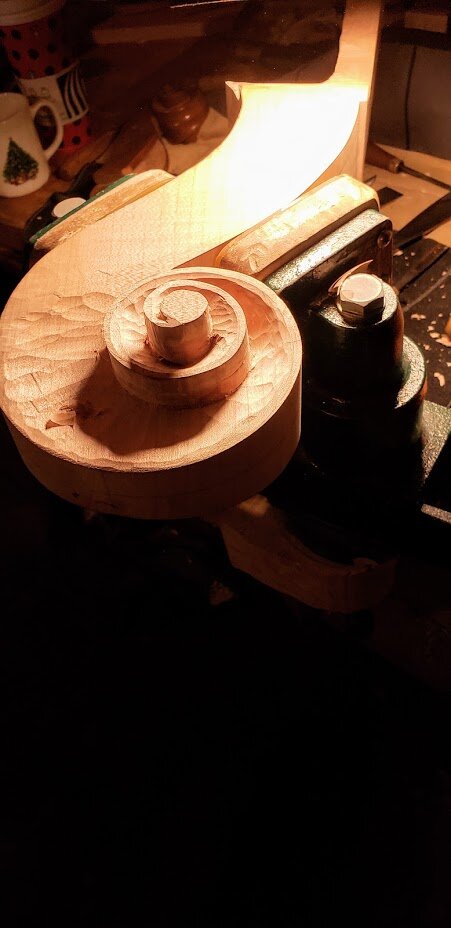
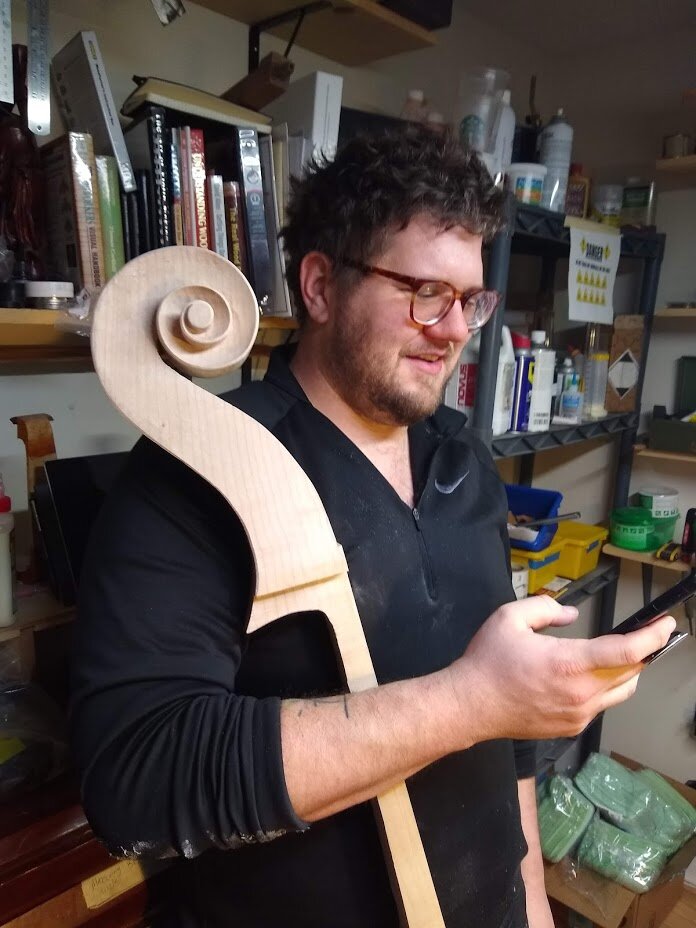
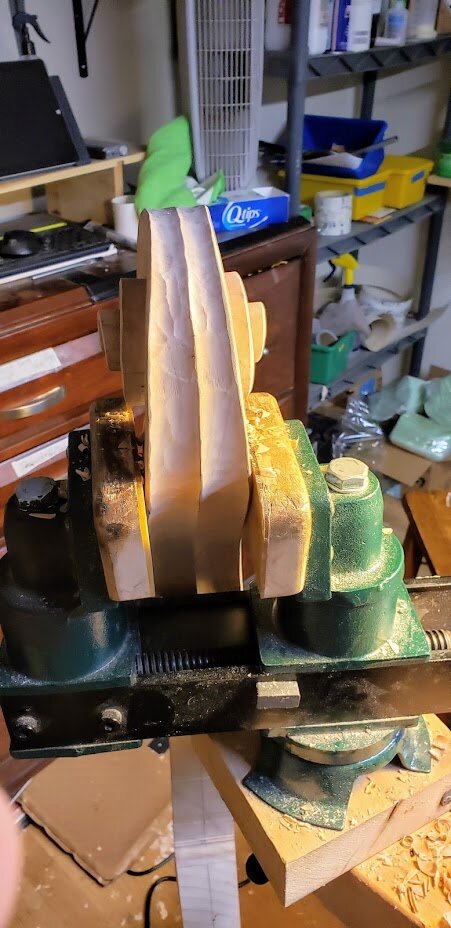
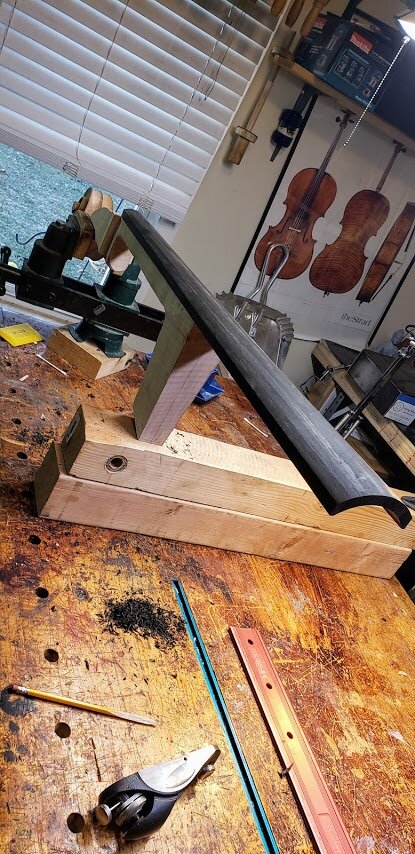
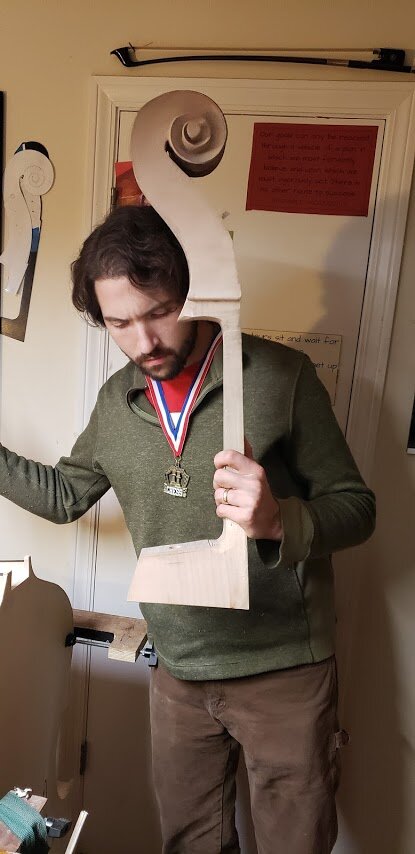
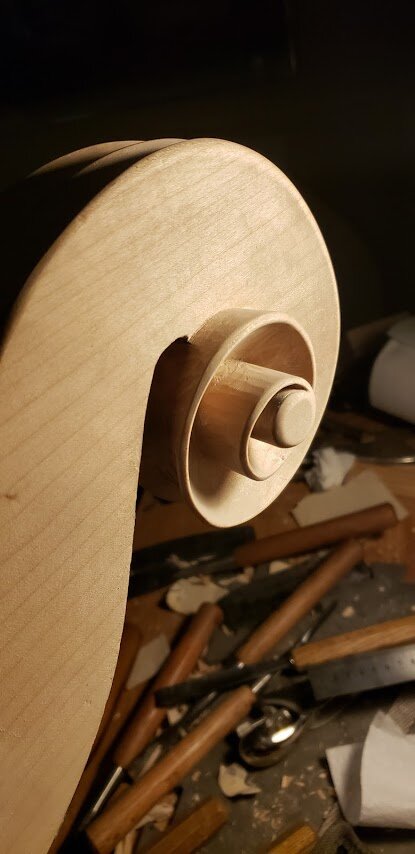
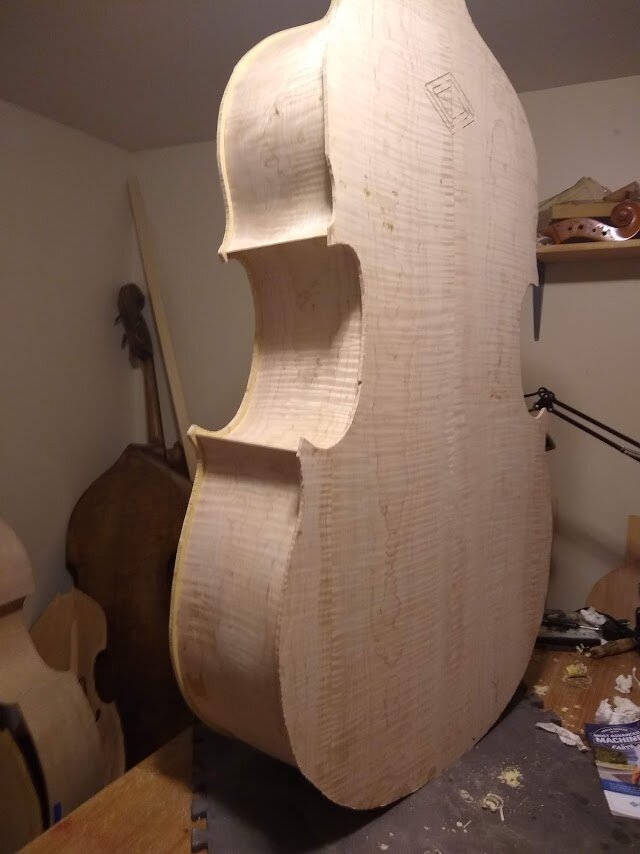
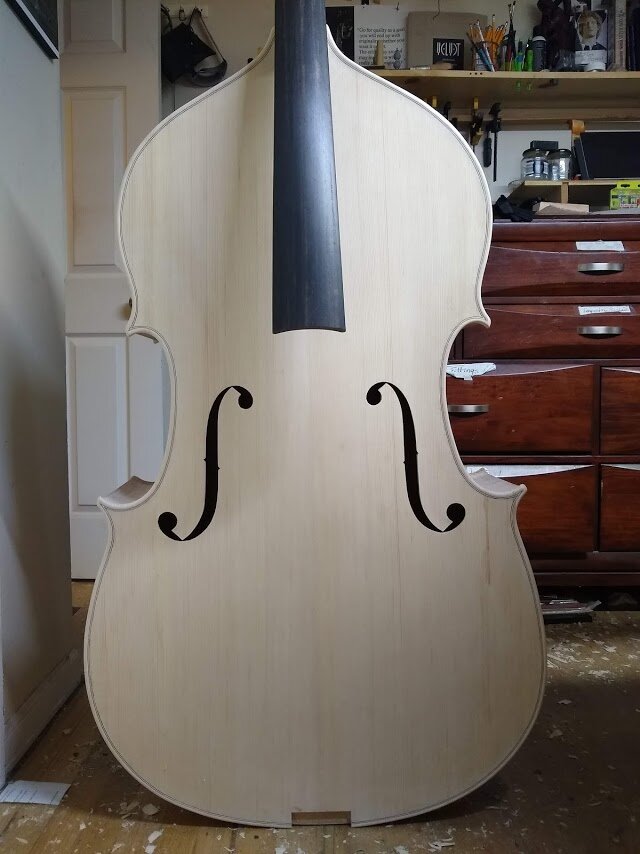
After tracing the outline for the top I bandsawed out the outline, and then Joey started in on the rough arching. While he was doing that I laid out the outline of the neck and scroll, and then sawed that out. We basically spent the next 2 days holed up in our own workspace digging into the work on the top (Joey) and the scroll (me)
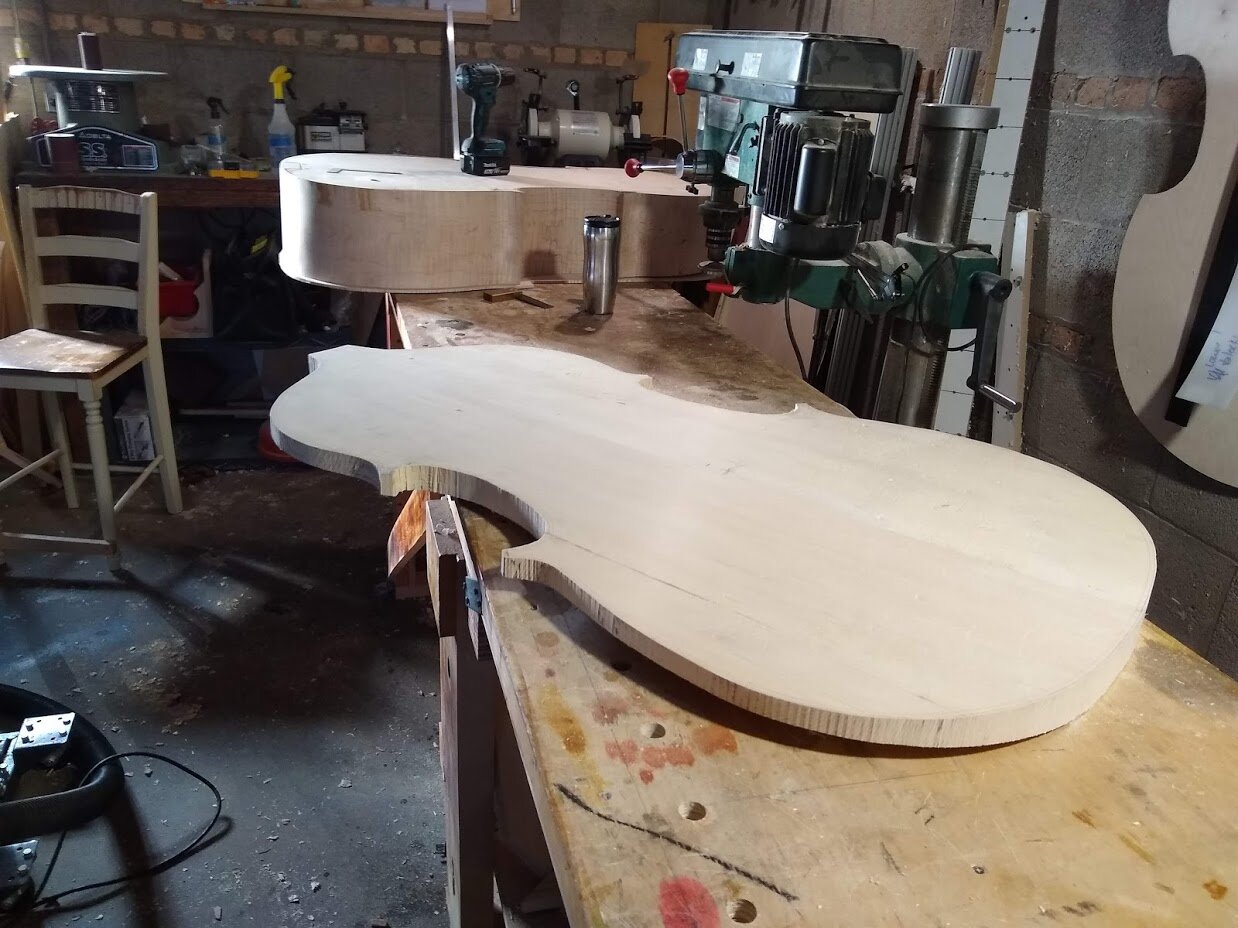

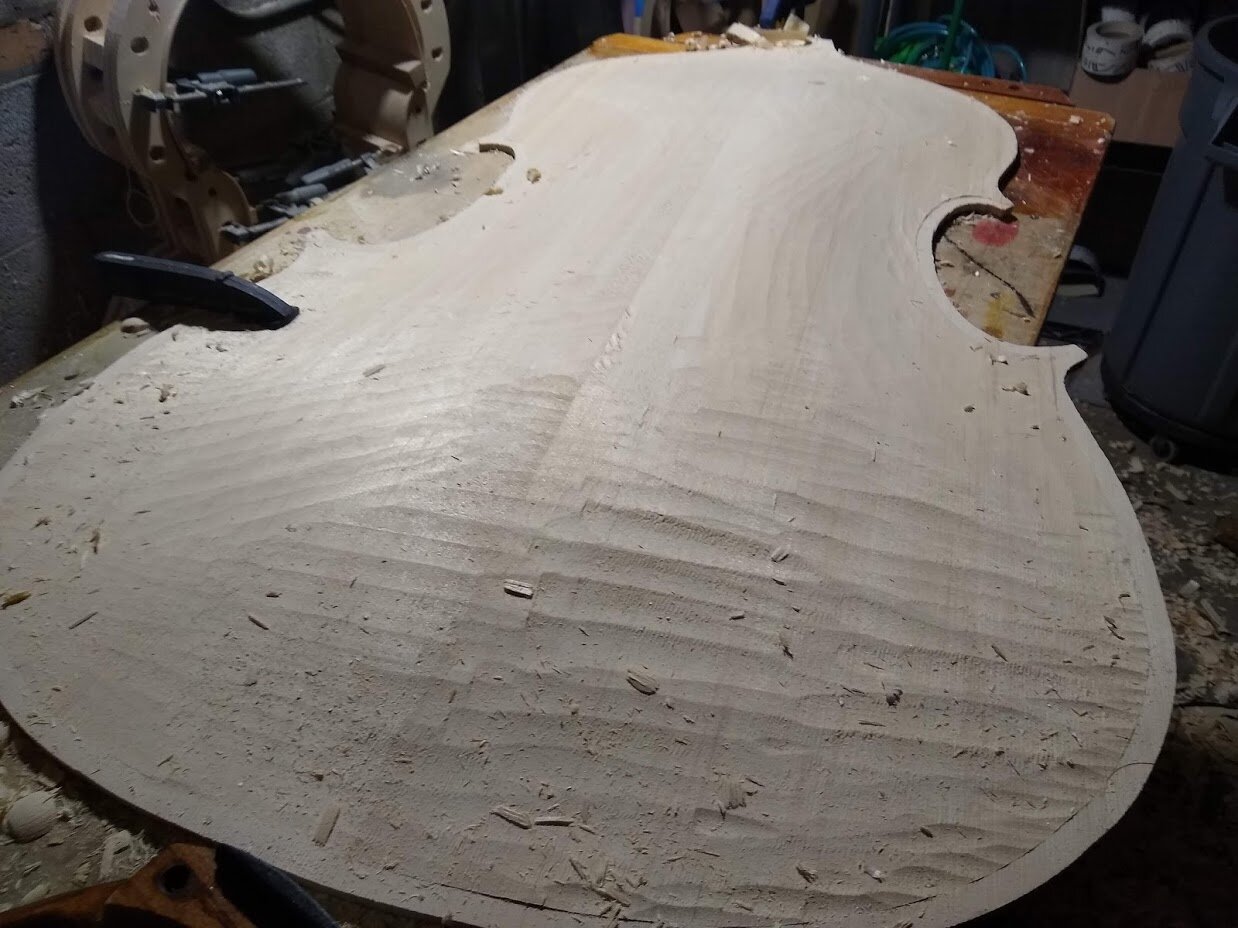
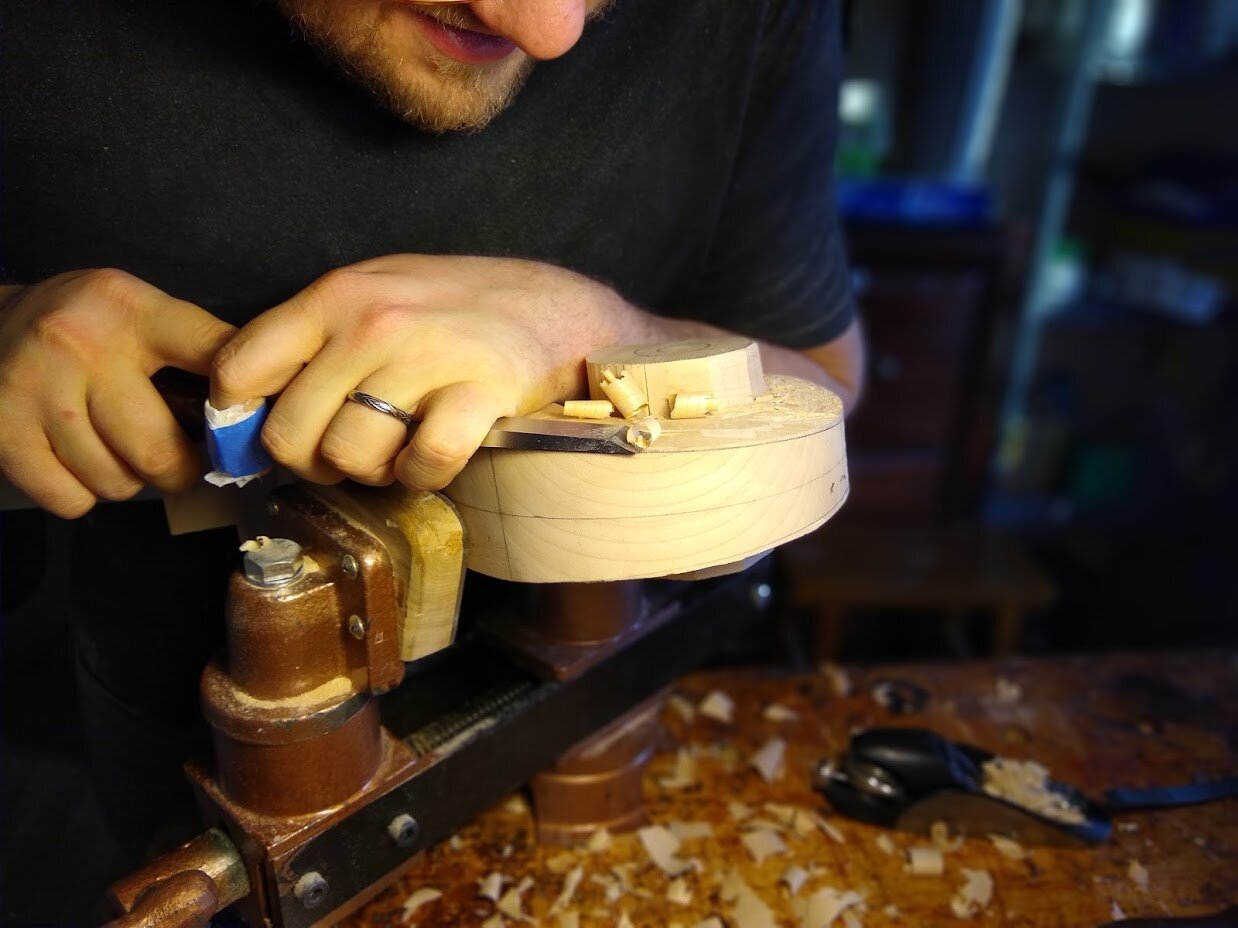
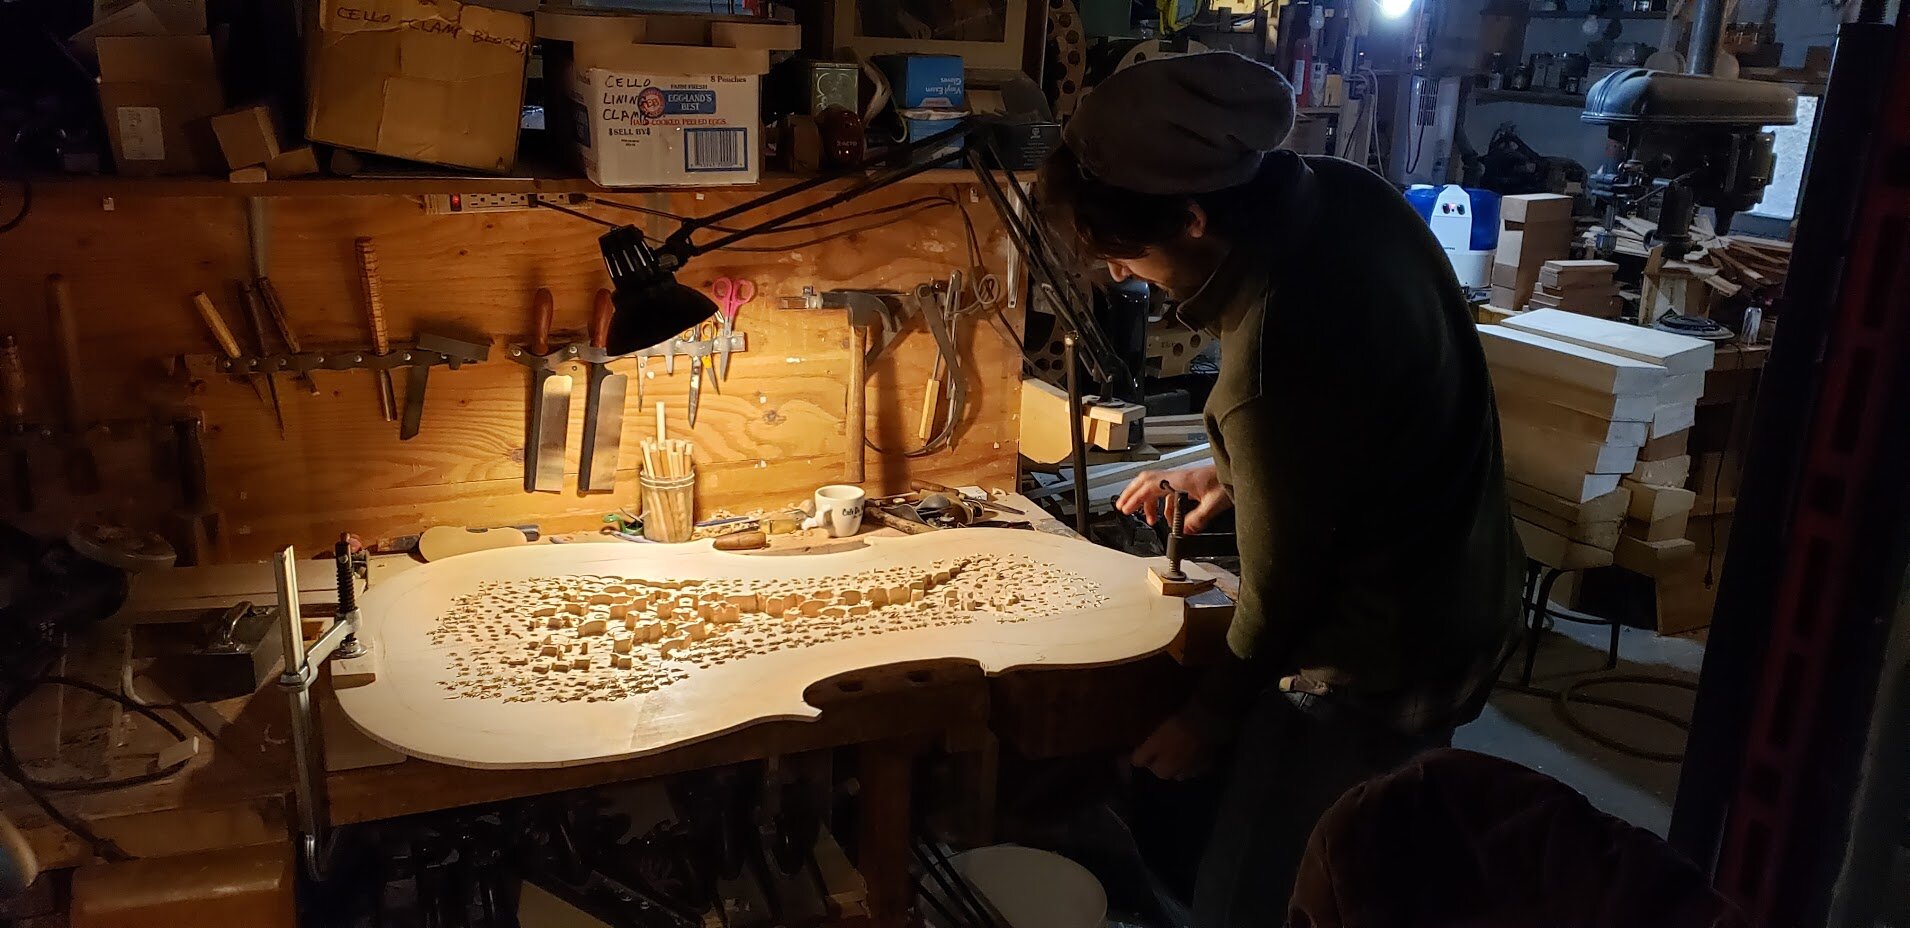
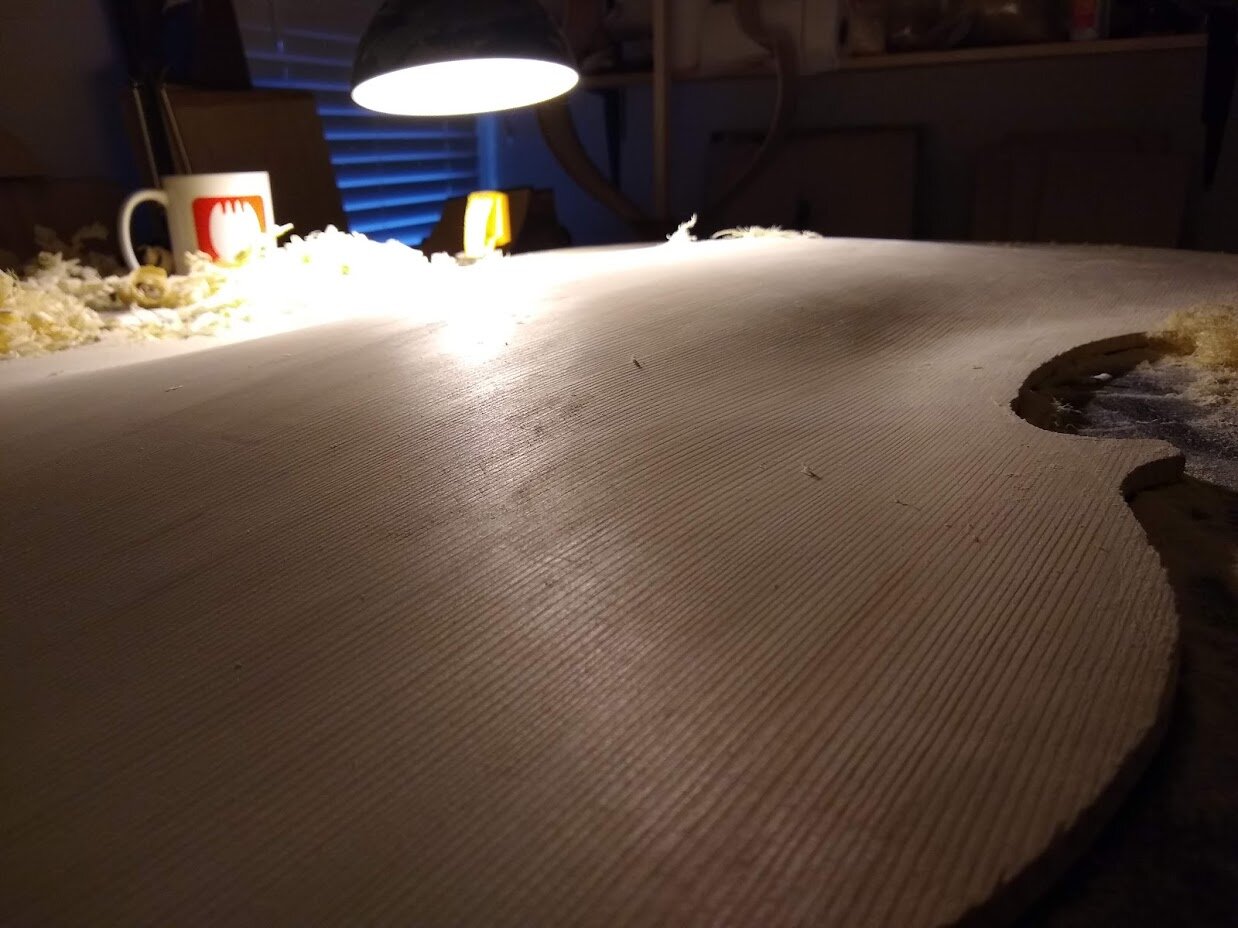
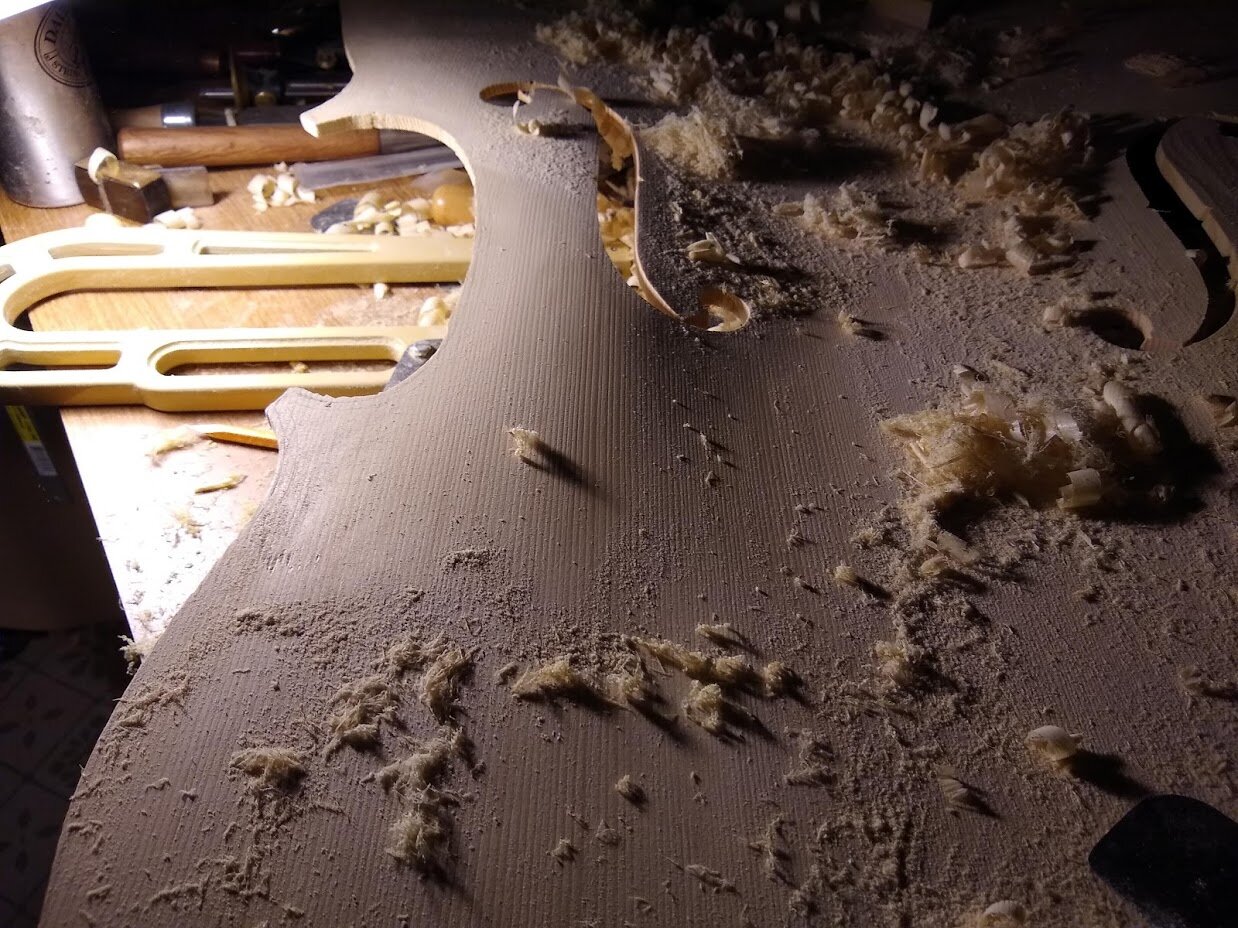
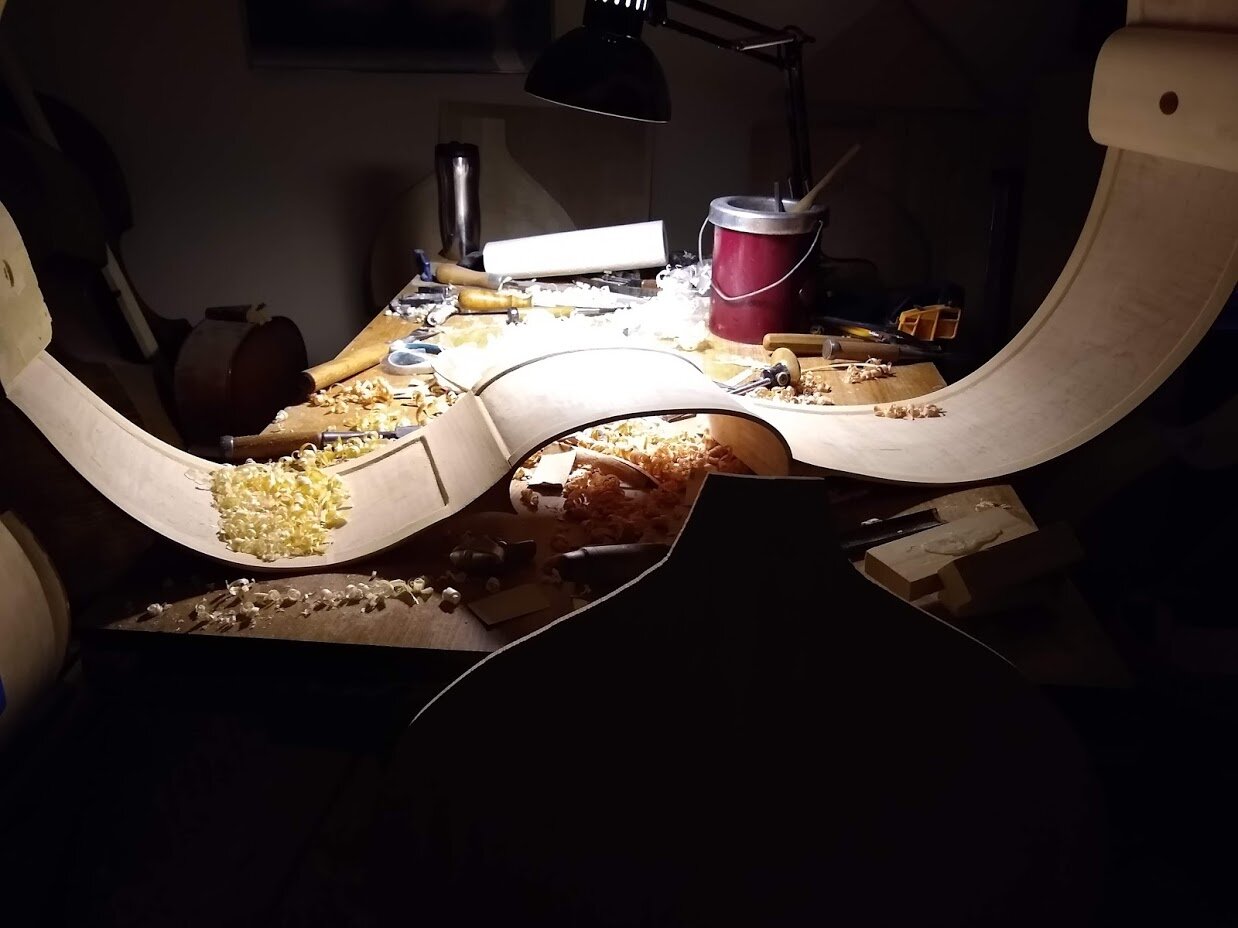
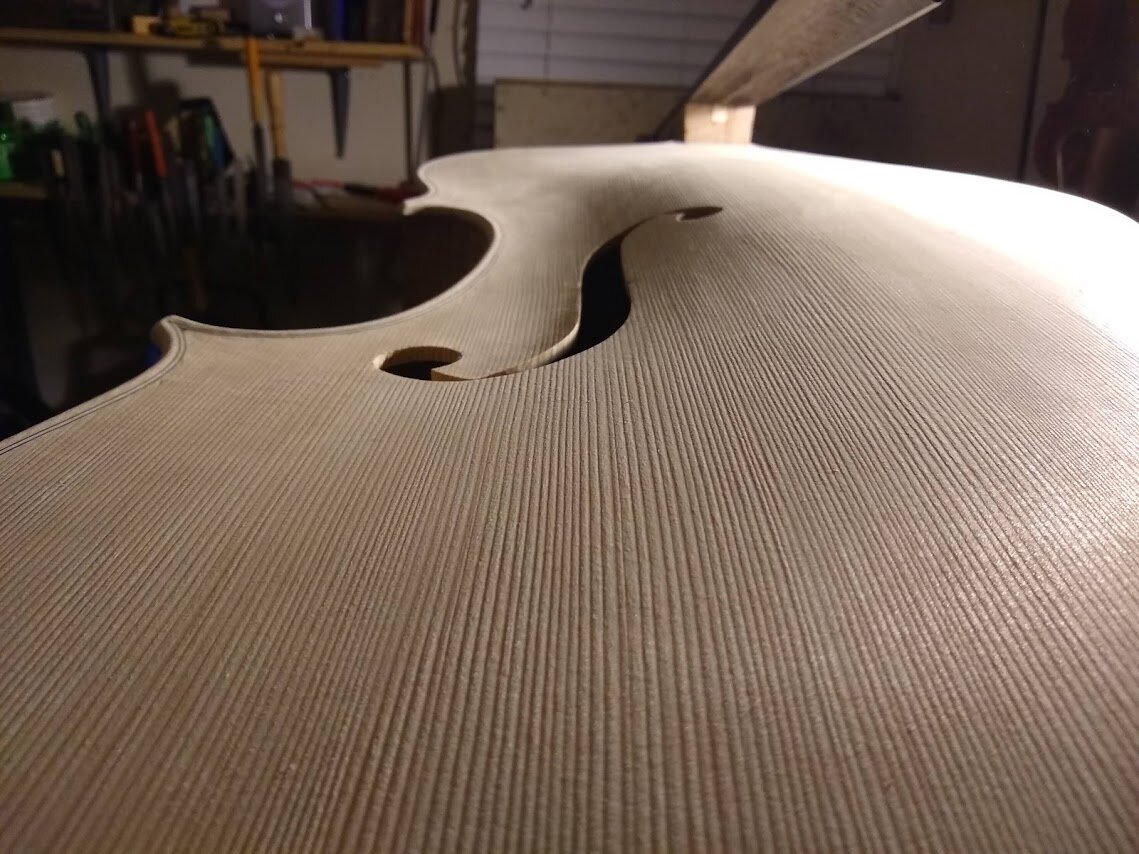
Day 3-5:
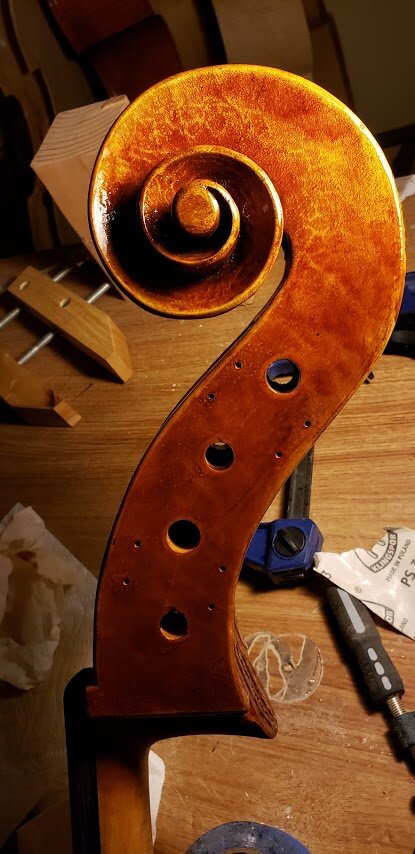
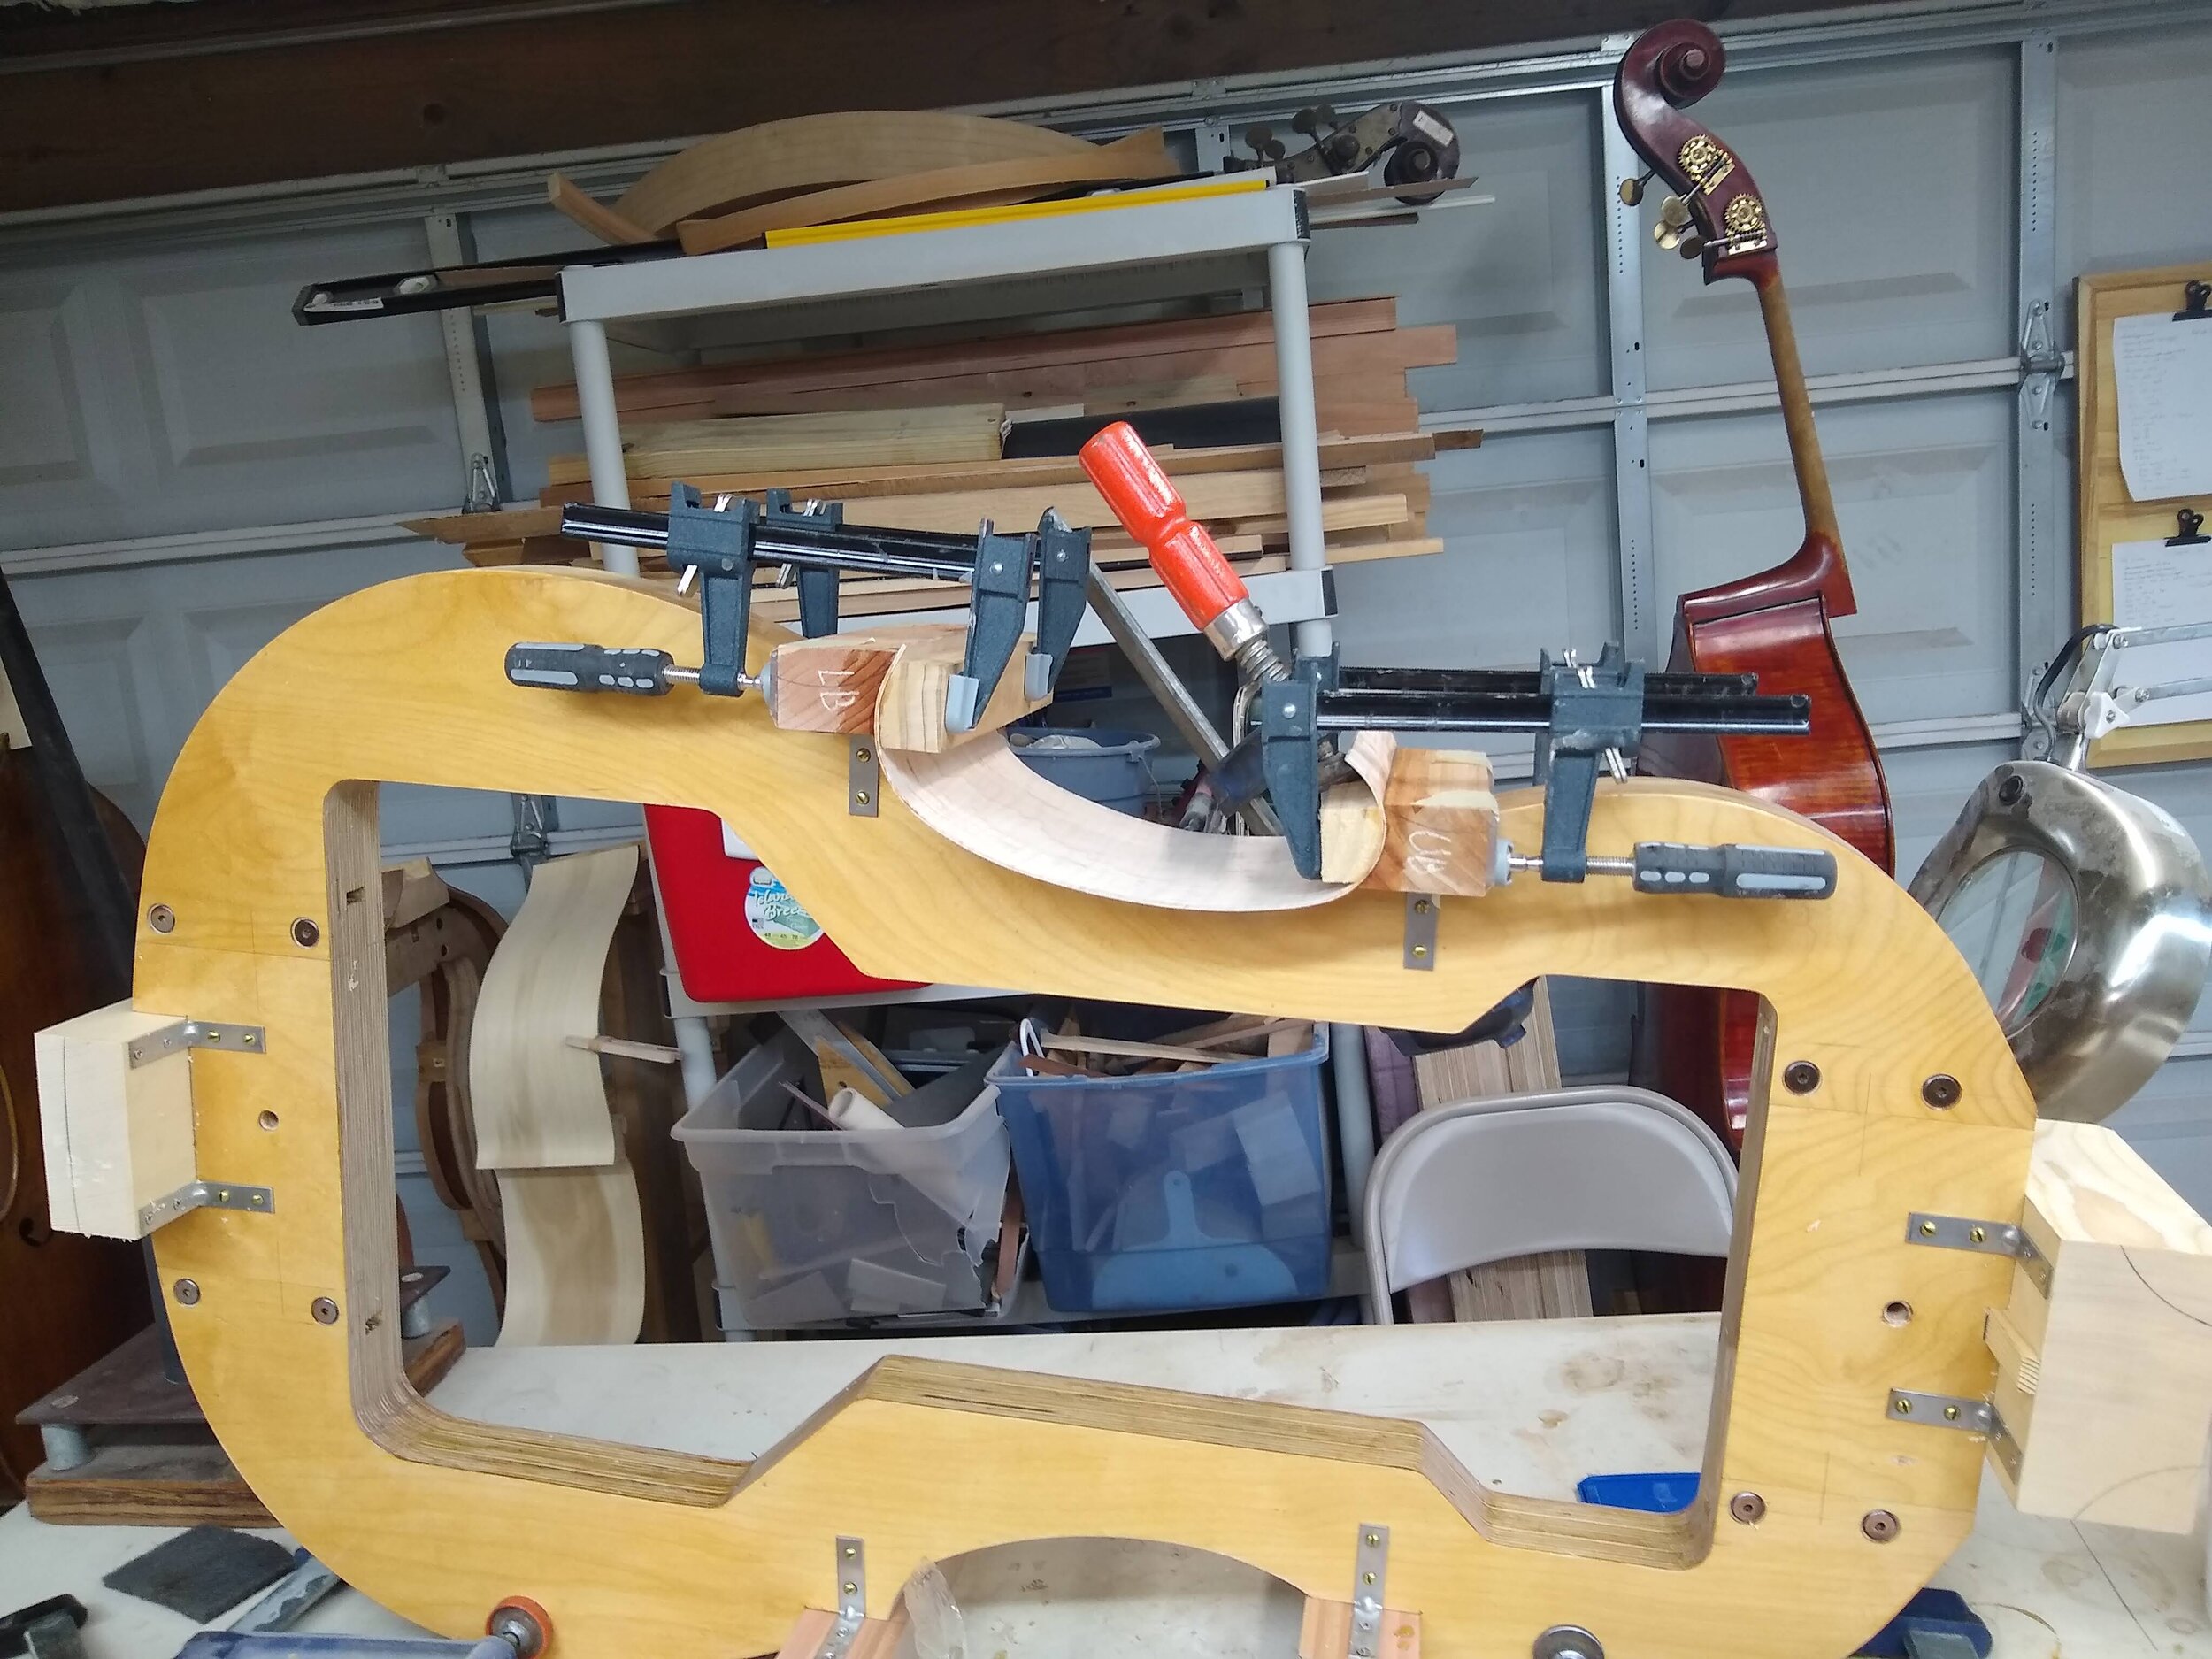
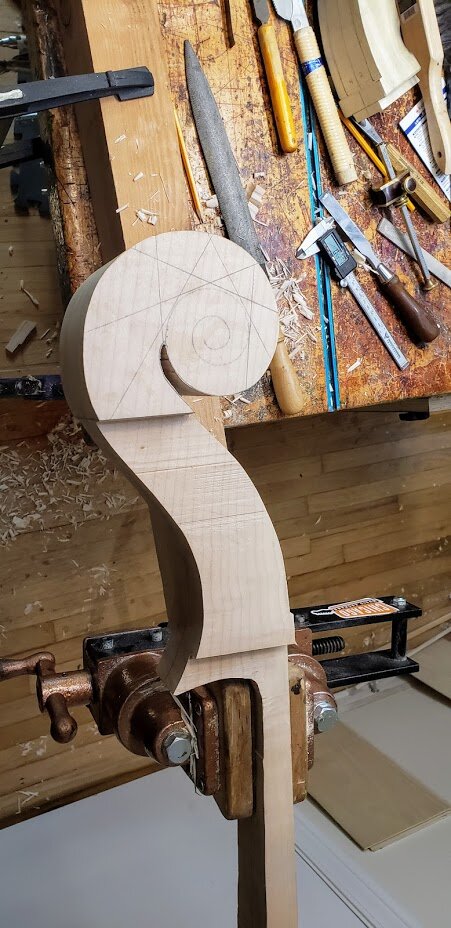
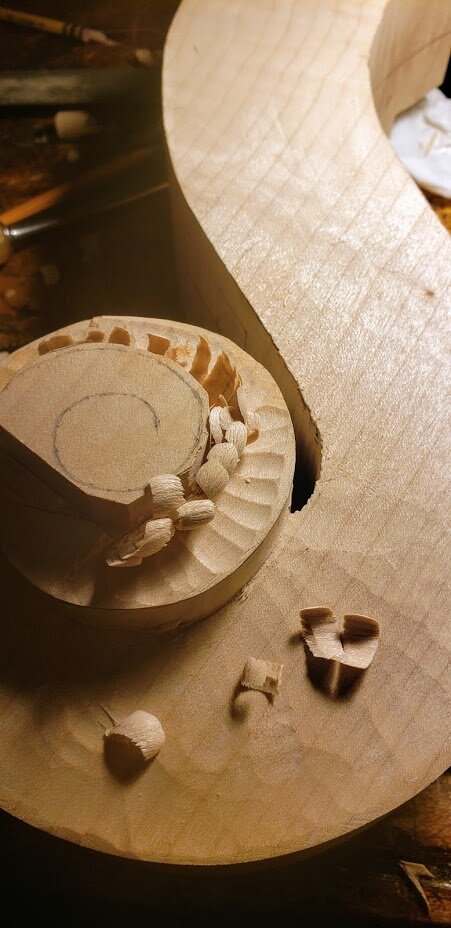
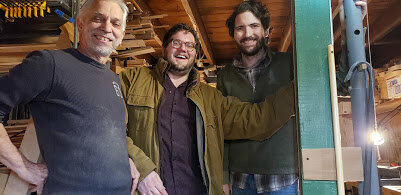
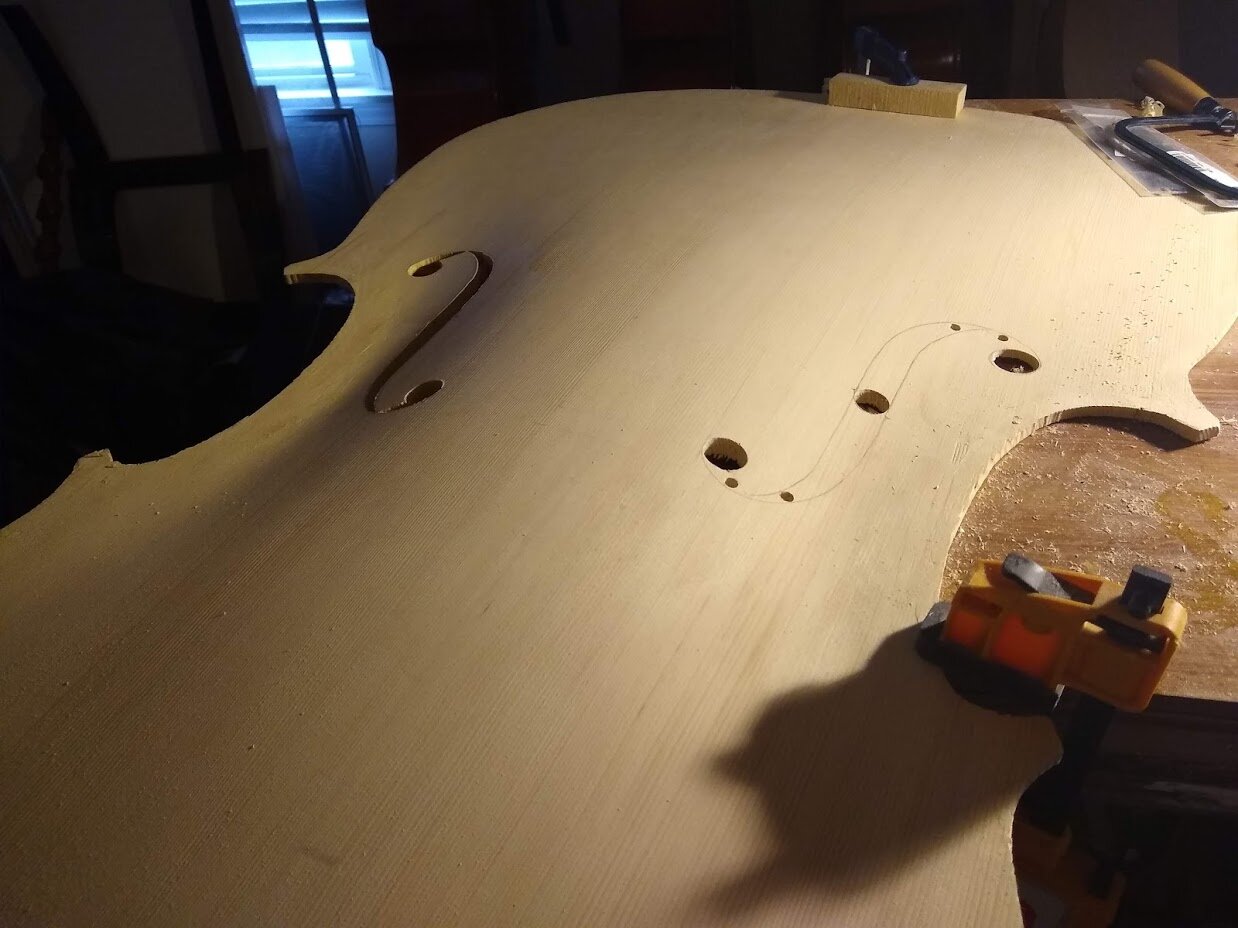
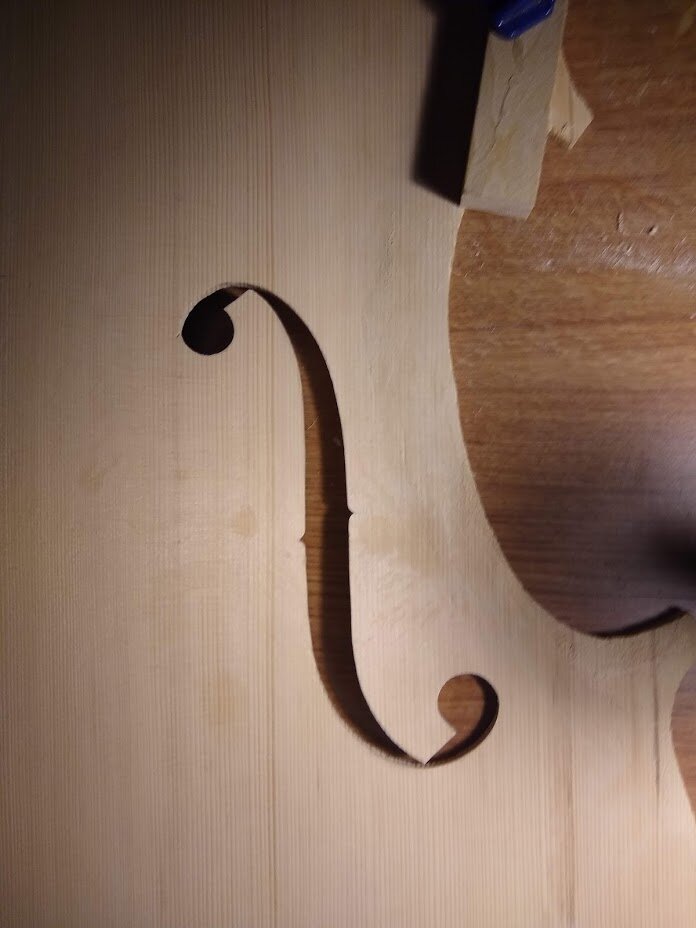
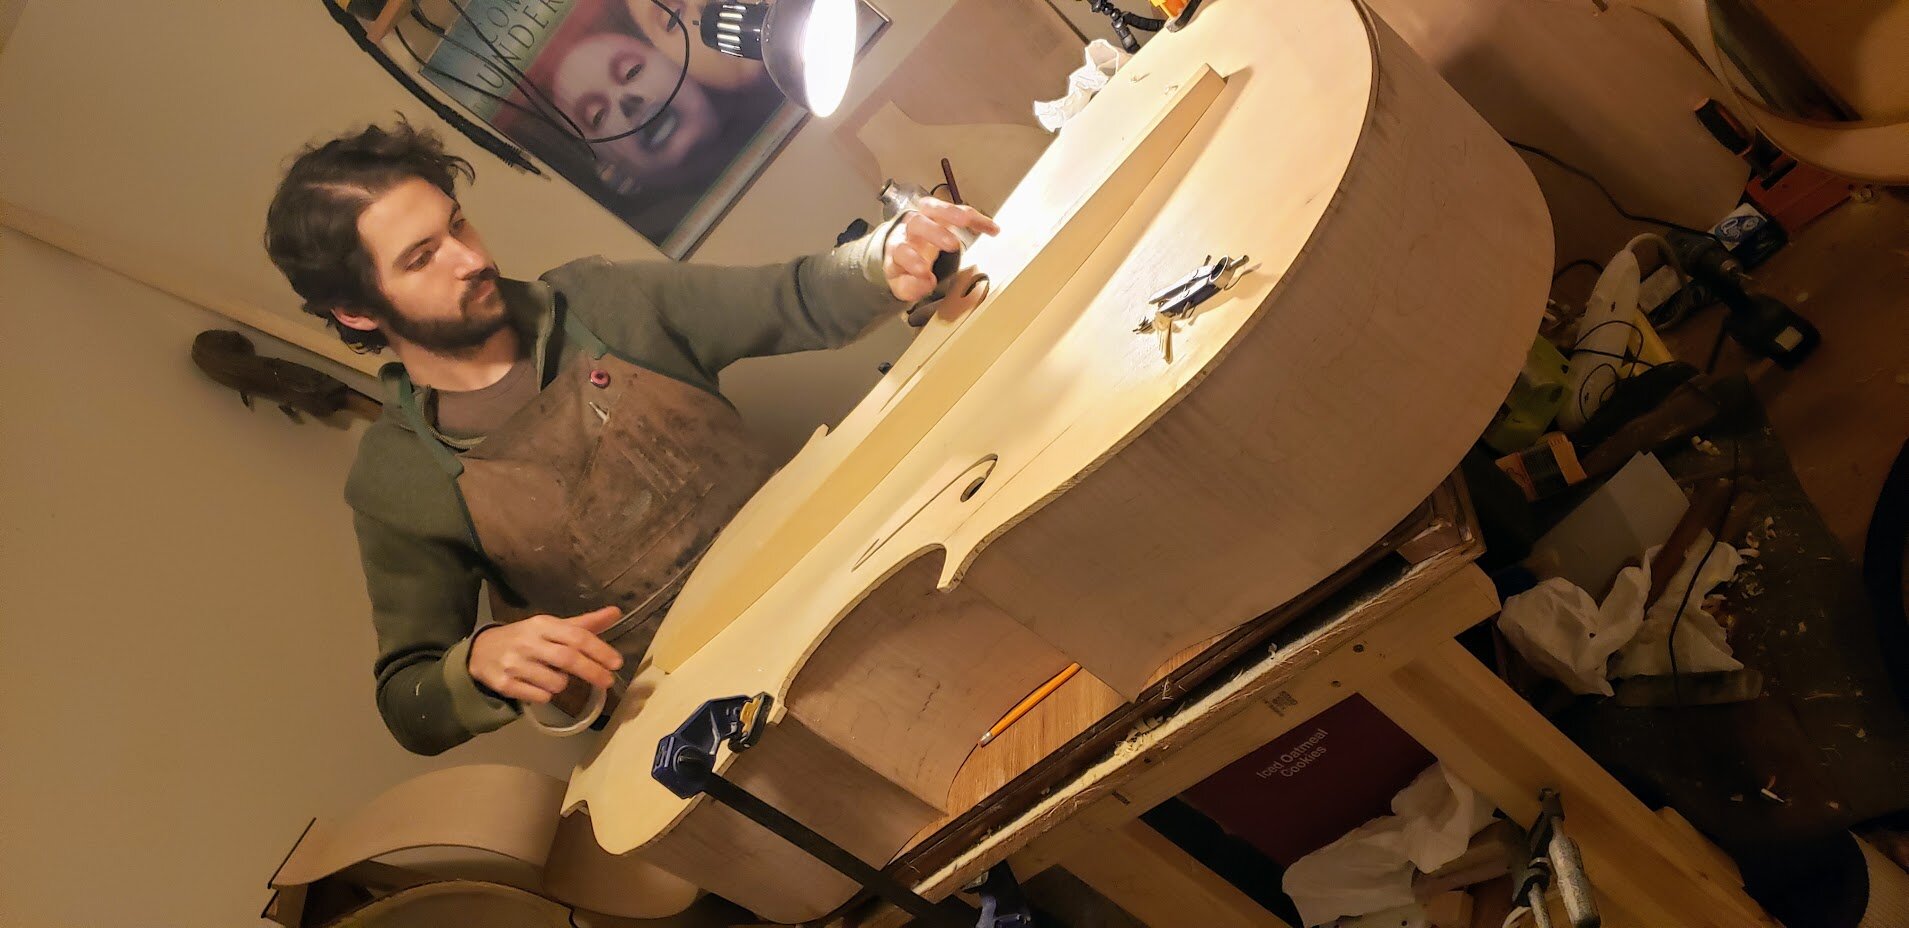
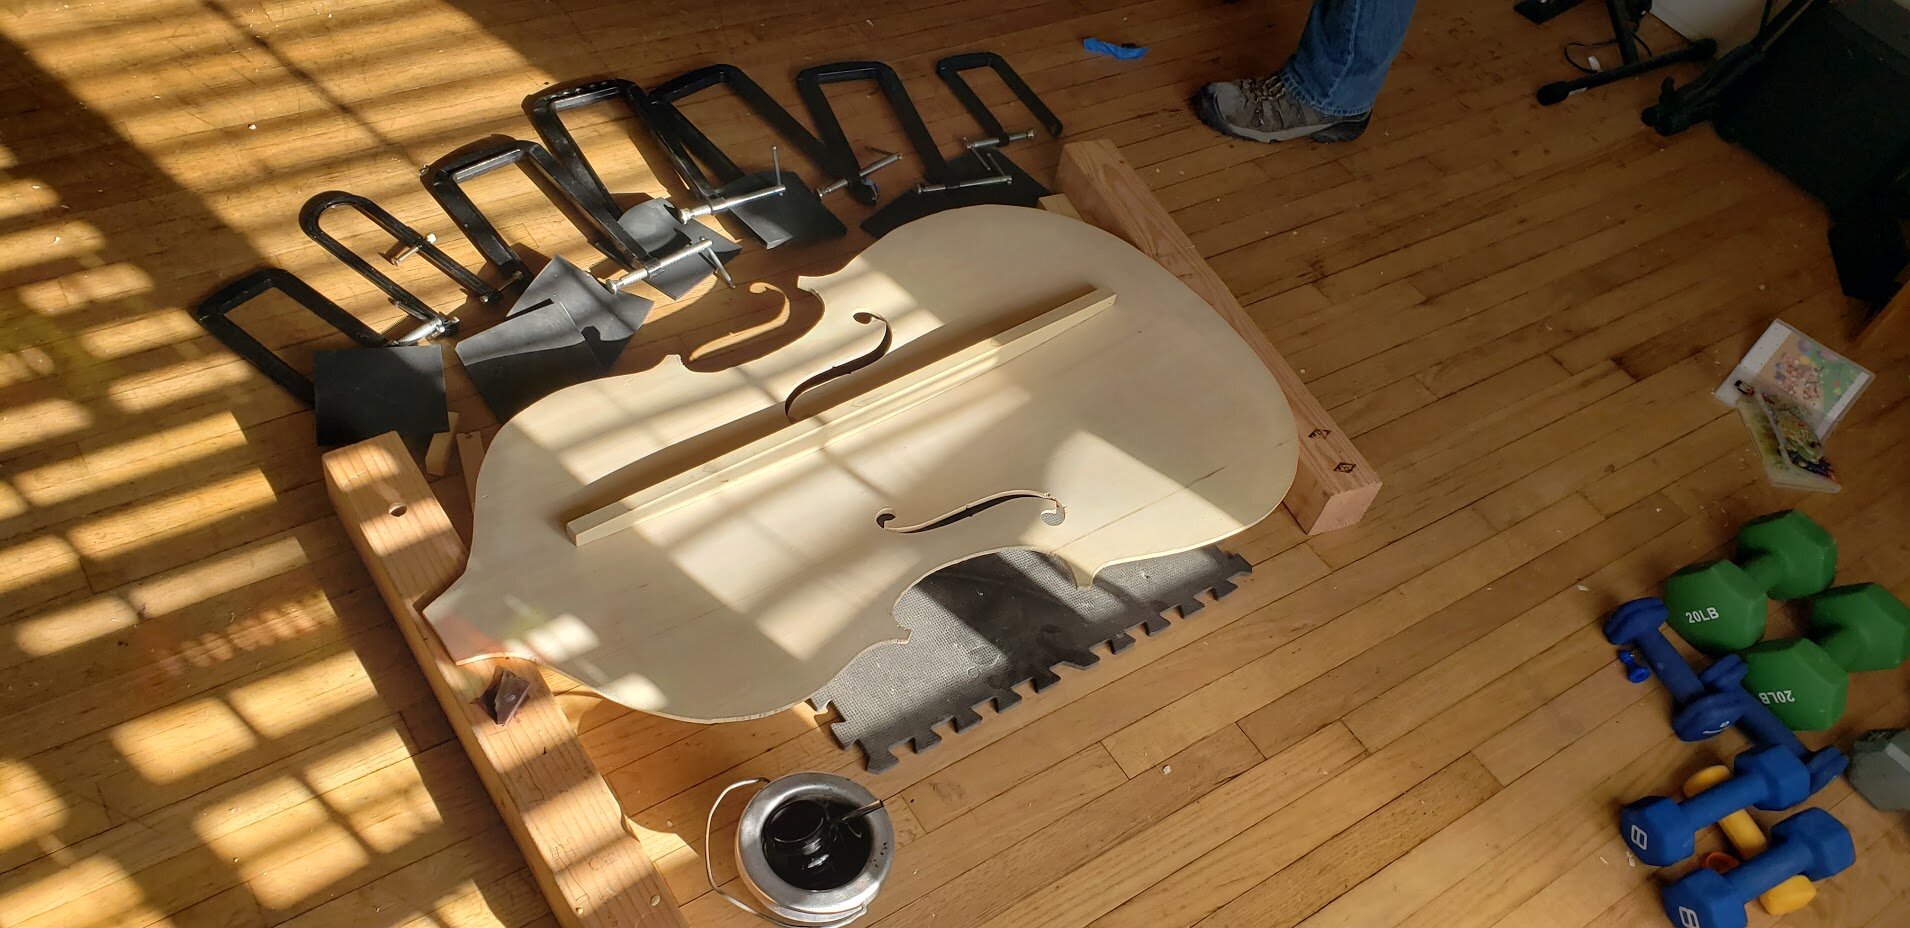
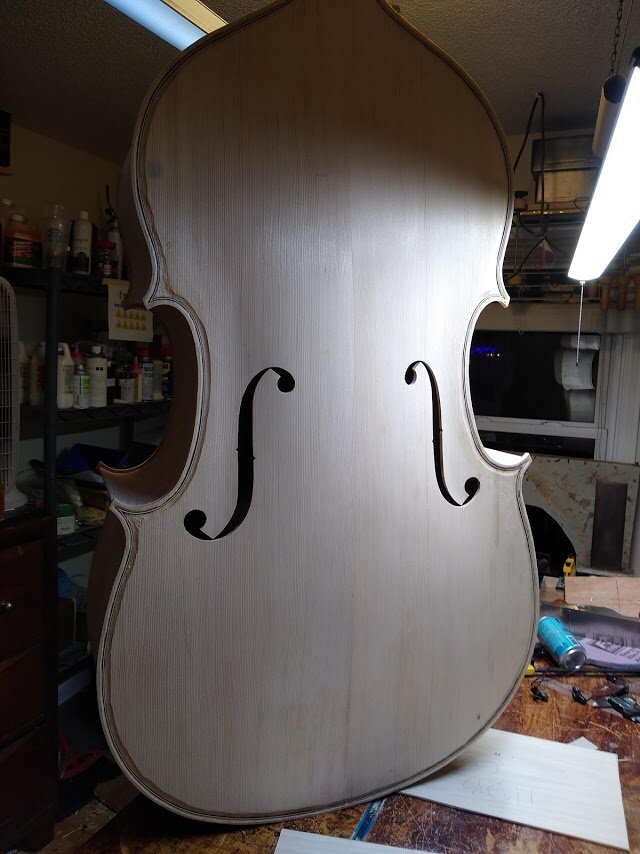
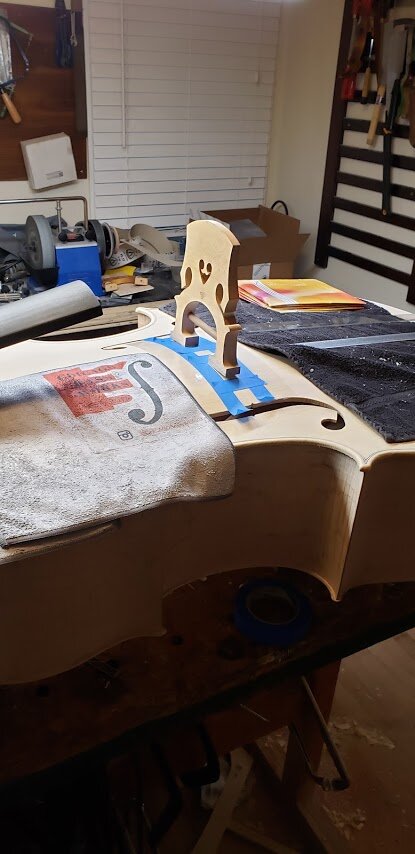
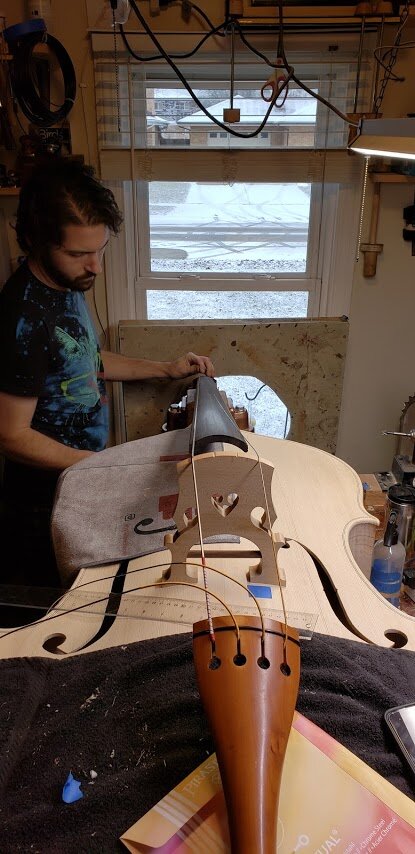
With a lot of the “rough” work out of the way it was time to get down to the detailed work of final shaping and scraping of the arching, rough graduations of the top, and carving out the fluting of the scroll. On day 5 we spent the day working in my teacher Will Whedbee’s (http://www.whedbeeviolins.com) workshop on the north side. It was great to have Joey and Will meet, and many ideas (and coffees) were shared. We decided on f-holes and Joey masterfully cut them out while I worked on the pegbox fluting.

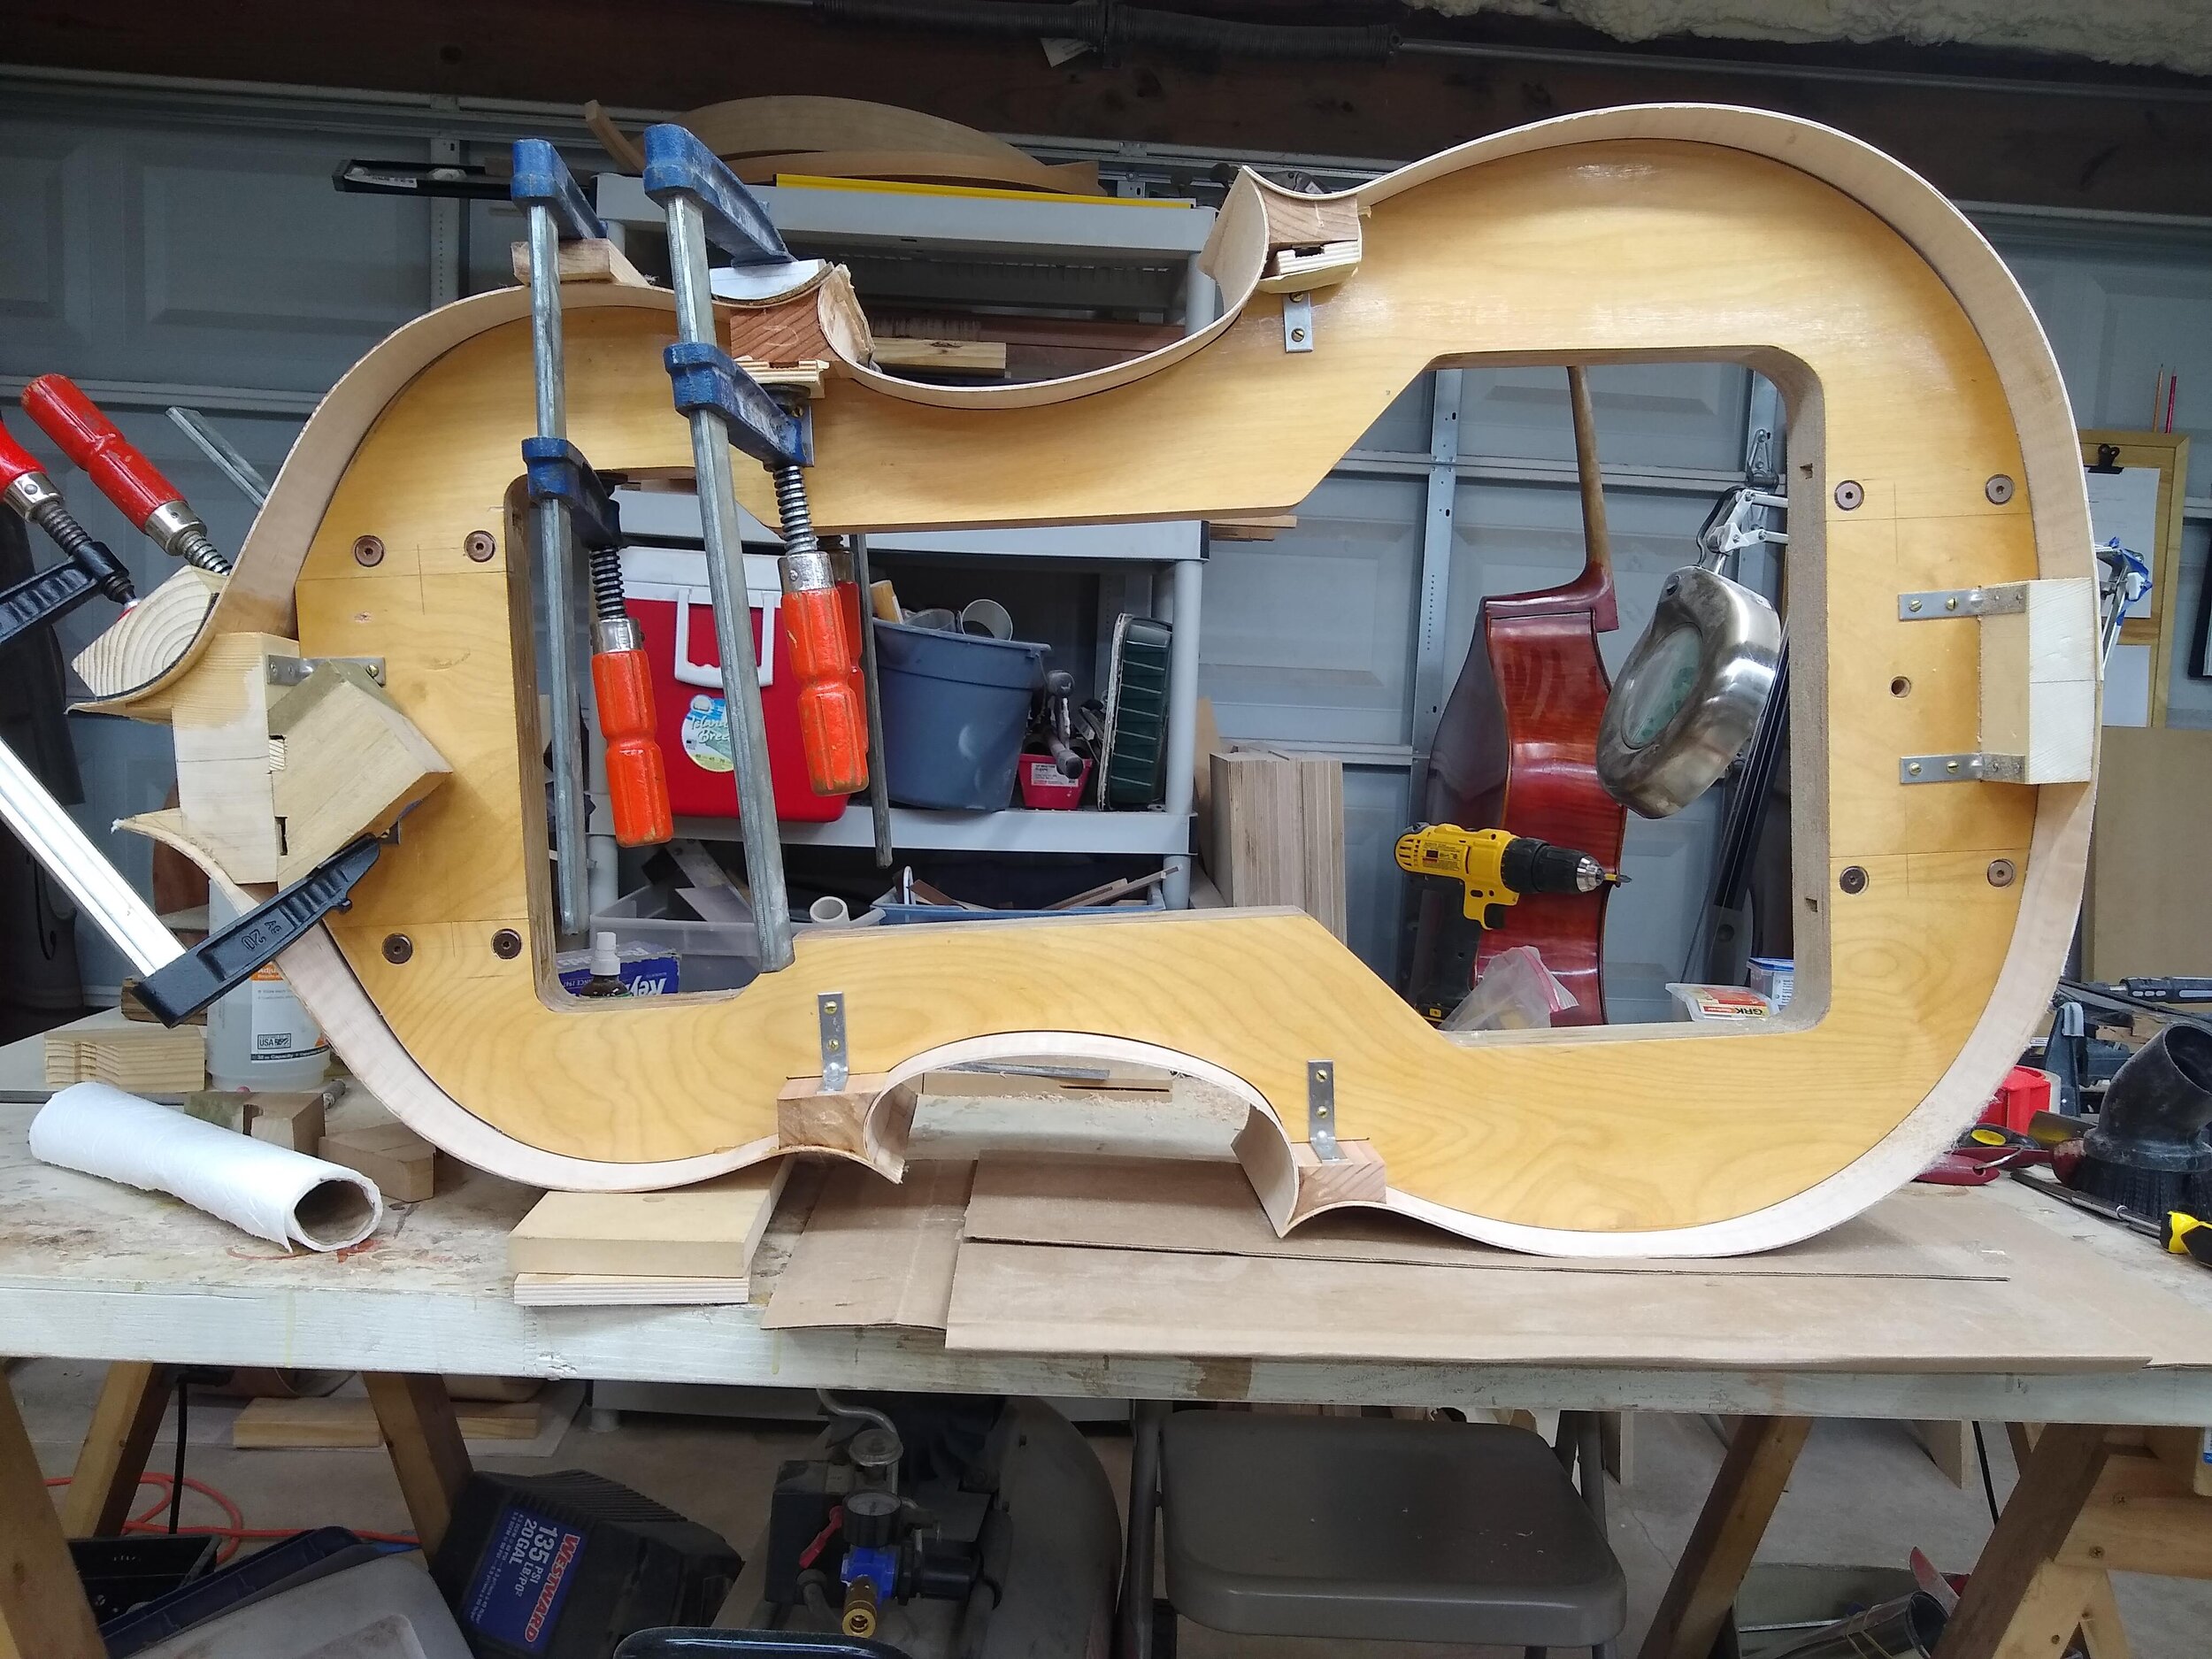
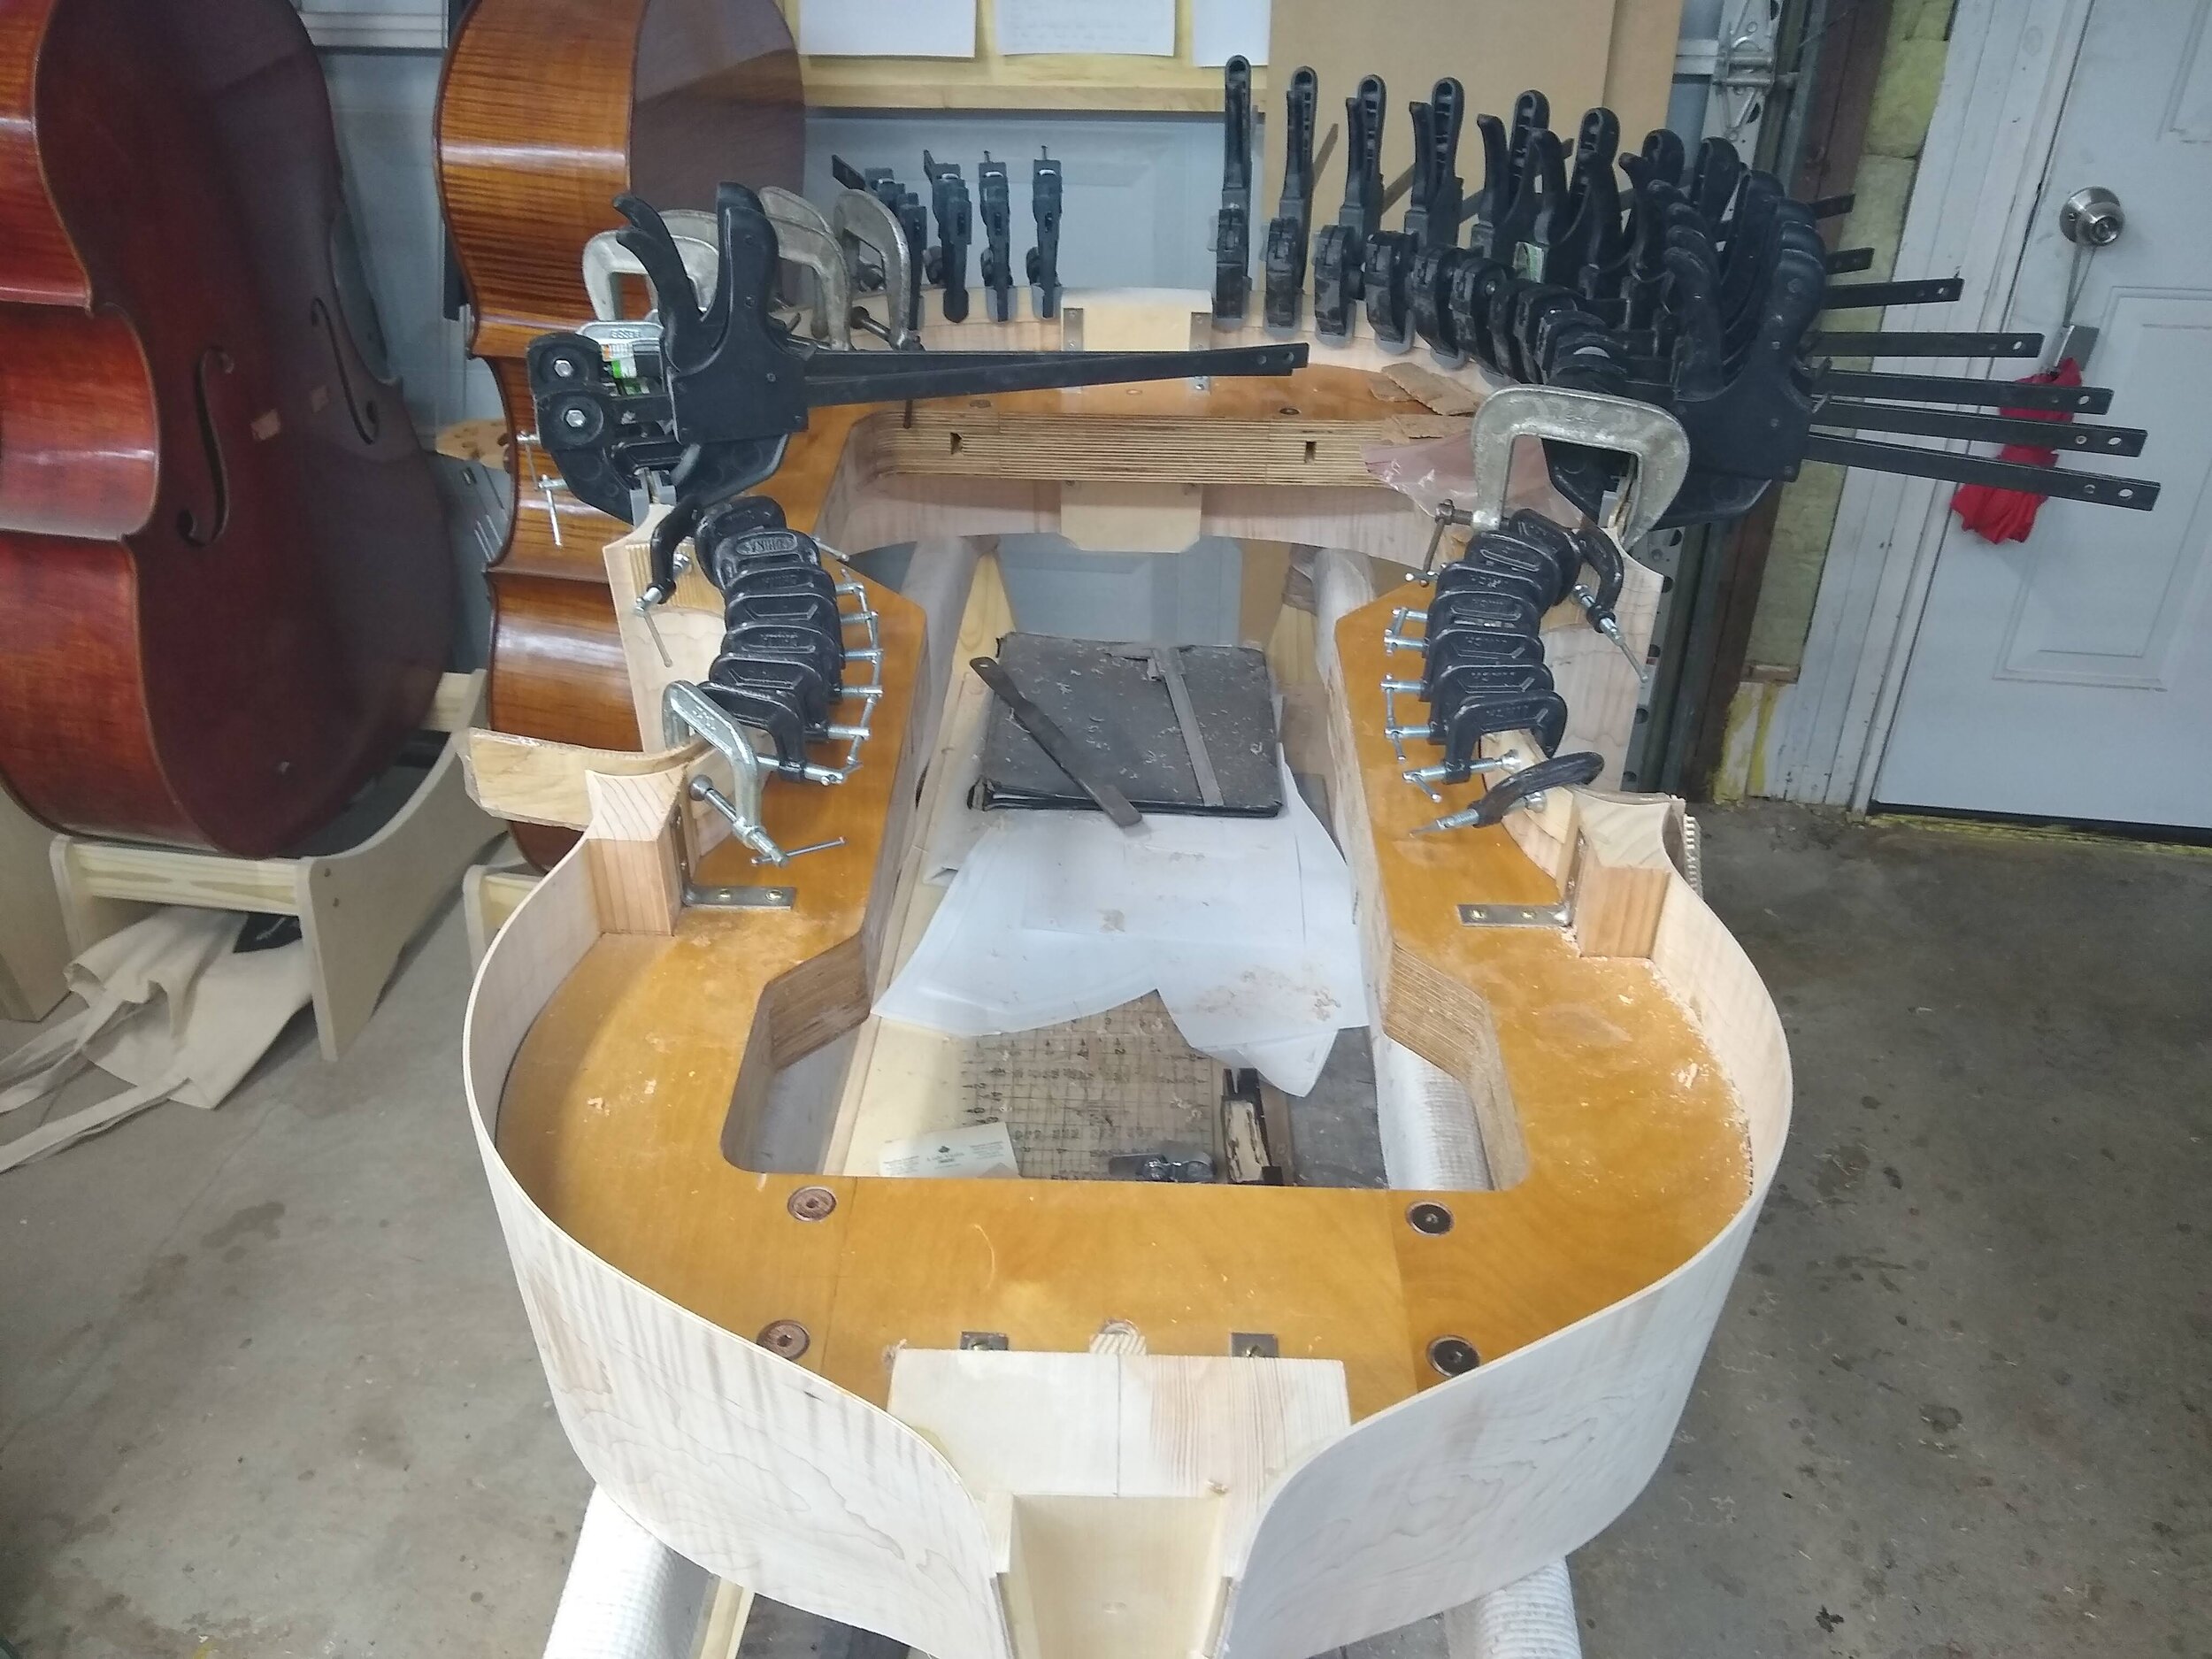
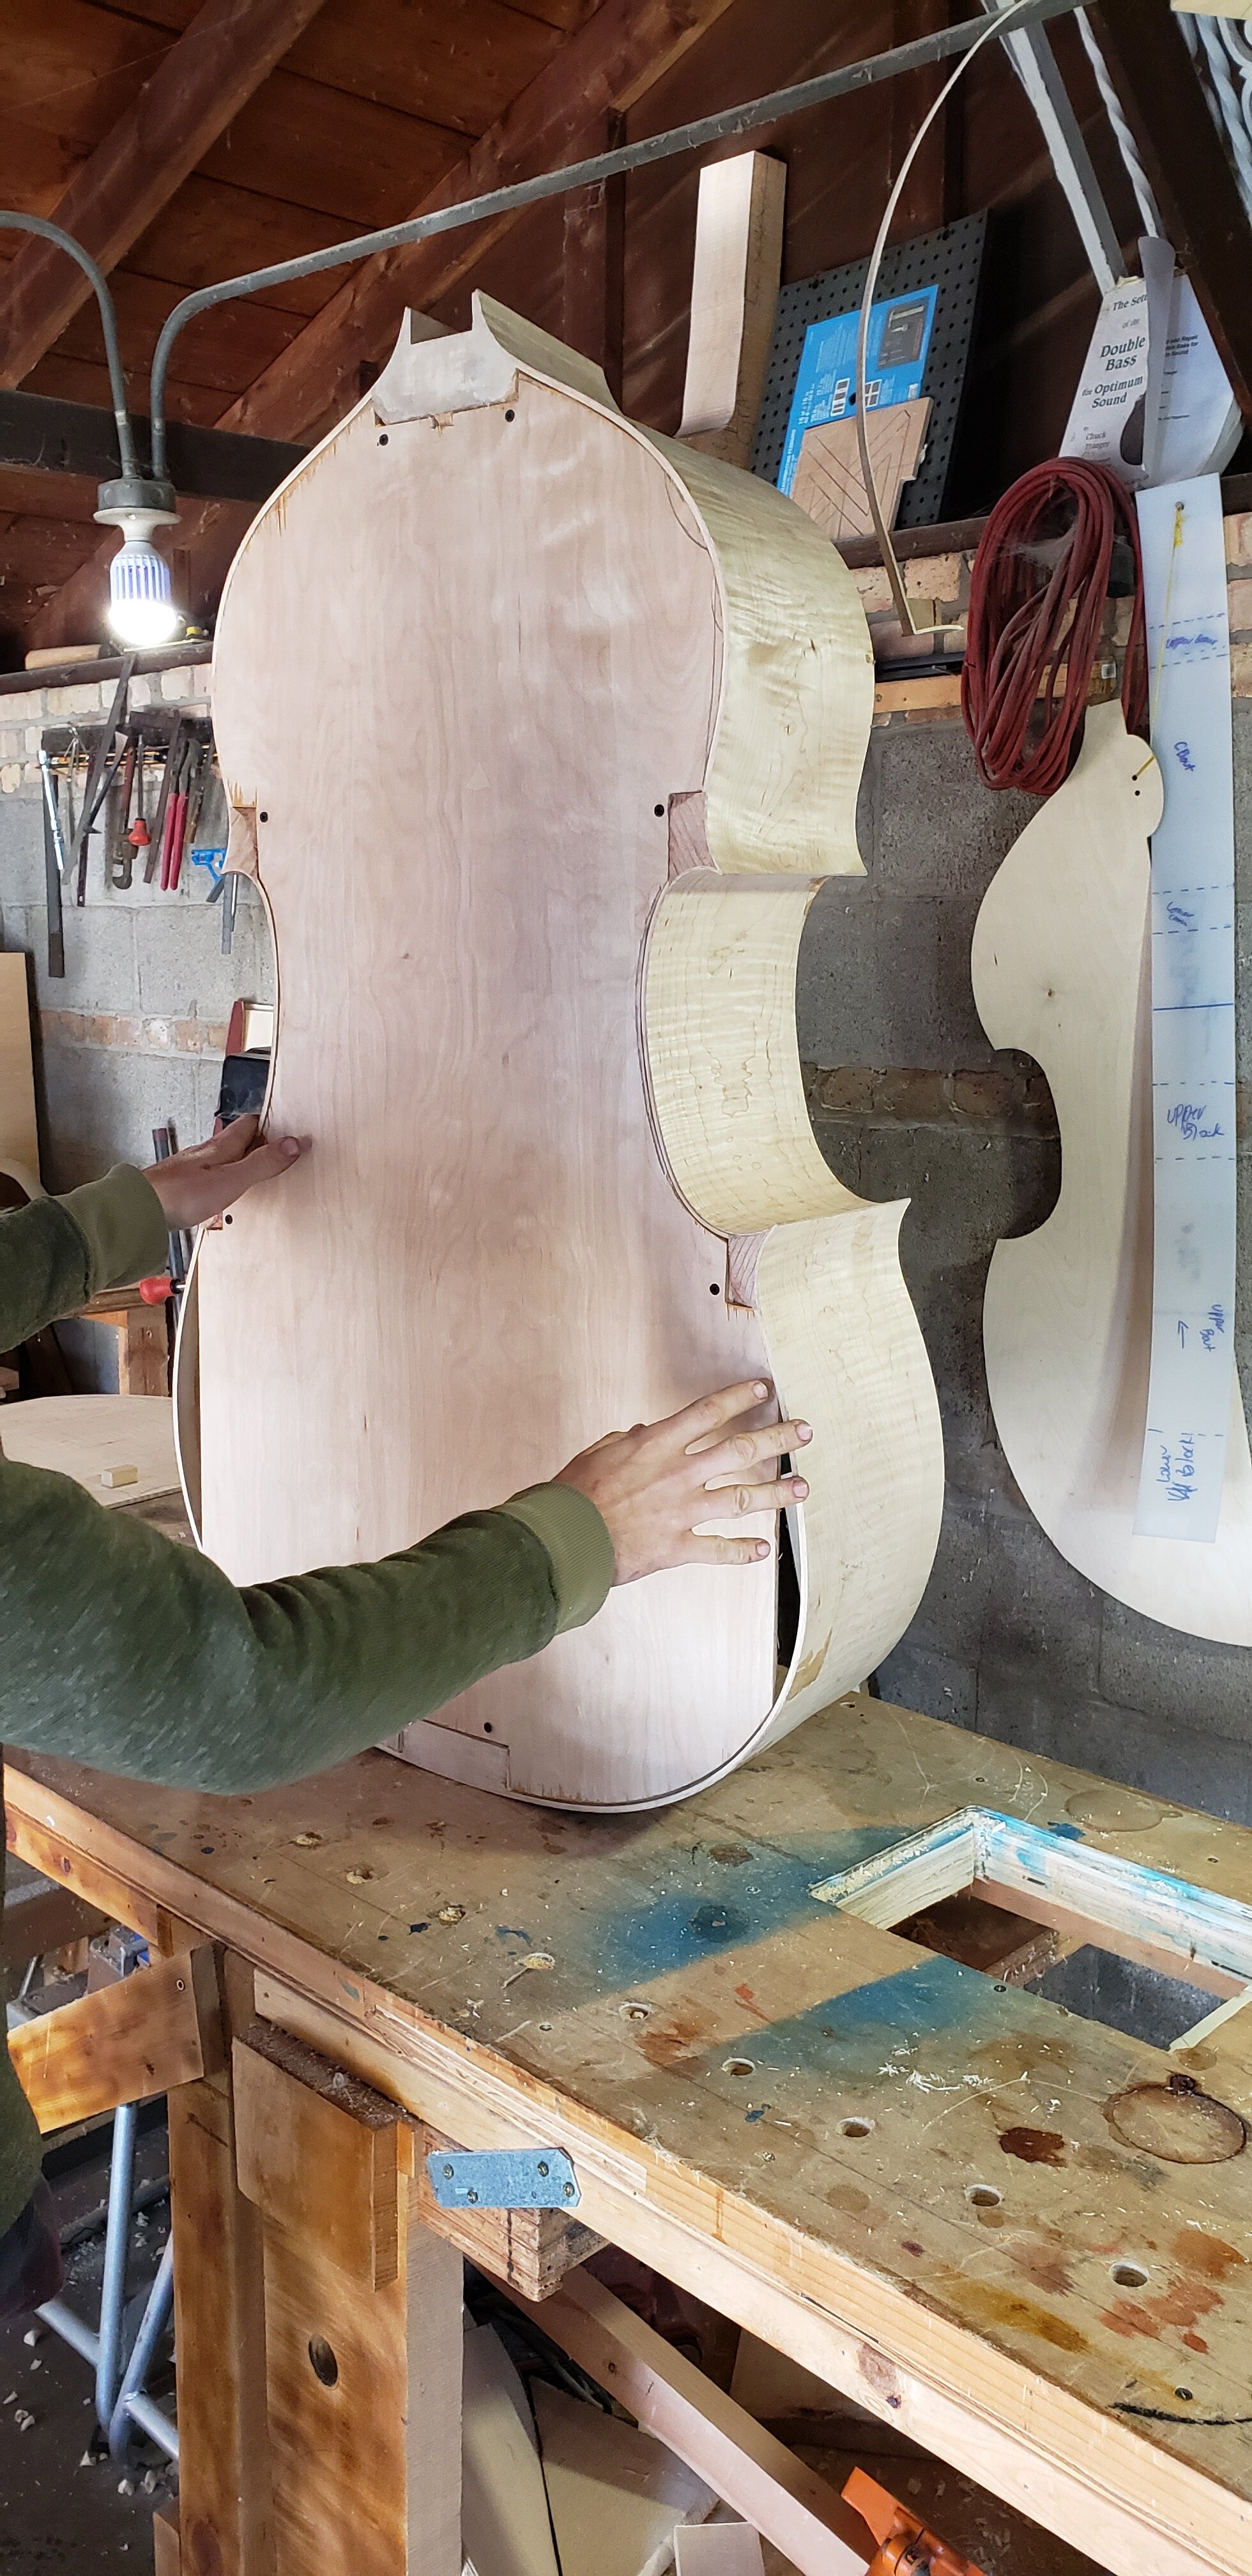
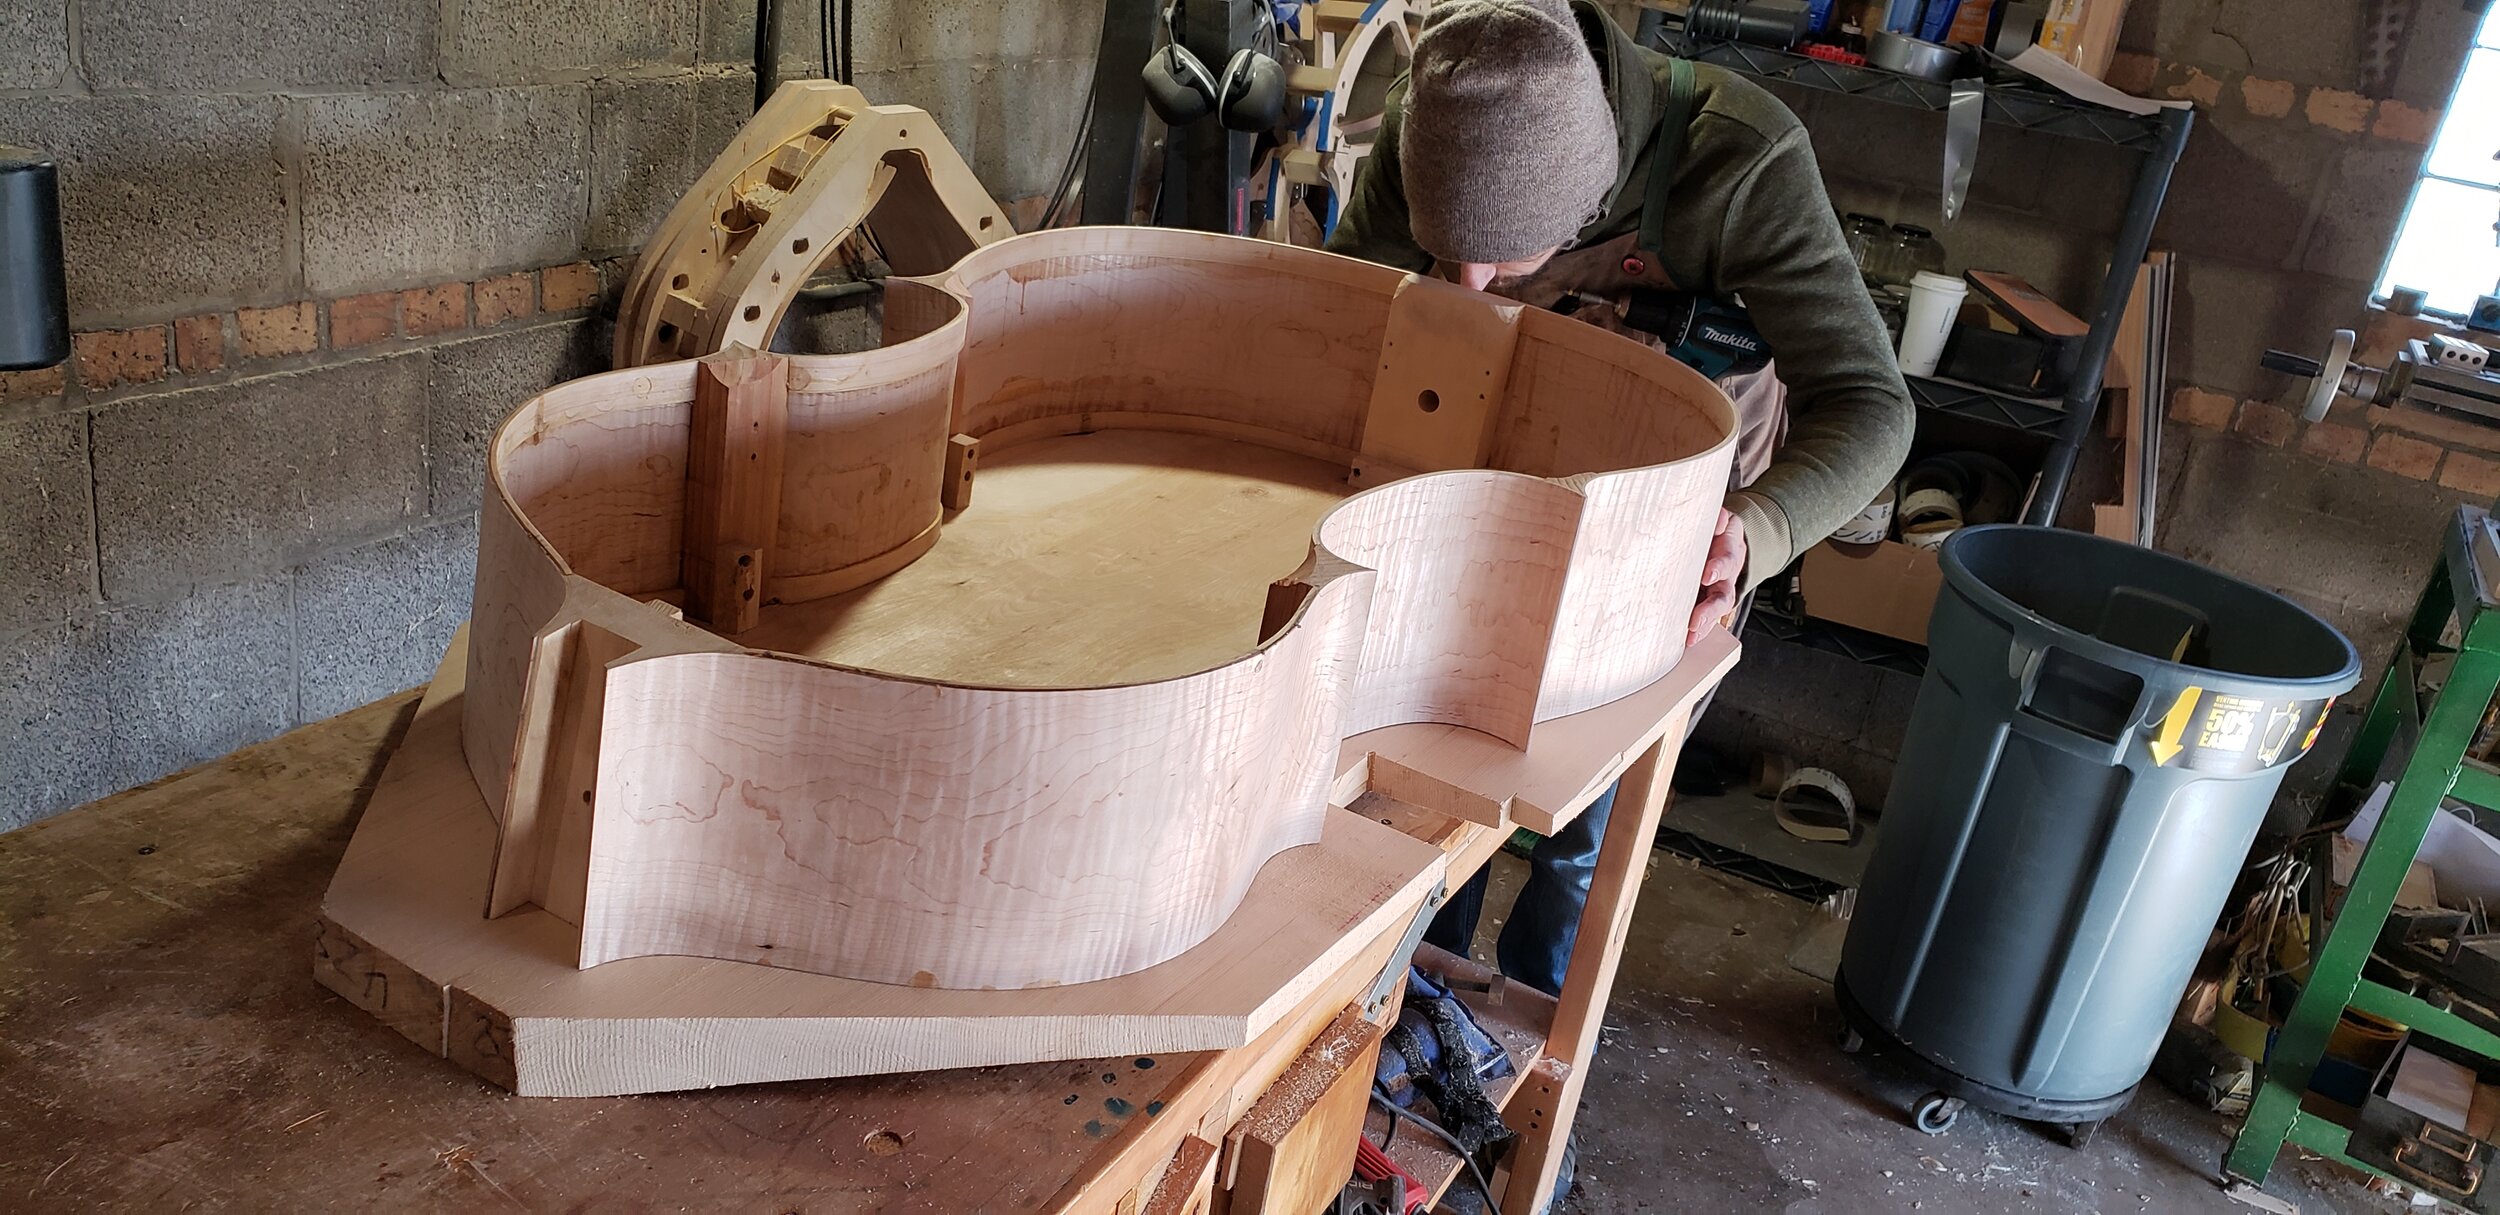
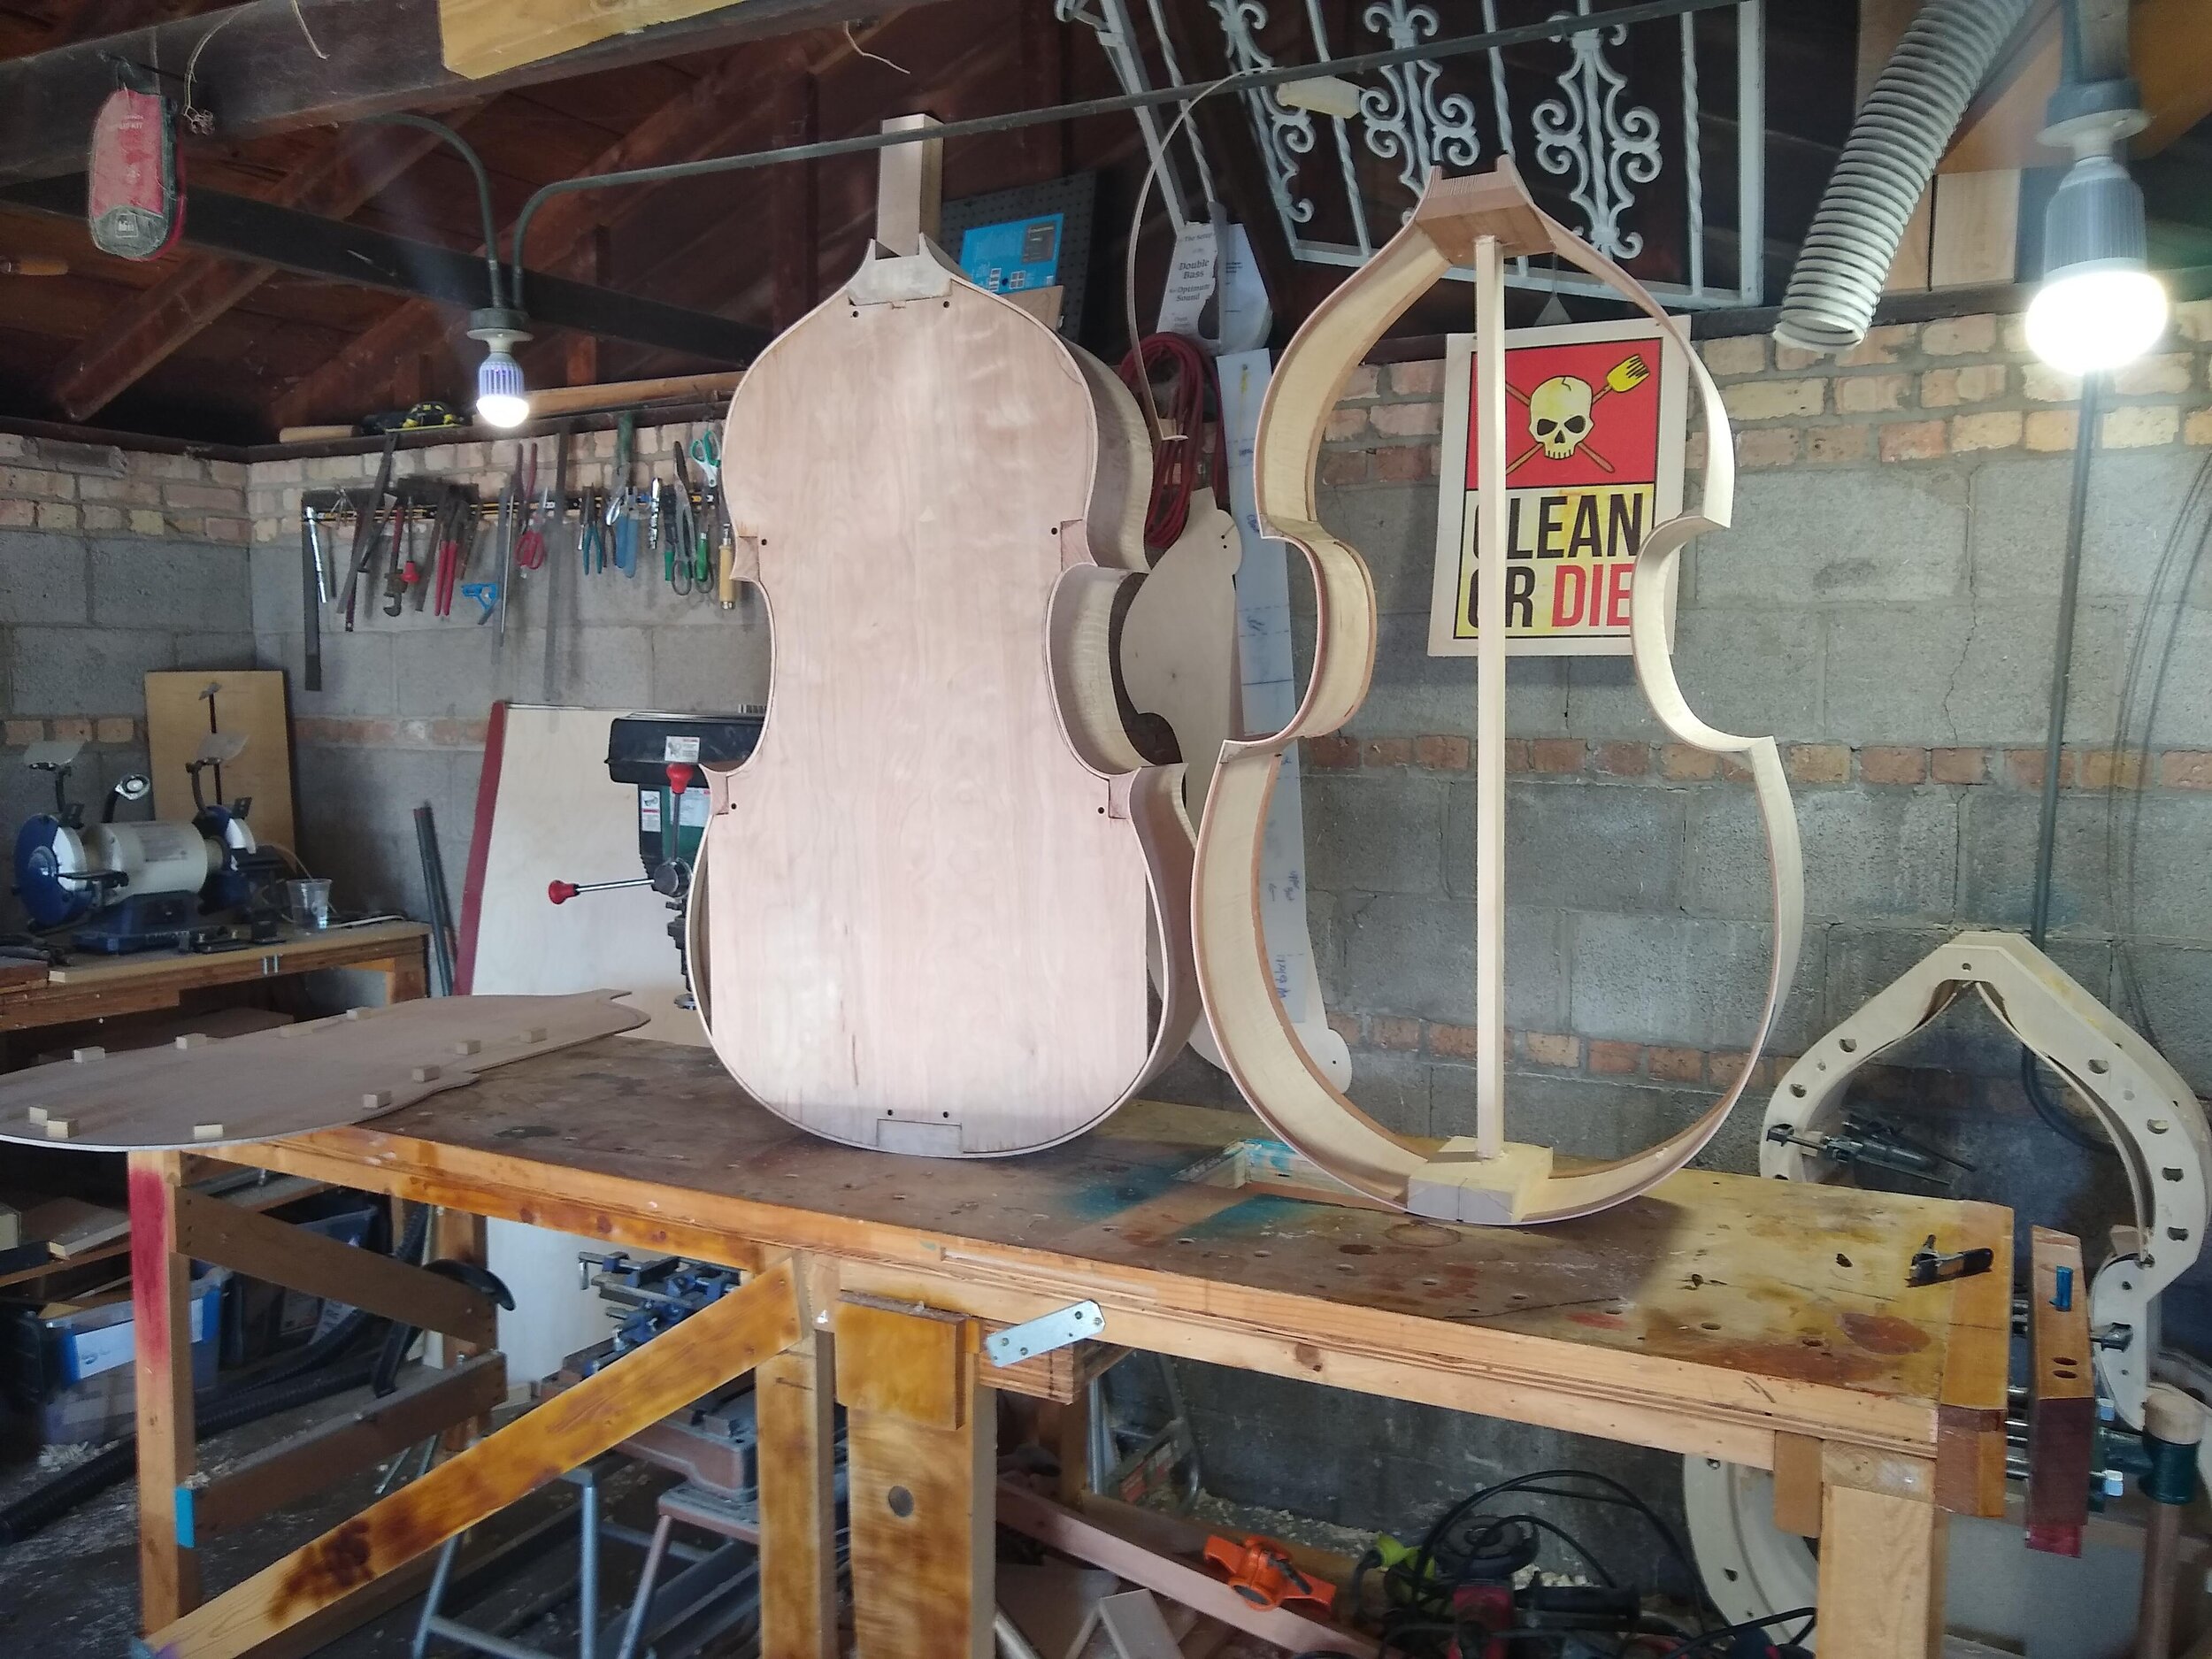
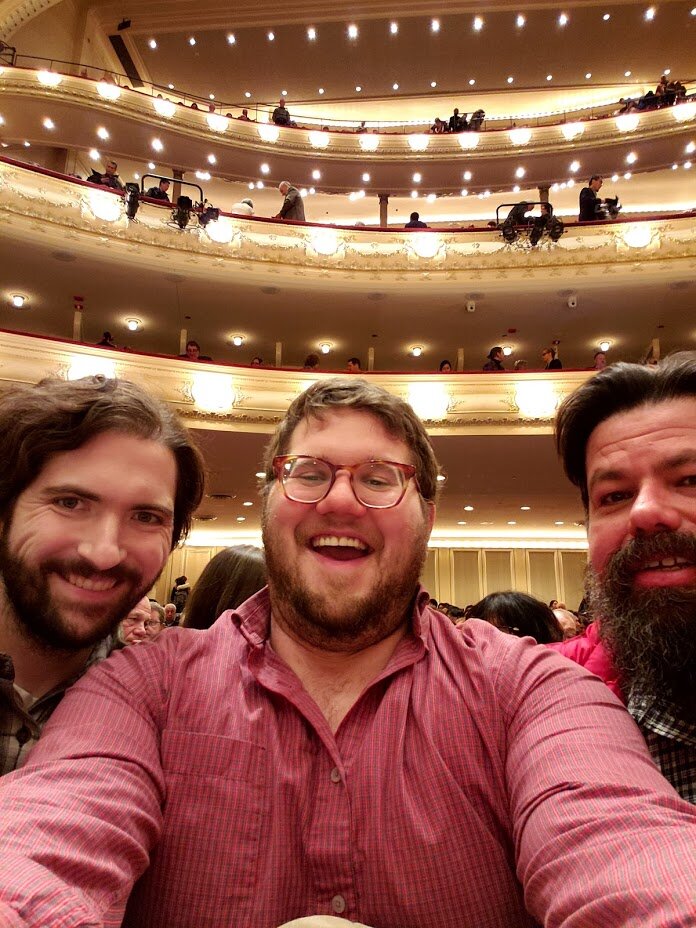
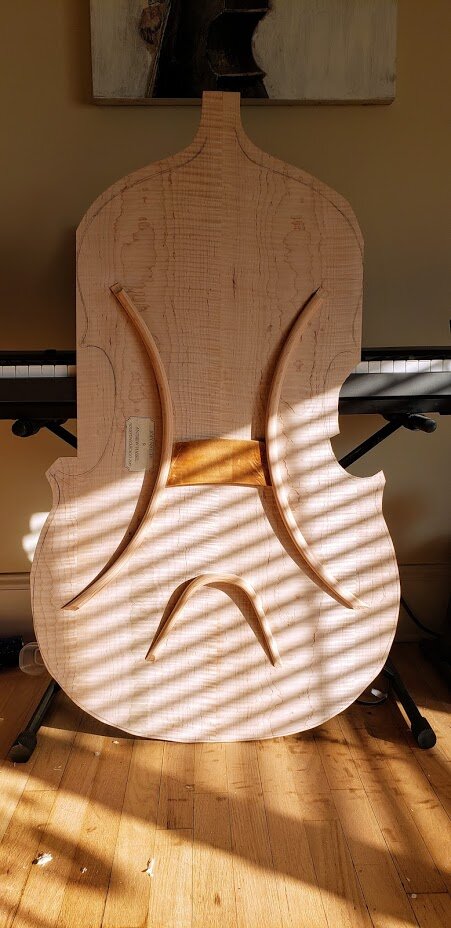
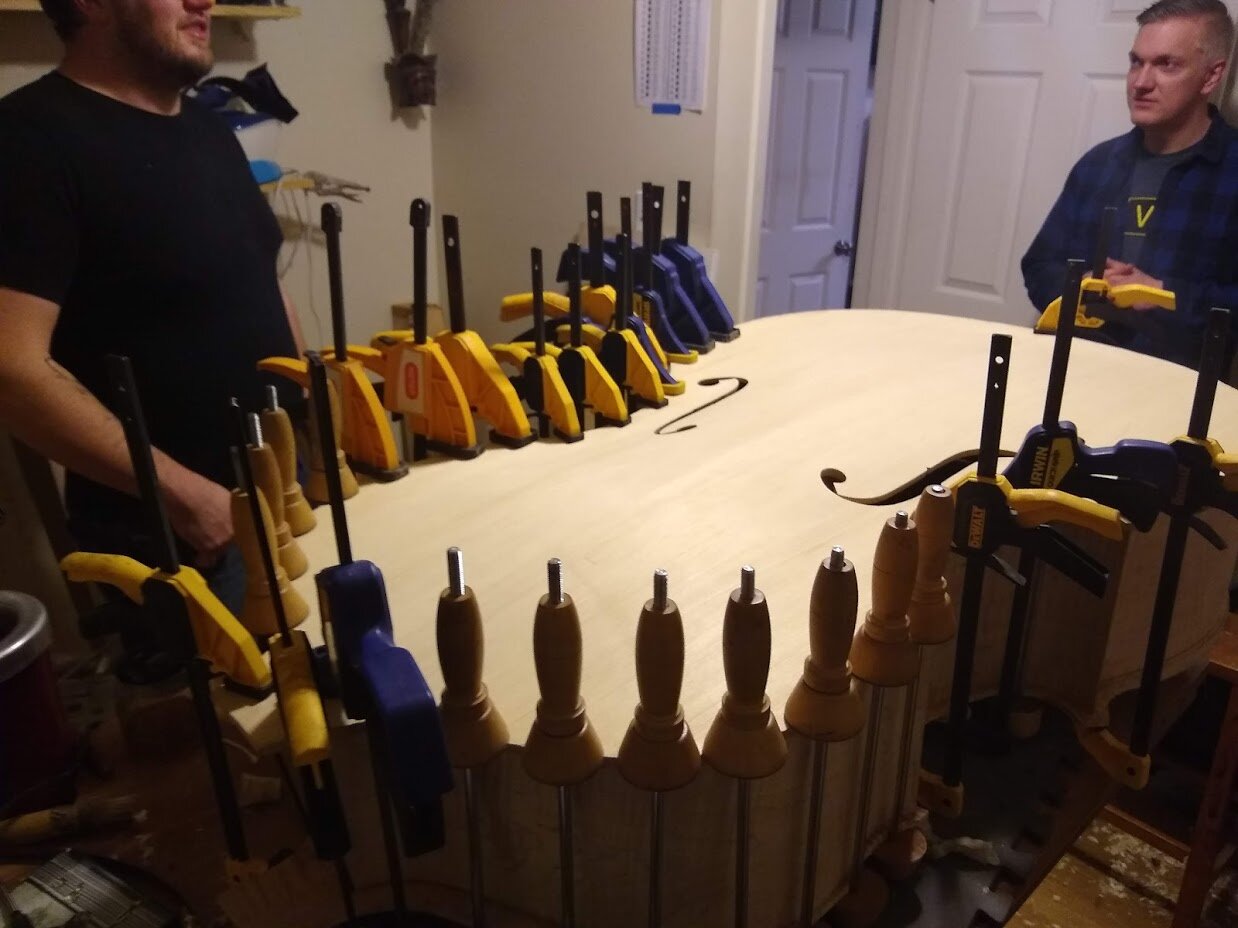
Day 6-8: We were feeling the time crunch as we were coming up on the second half of our allotted time. I was finishing the pegbox and neck as Joey fit the bar and cleaned up the inside of the rib garland (it looks very clean, if you ever get a chance to see it in real life). EVEN BETTER though, was that my friend and violinmaker Thomas Coleman met us for pizza downtown one night and got us FRONT ROW seats to see the CSO. It was a great time. After the bar was trimmed Joey glued on the top while I fit and shaped the back braces. That night my good friend and luthier Matt Louck came over for more beer and pizza while we glued the back onto the bass in preperation for fitting the neck the next day.


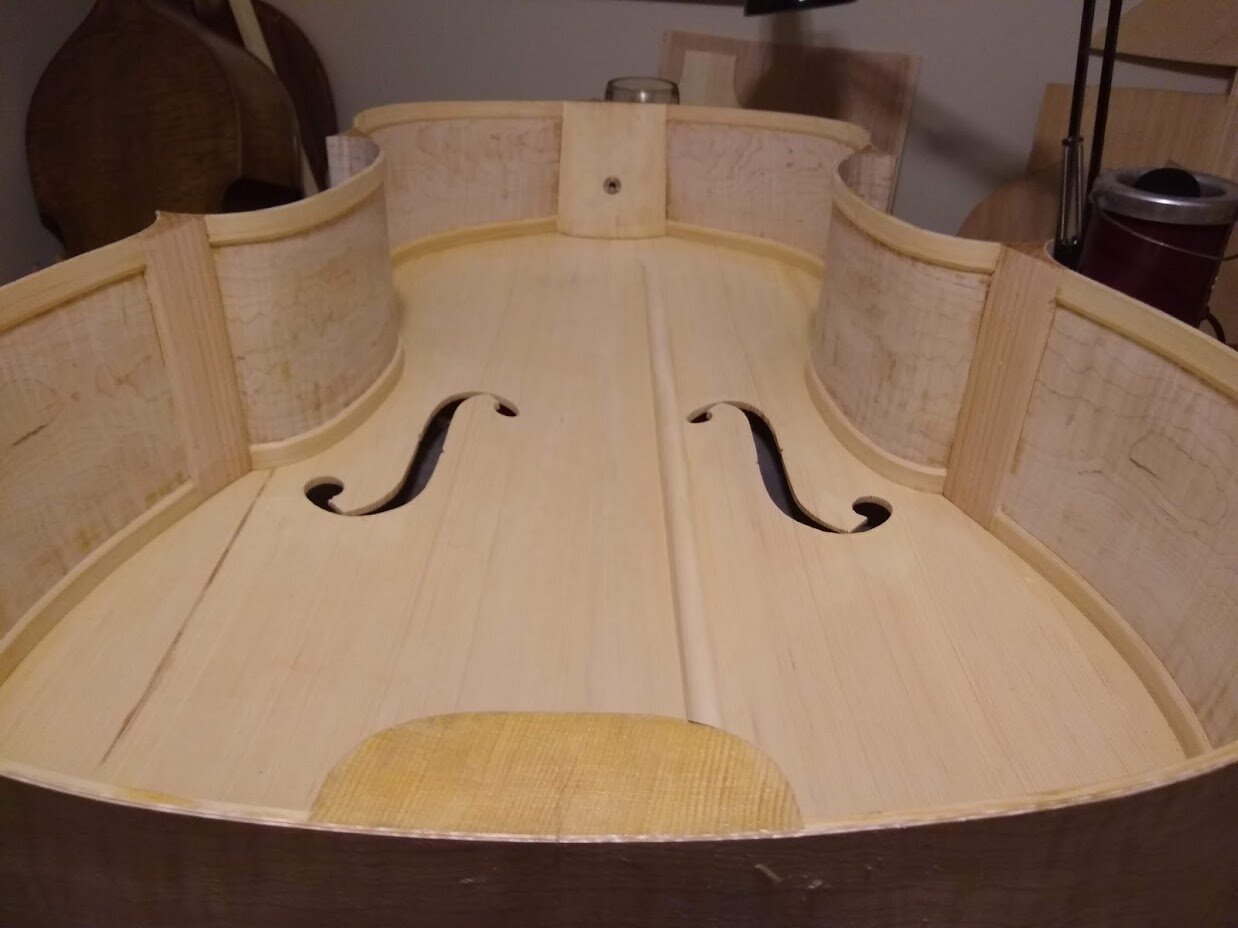
Day 8-10:
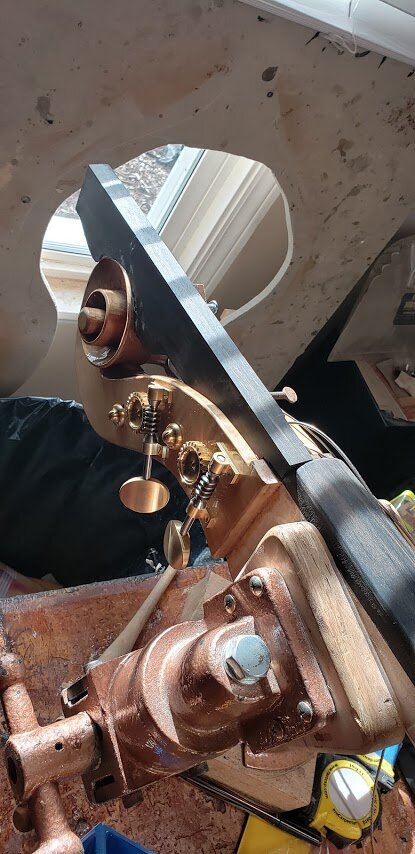
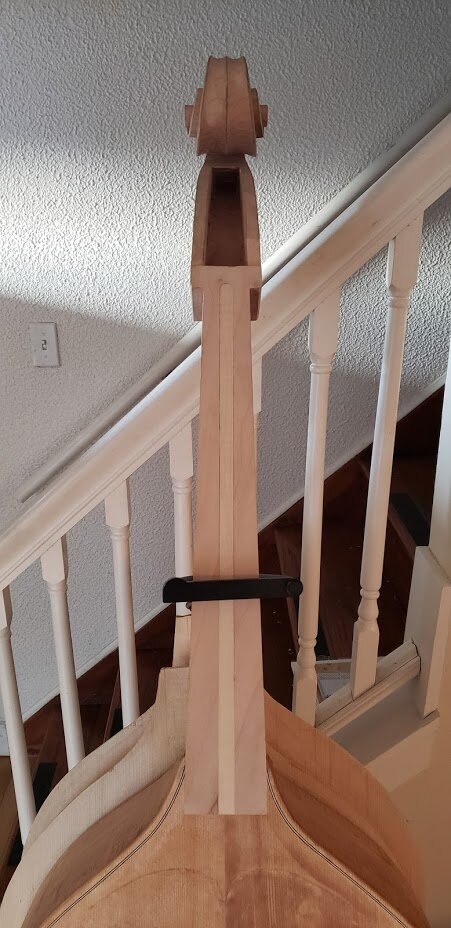
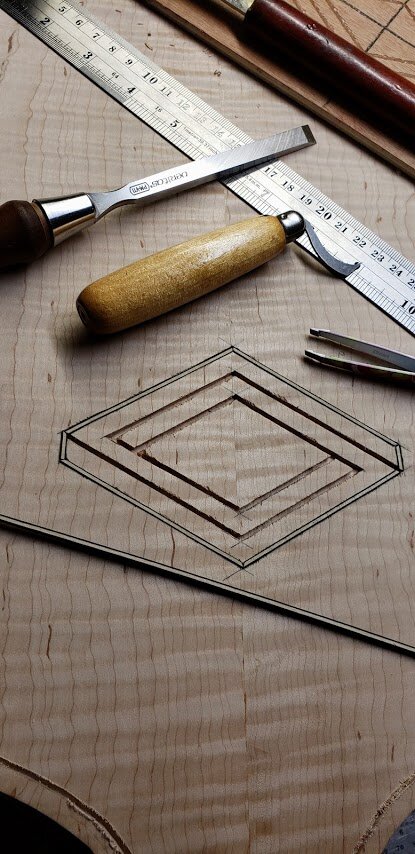
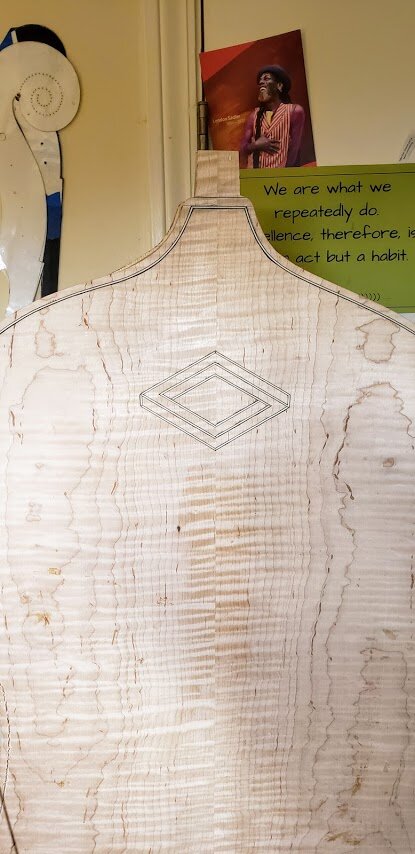
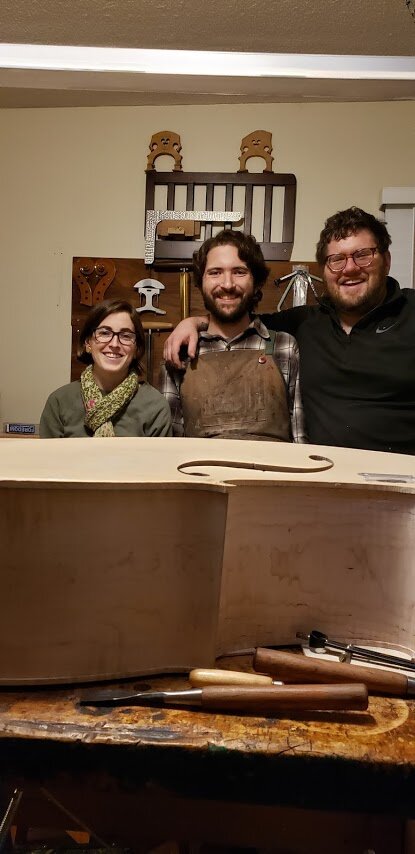
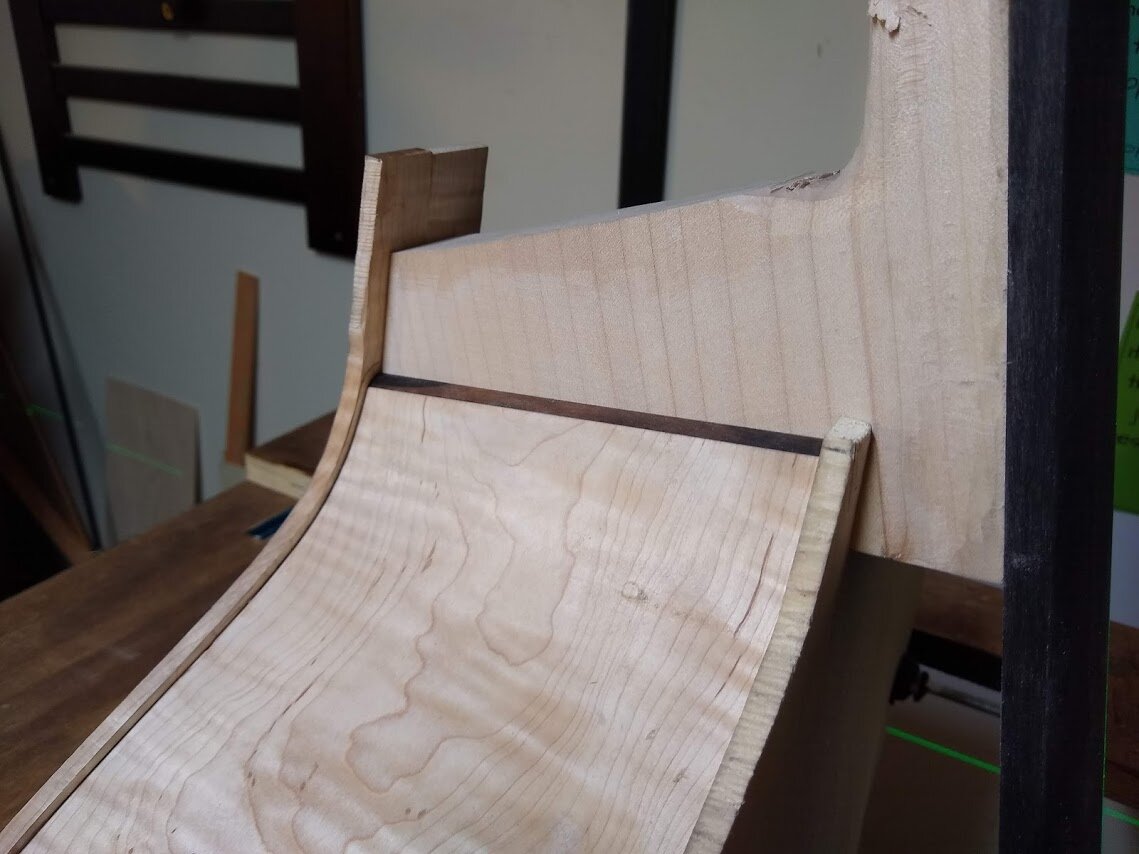
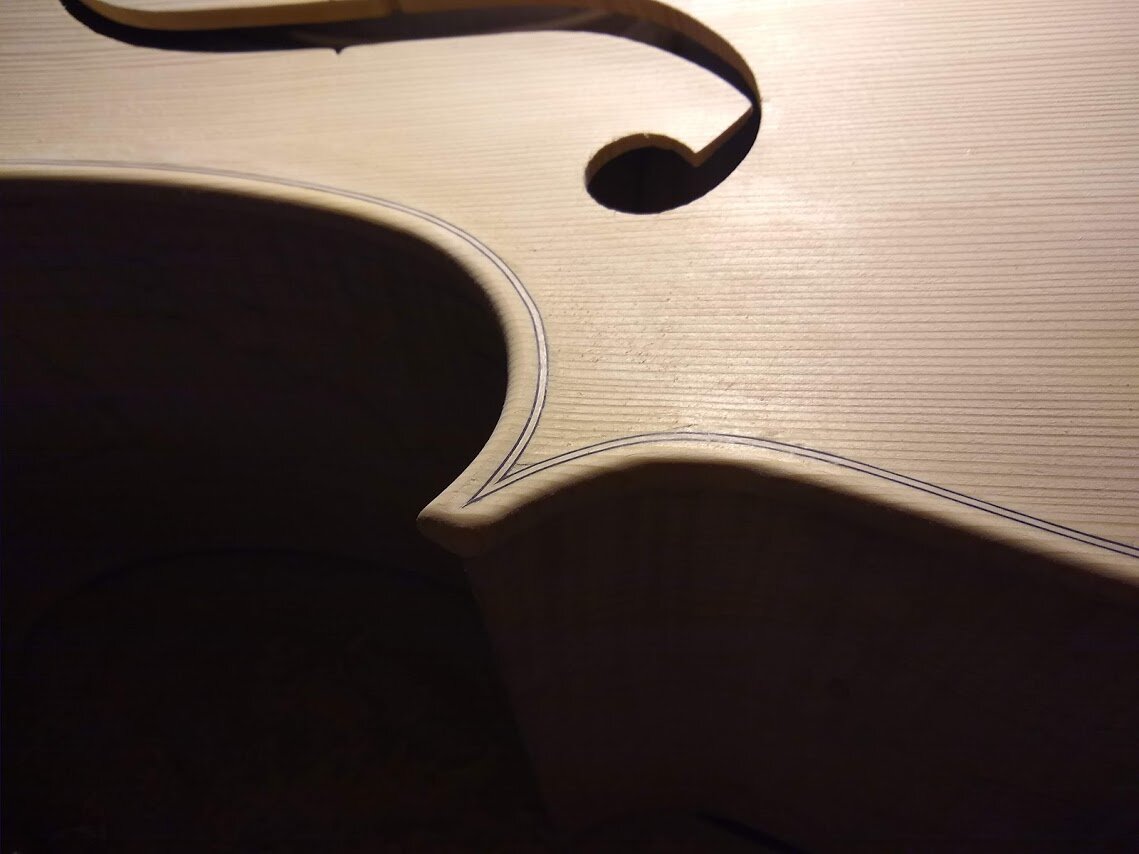
After the box was closed it was time for Joey to start doing the final rib/edge margin so I could do the purfling. While he did that I shaped and dressed the fingerboard, did some final touch up on the scroll and prepped the neck for setting. Once that was done Joey set the neck and fit the hardware for the removable neck feature (which is awesome, by the way). I did the purfling channels on the back and top and fit the purfling channel, then Joey did the purfling miters on the top while I fit the tuning machines. And then my friend and violin making student (and soon to be bass maker) Anne Marie Runco came over to visit and check out the build. It was a blast. We were tired and needed a bit of encouragement at that point!


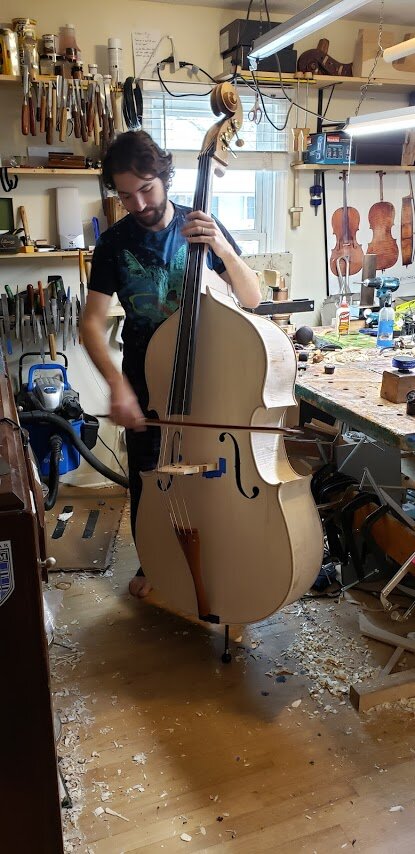
Day 11-12:
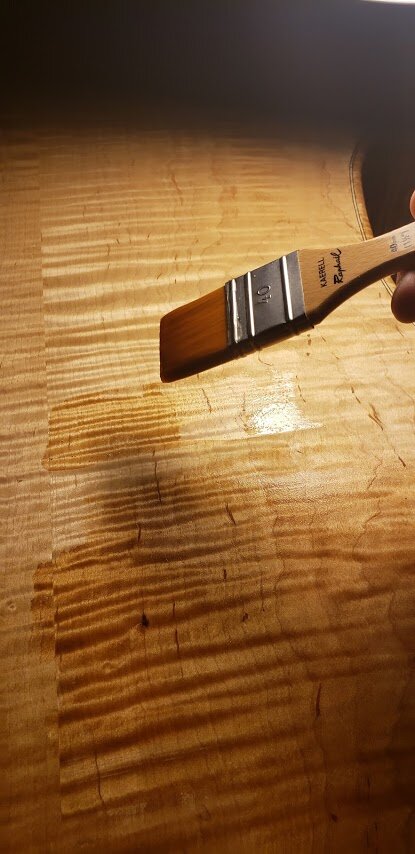
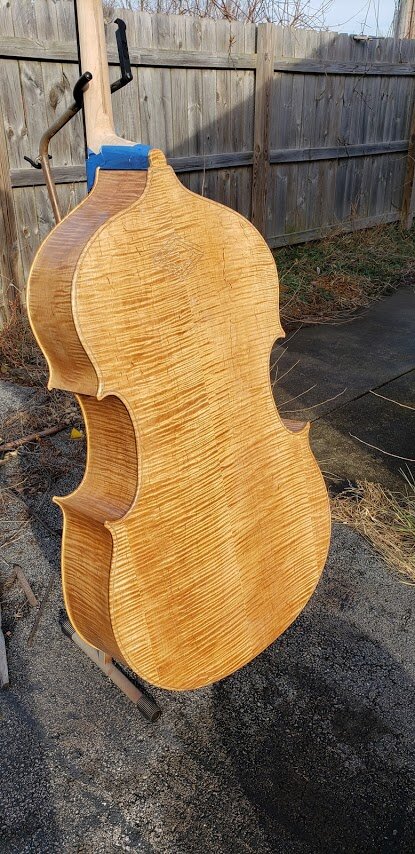
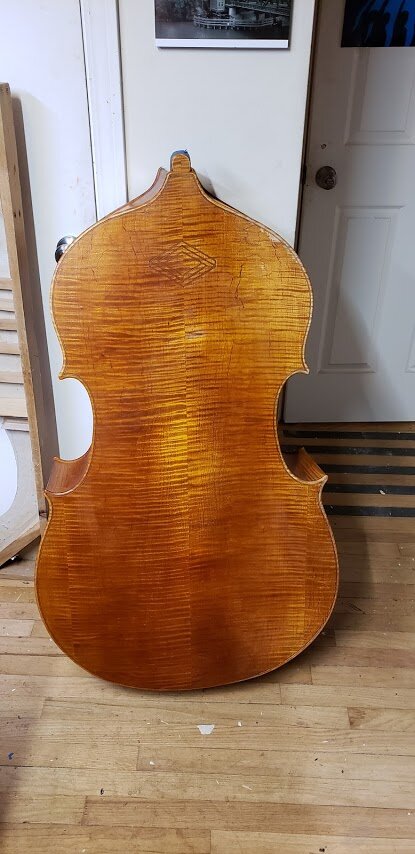
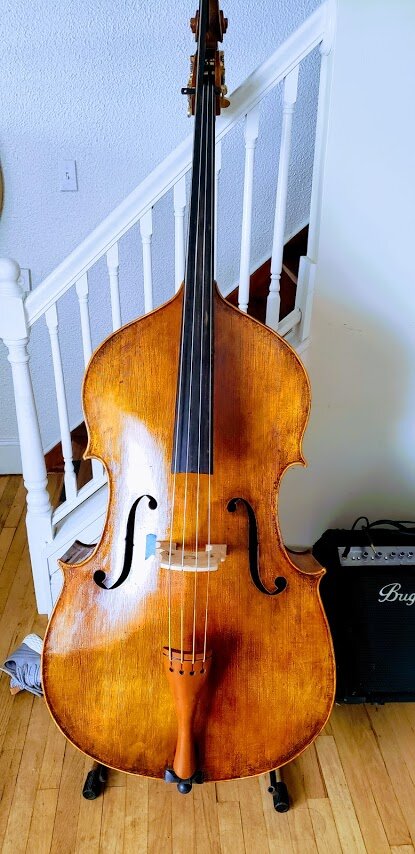
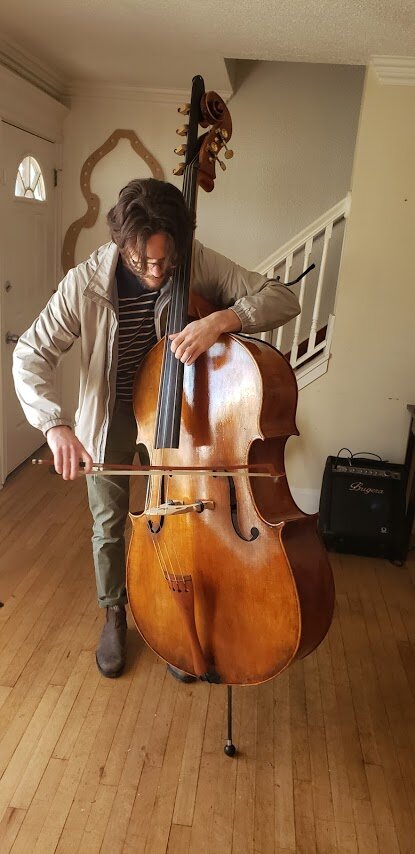
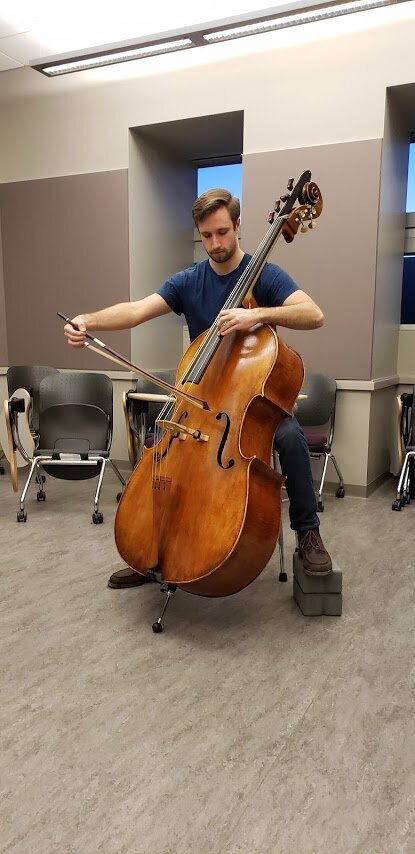
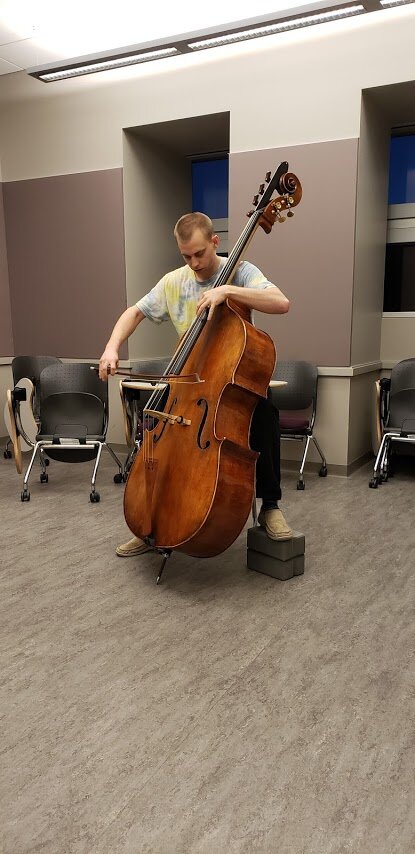
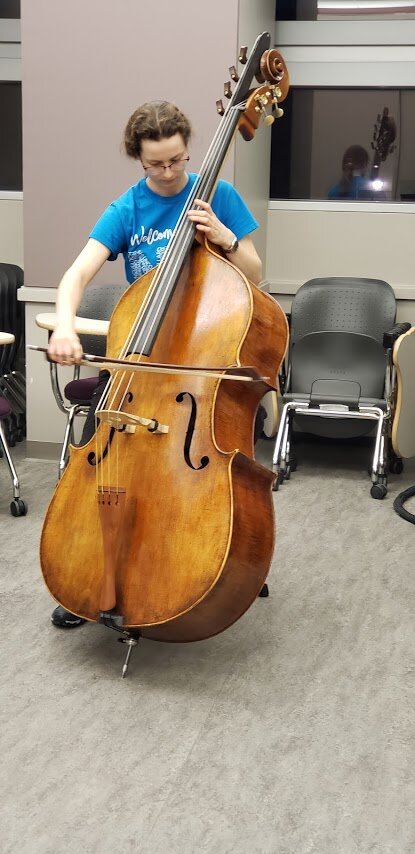
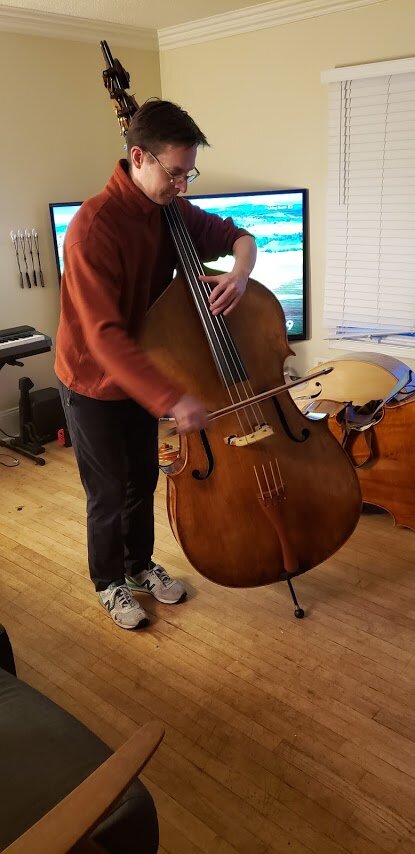
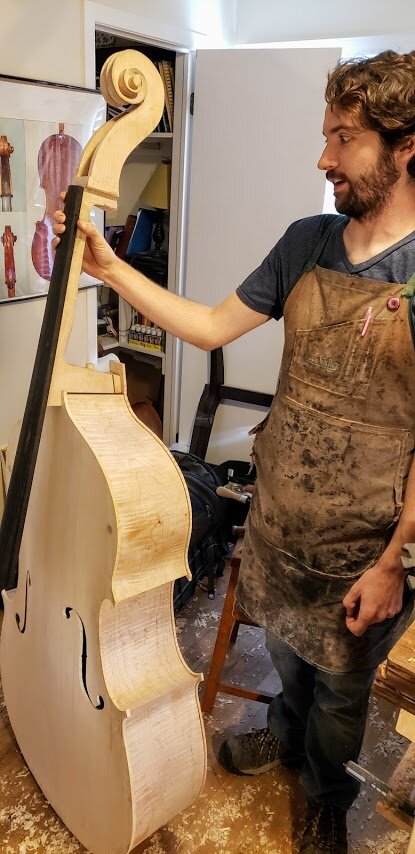
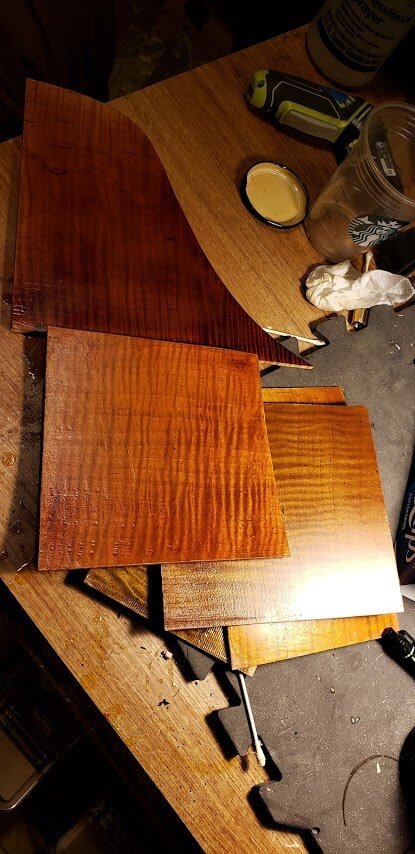
As the final days approached Joey finished blending in the recurve into the arching and starting the edge work while I started to do some of the preliminary setup work, starting doing varnish tests, and varnished the scroll. By the last day we had it strung up and playing! It sounded amazing, even with no varnish and I knew this bass was gonna be a hit. Joey only had a few hours before he had to pack to leave so he graciously started fitting the bar for the C extension while I finished doing some work setting up my new table saw. With some help from our family and friends, we made a bass in 12 days! Once Joey said goodbye I still had to finish the neck heel and handle, finish the edge work, prep to varnish, varnish, finish the C-extension and do the setup.
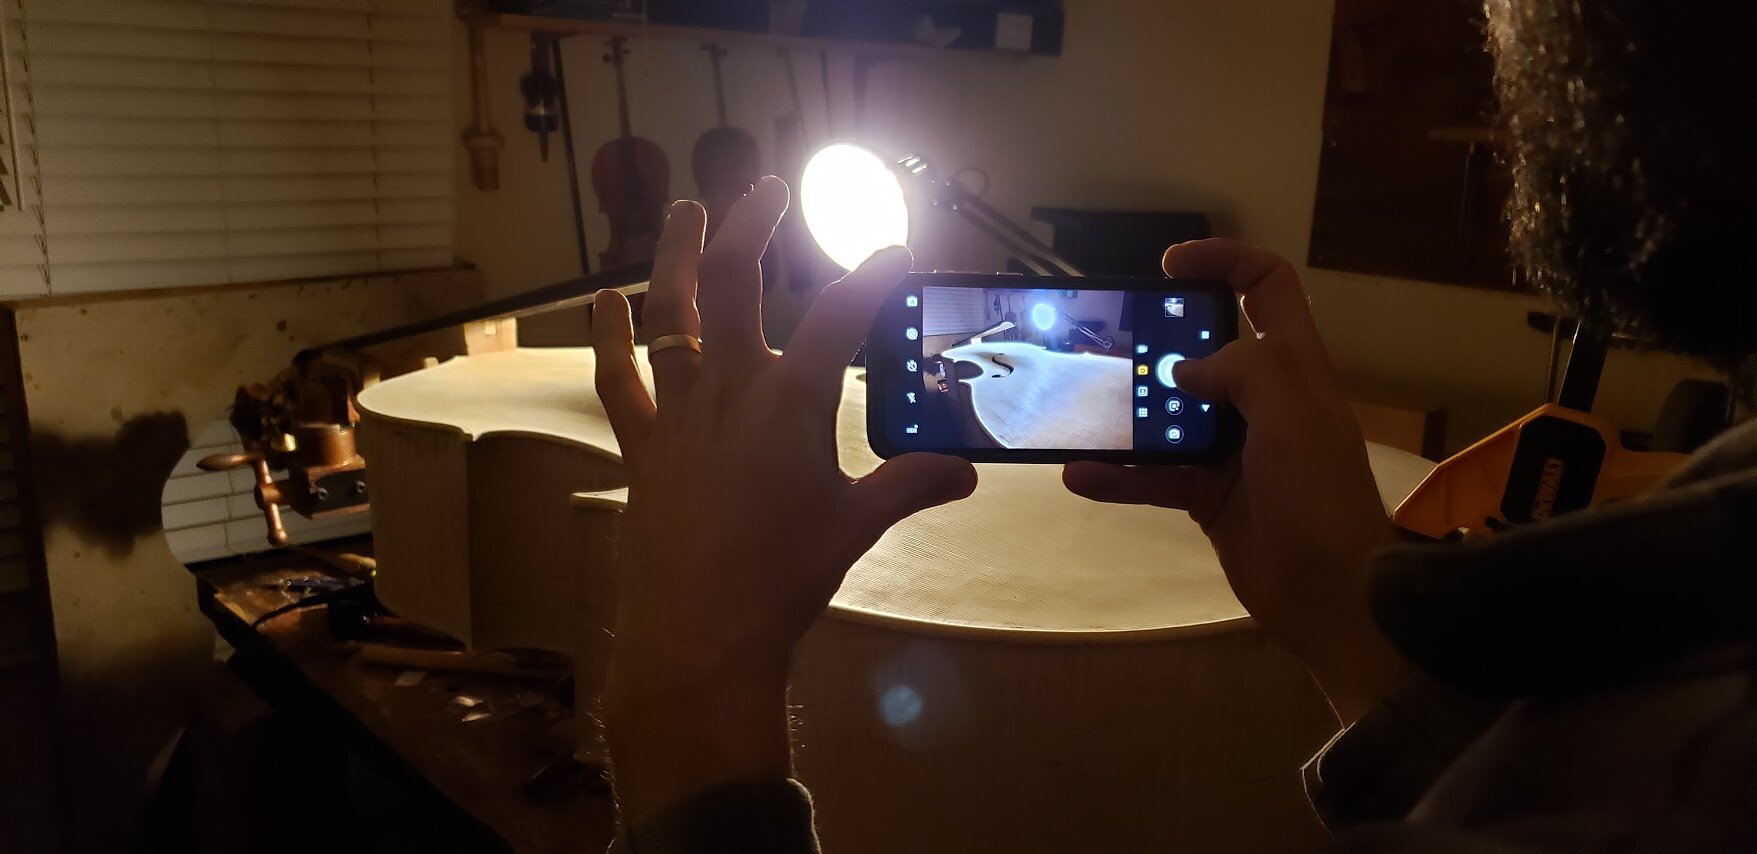
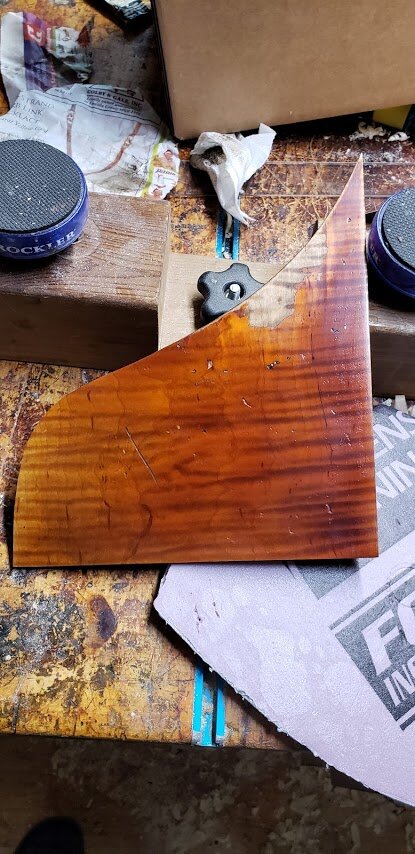

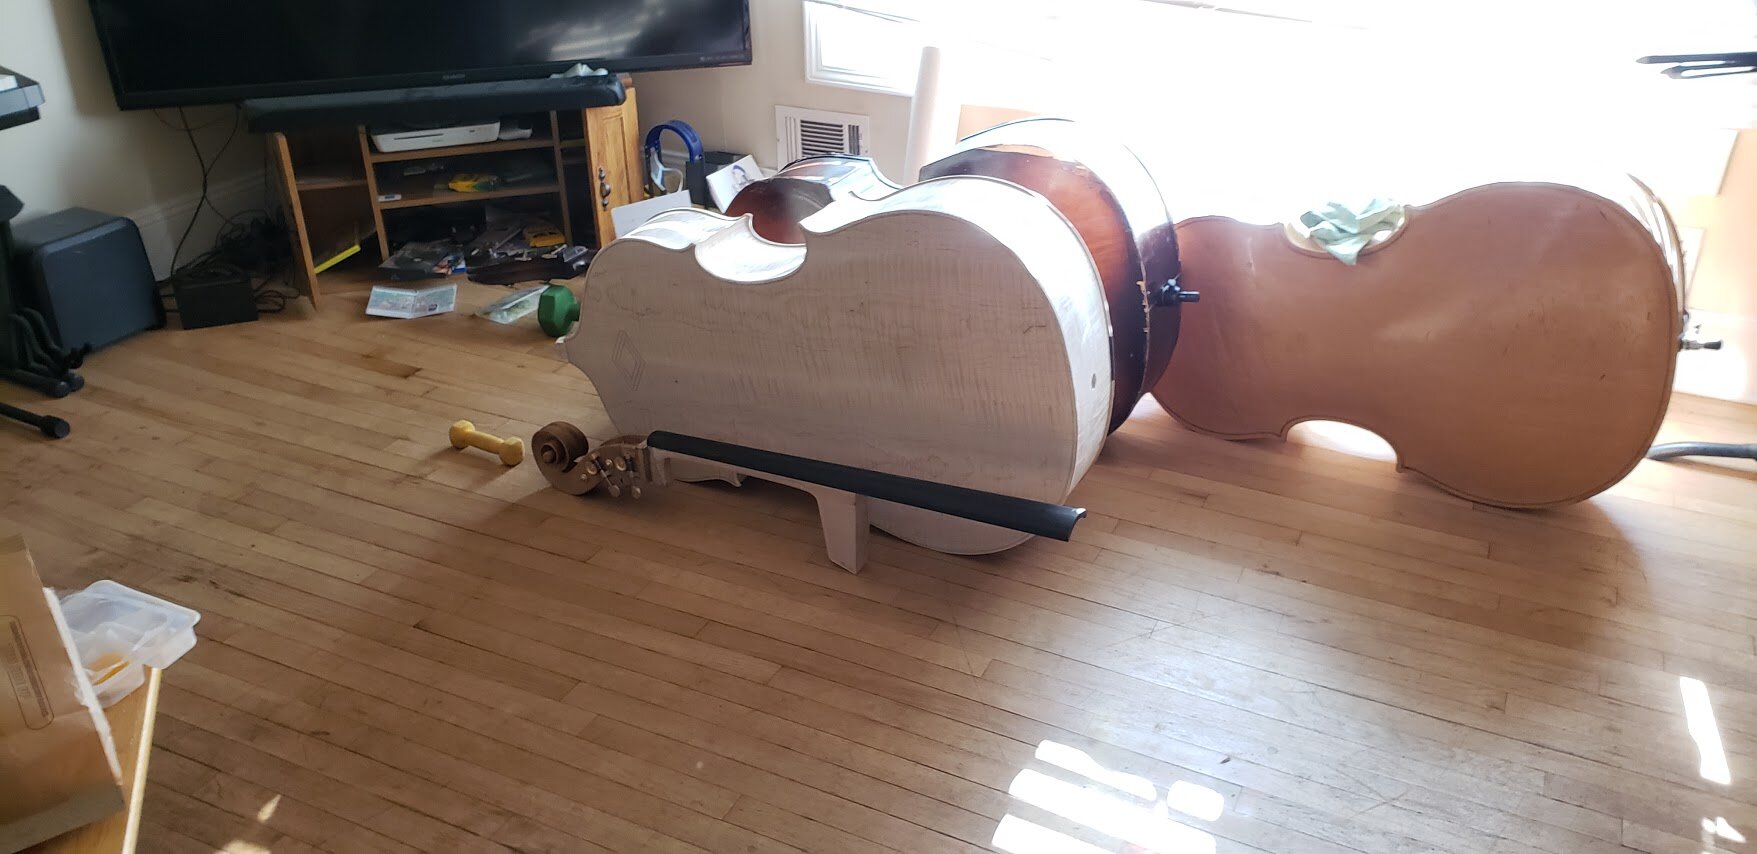
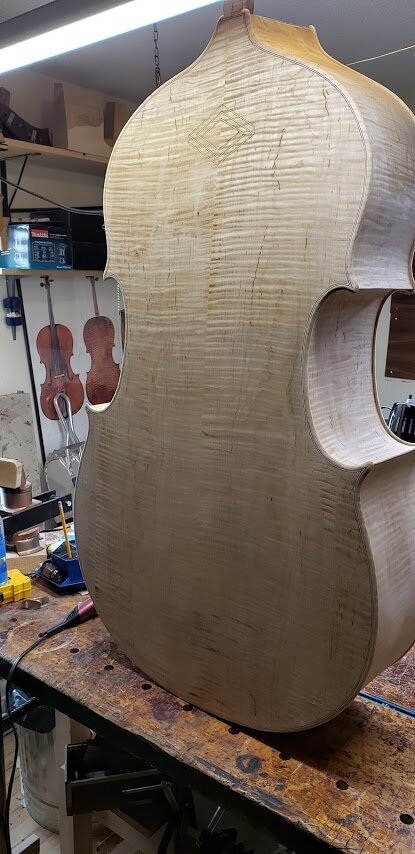
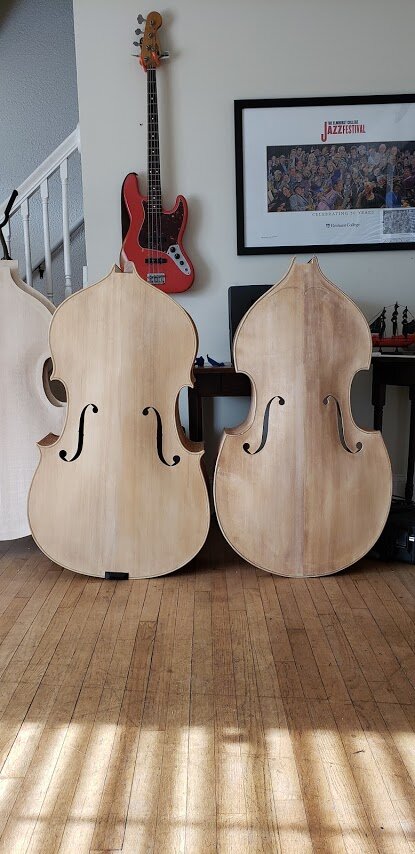
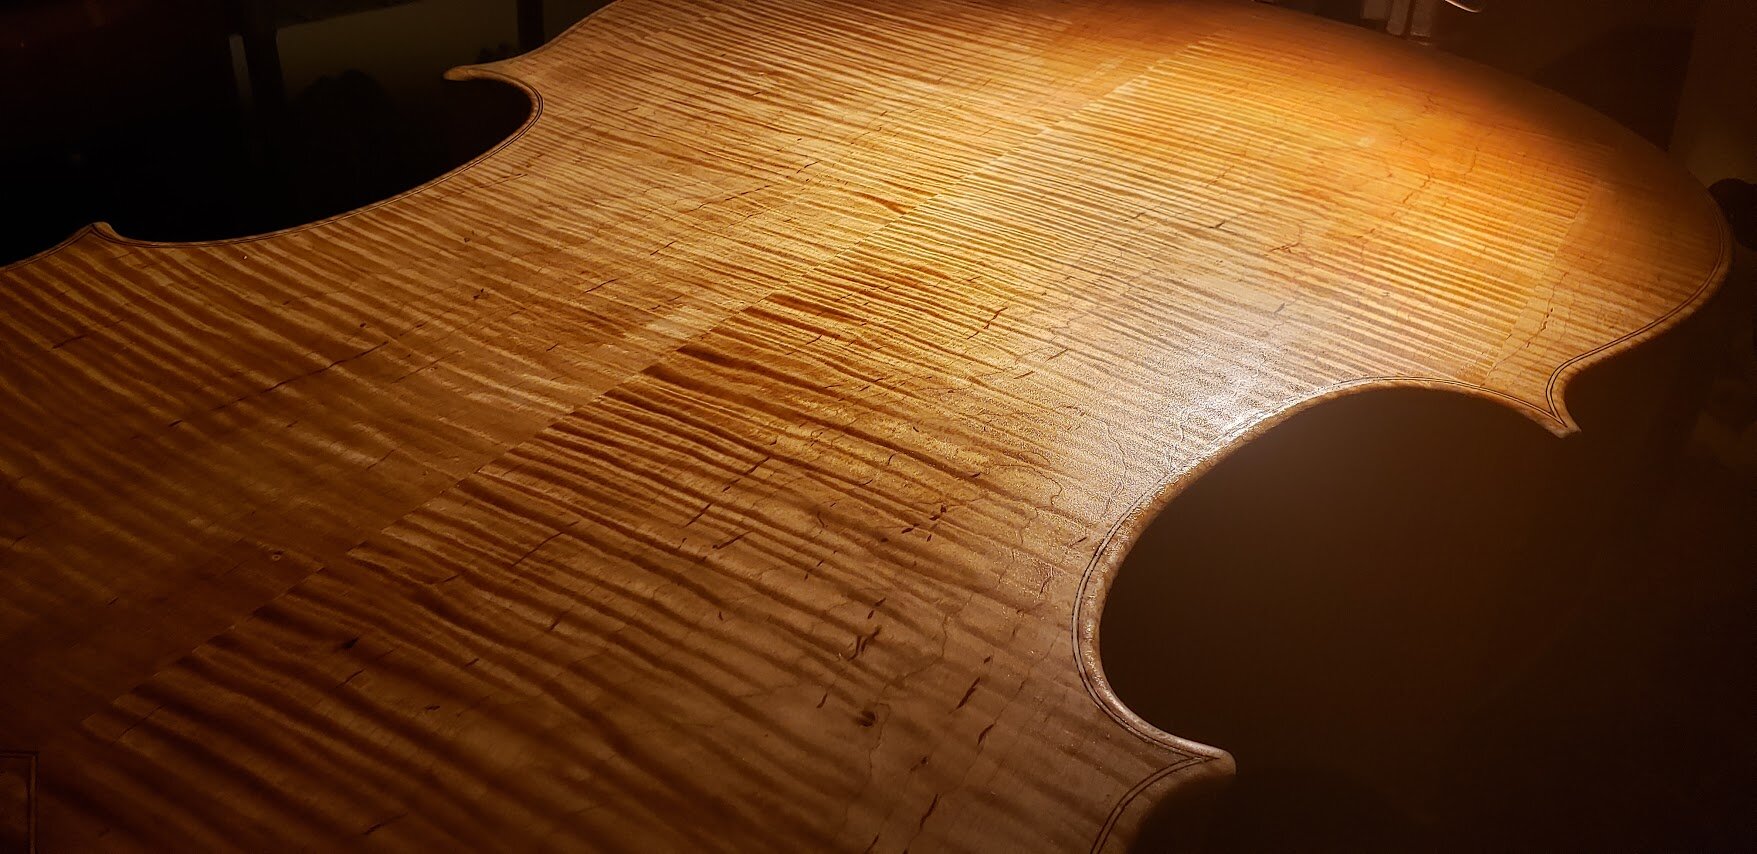
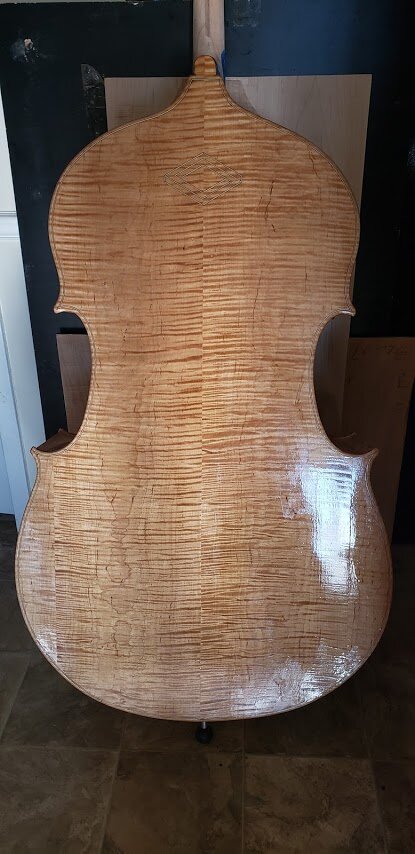
Days 13 and after:
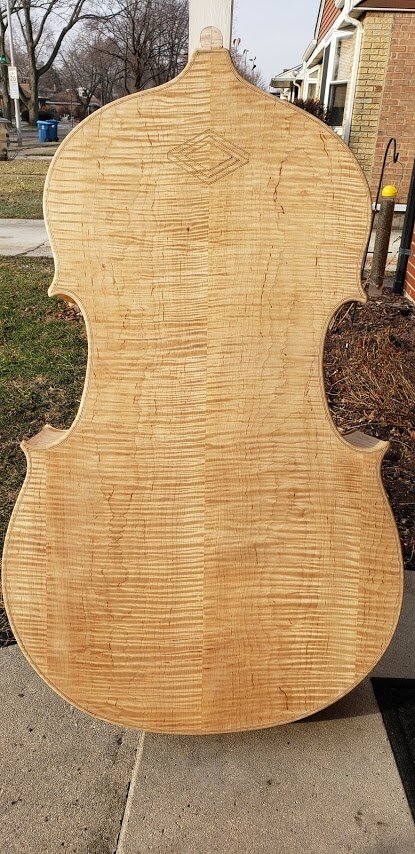
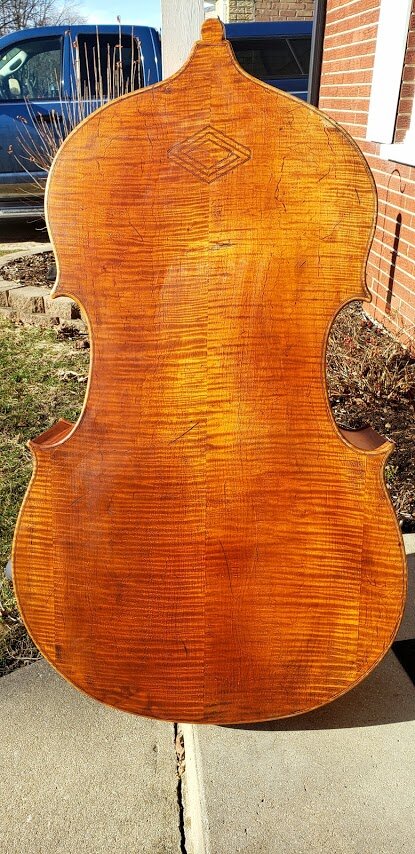
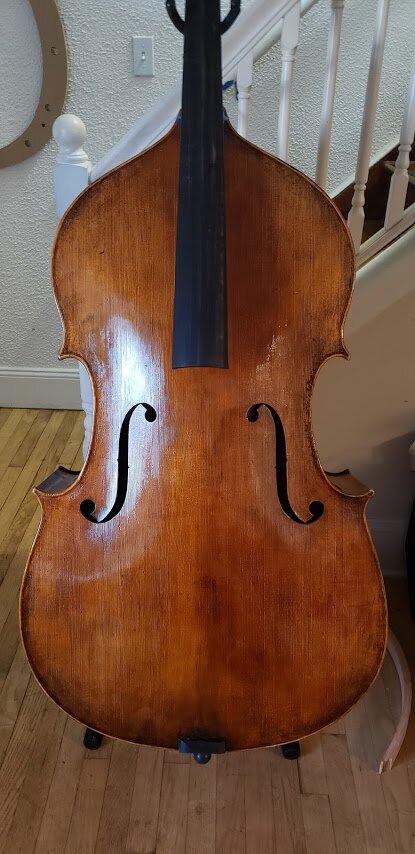
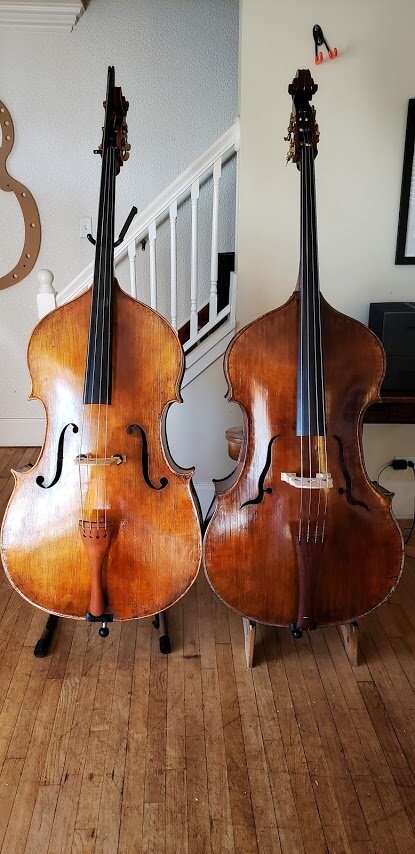
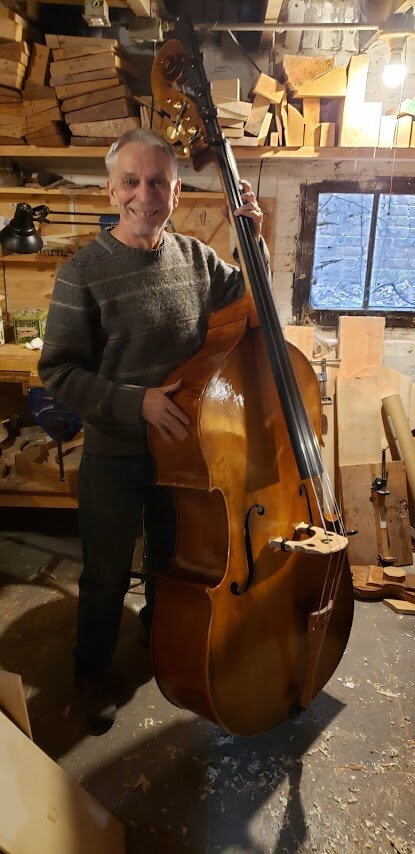
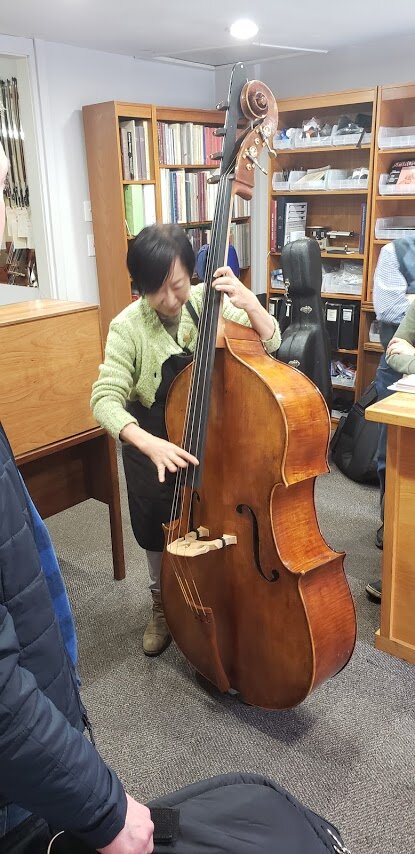
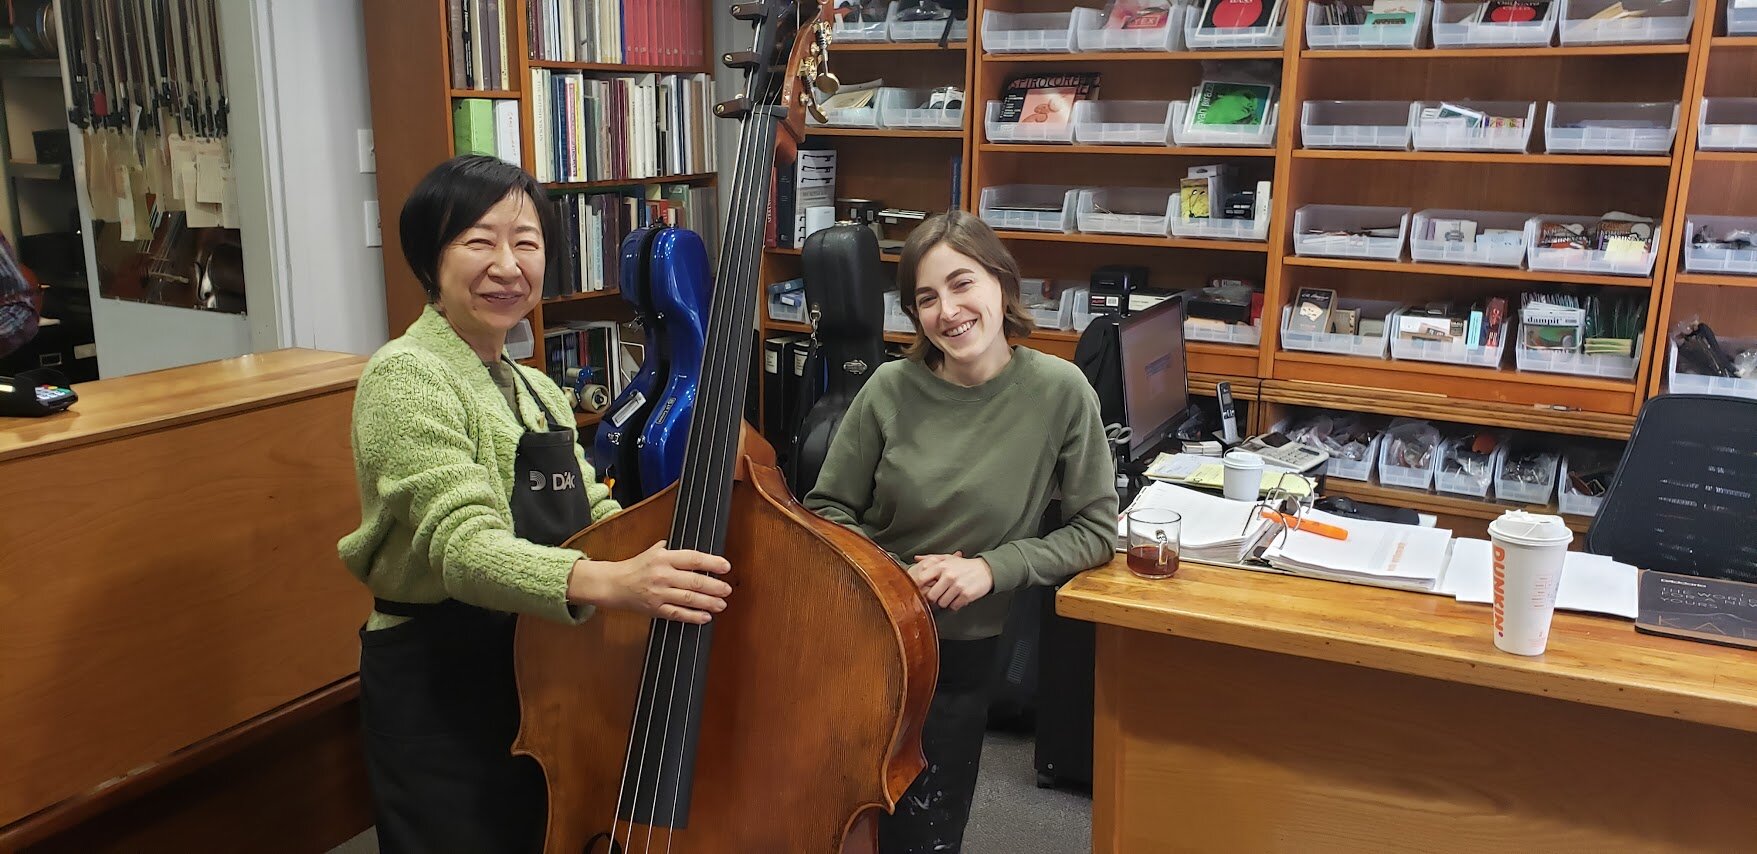
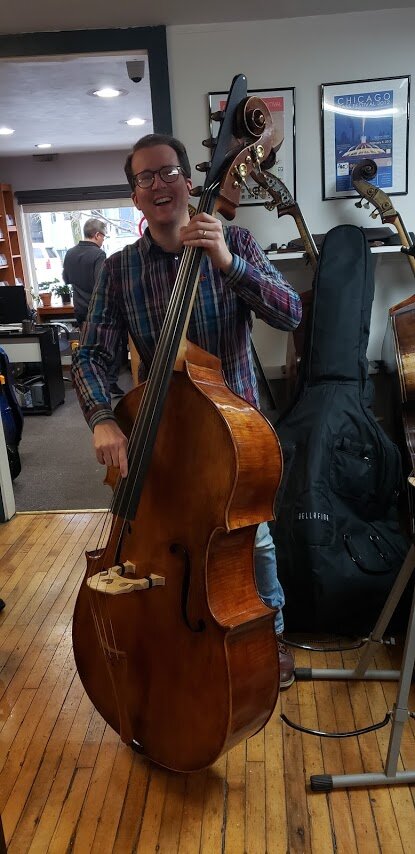
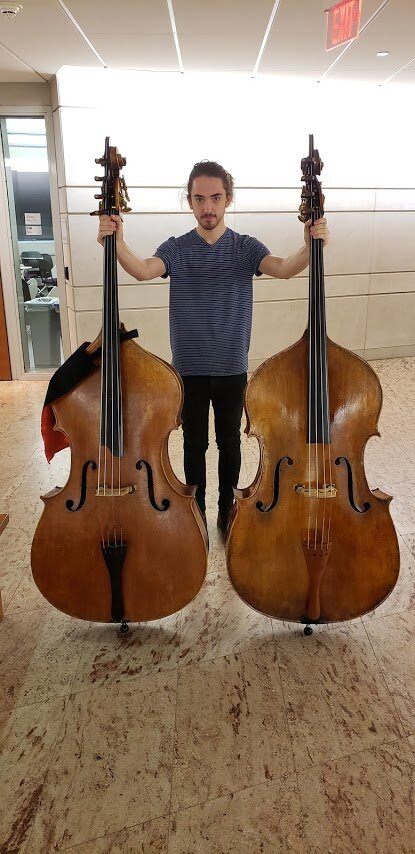
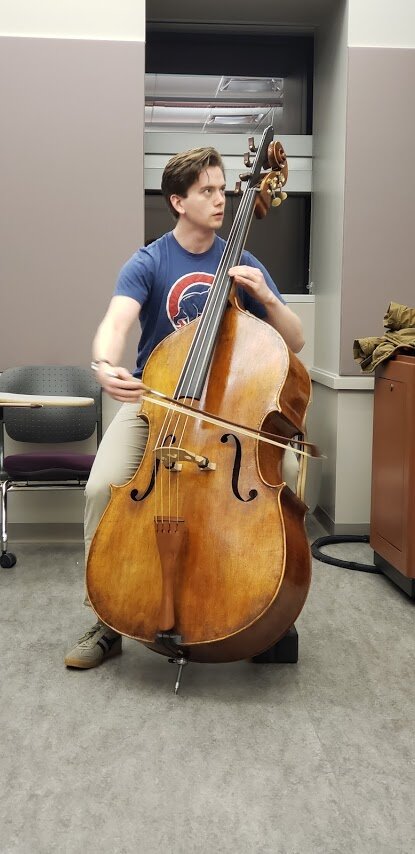
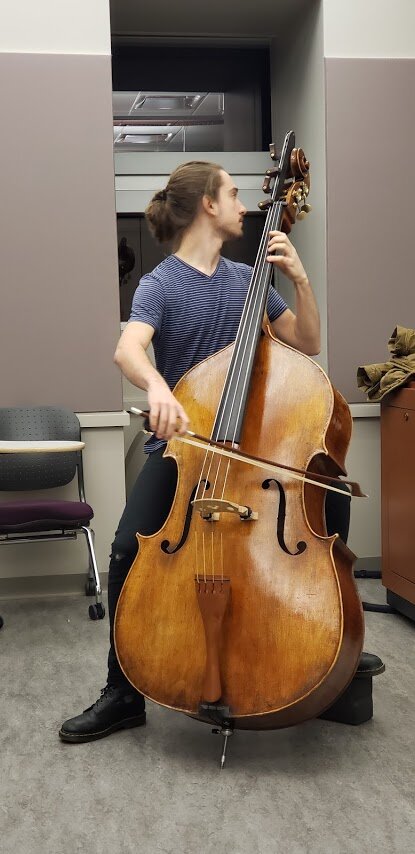
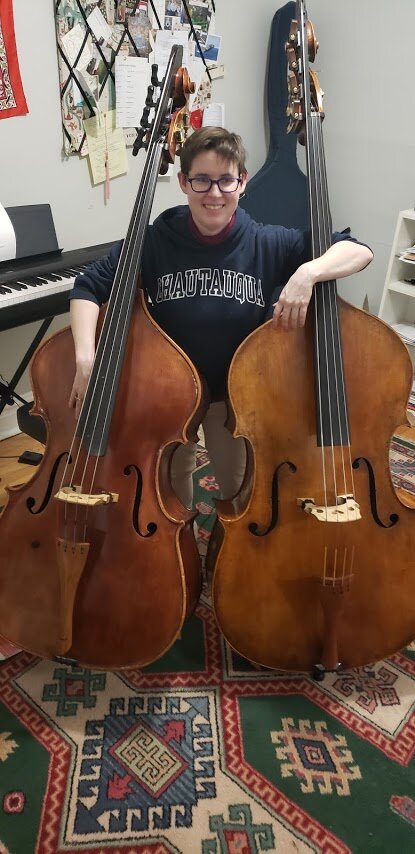
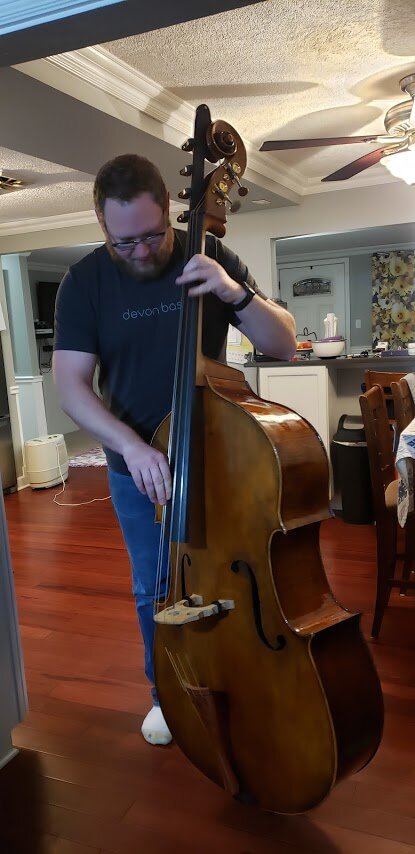
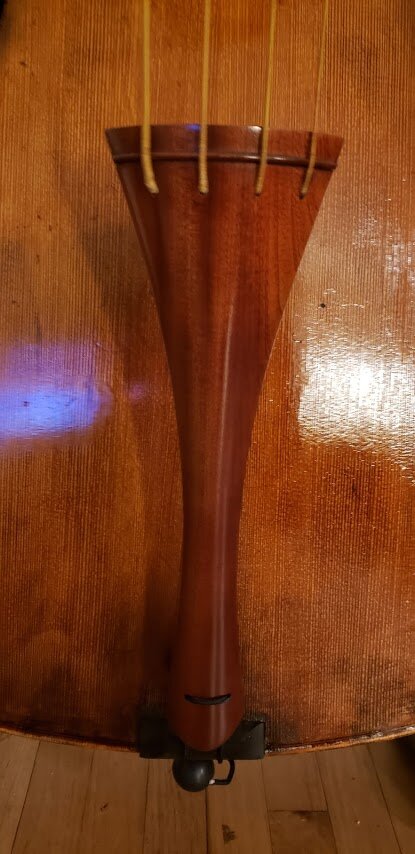
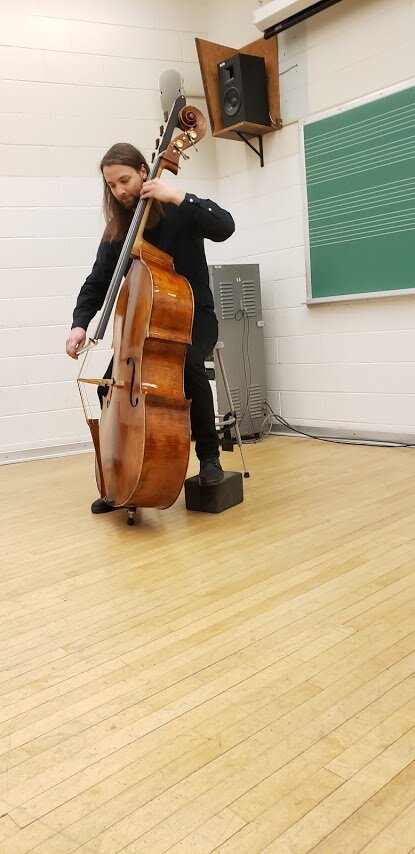
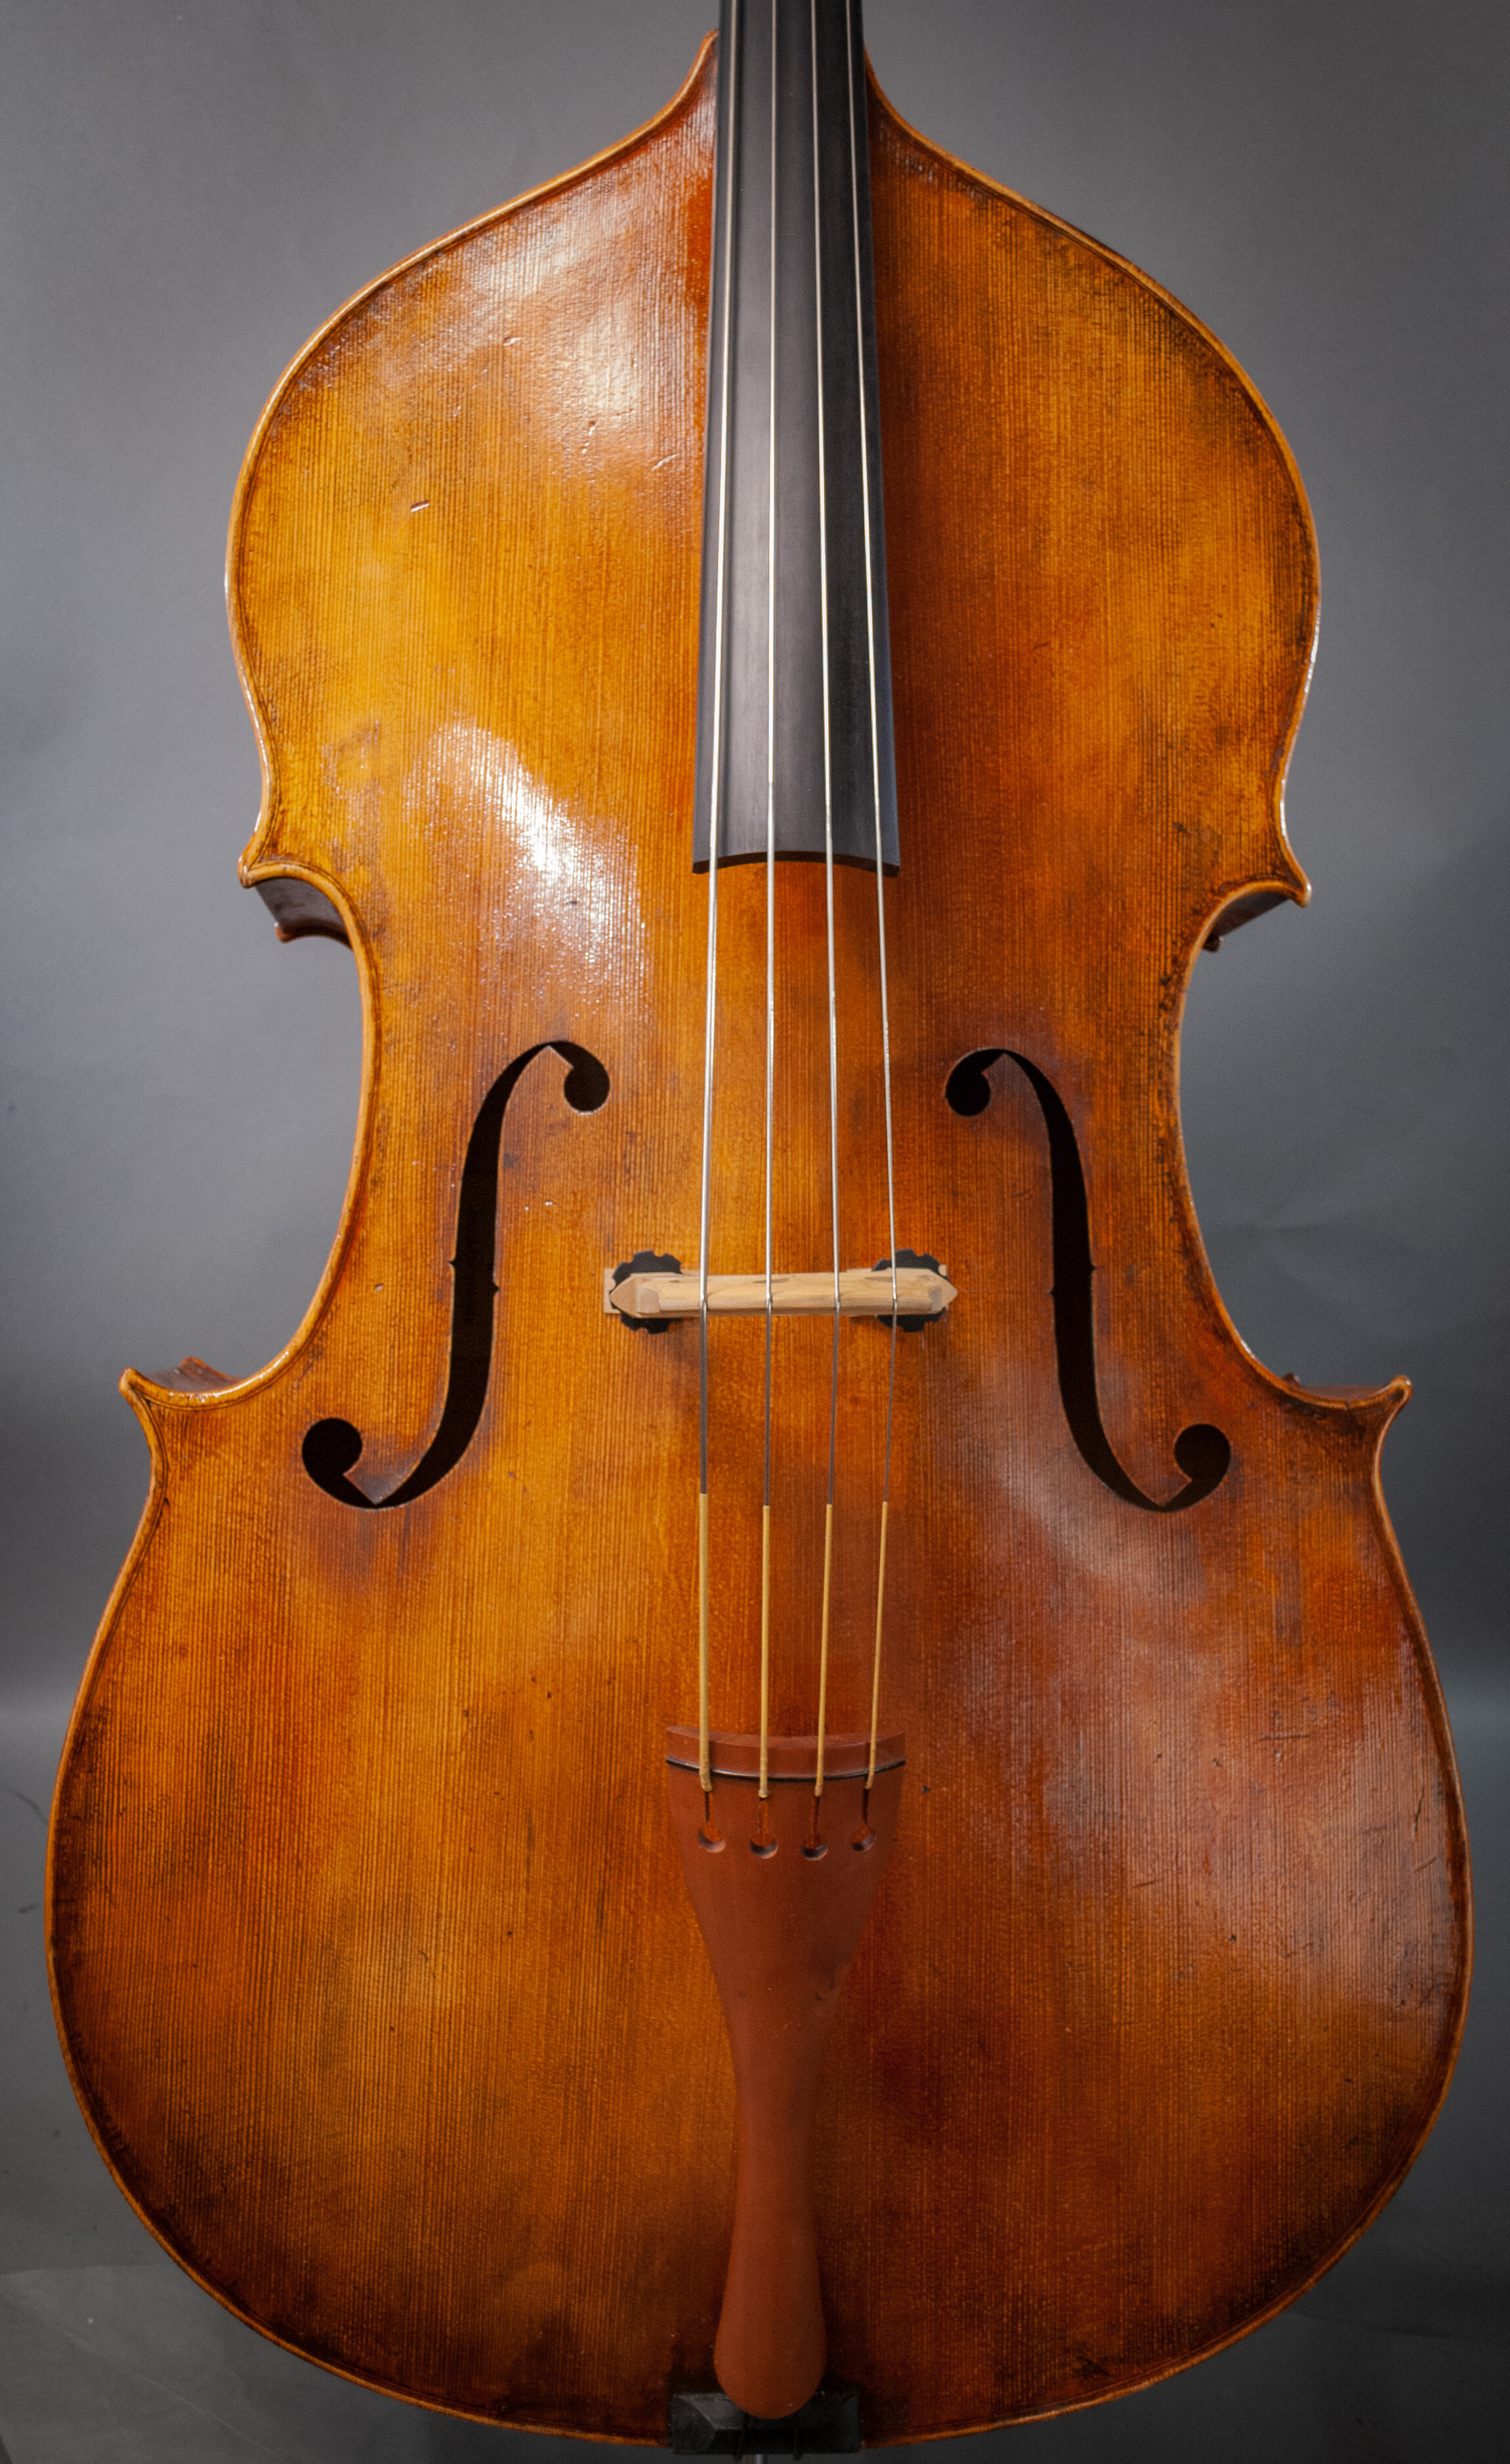
After Joey left, I took a solid 4 days off from the bass to do other repairs for customers and just to take a break. It was such a fun project, but was draining physically and I needed a clear head for the varnishing. Below are a few pictures of the finishing and varnishing, as well as some other pictures of the bass. Right before the bass was finished Ralph Alcala stopped by for a day with his new bass so we got to do a side-by-side comparison which was fun, and later that week I took the bass to A440 (www.a440violinshop.com) where they graciously took the final pictures.
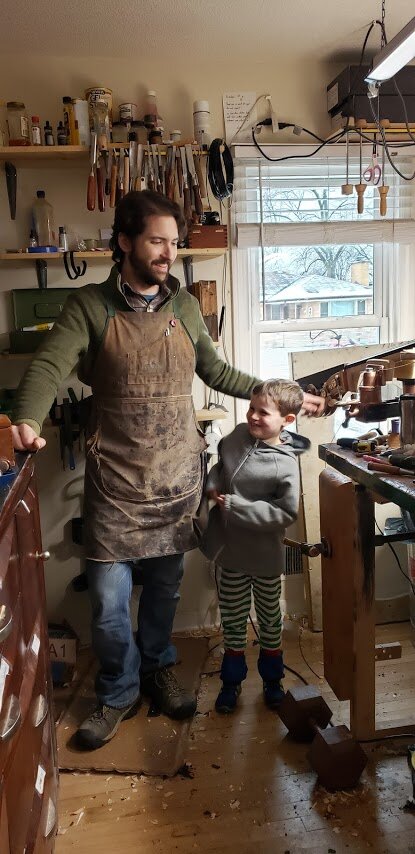
We had a lot of fun preparing for this, making it, and answering all kinds of questions on Instagram as we went along. Couldn’t have done it without the amazing support of our partners, families, and friends for letting us take two weeks off to go at this with no distractions. I’m really grateful to all the students and players who played this bass once it was completed, both for their time and their feedback. We are really lucky that it found a home right away with a student at Indiana University.